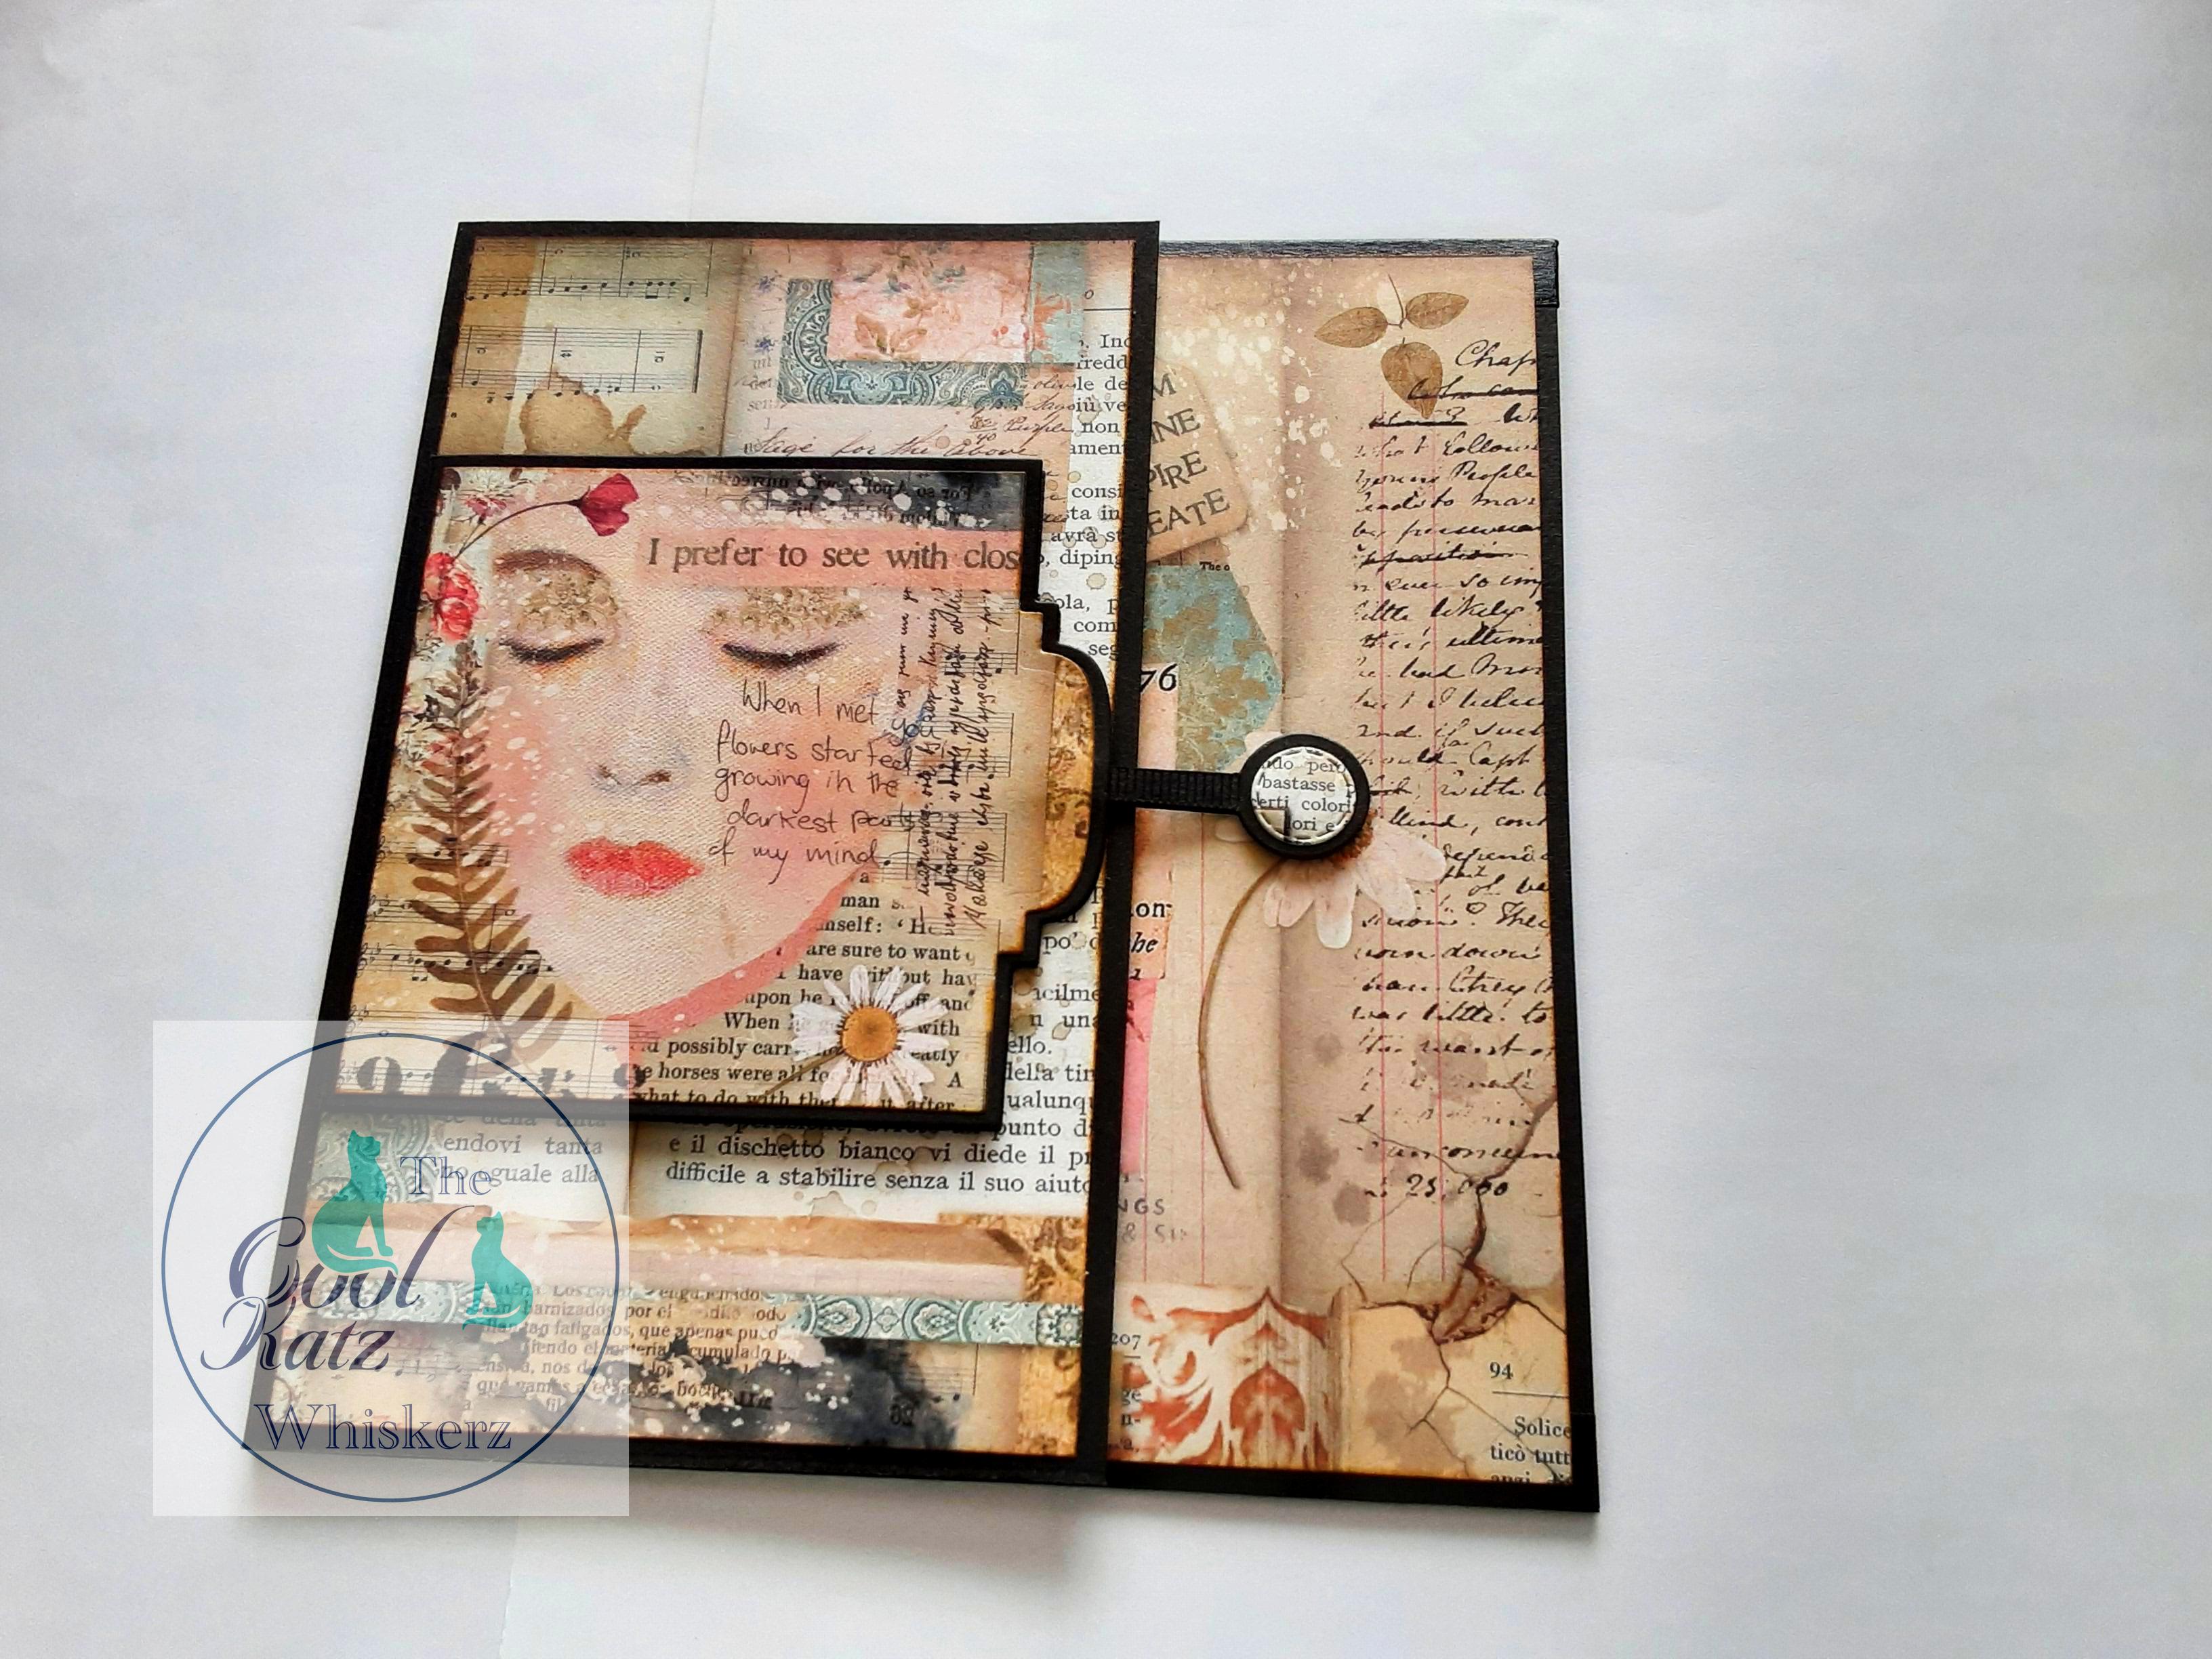
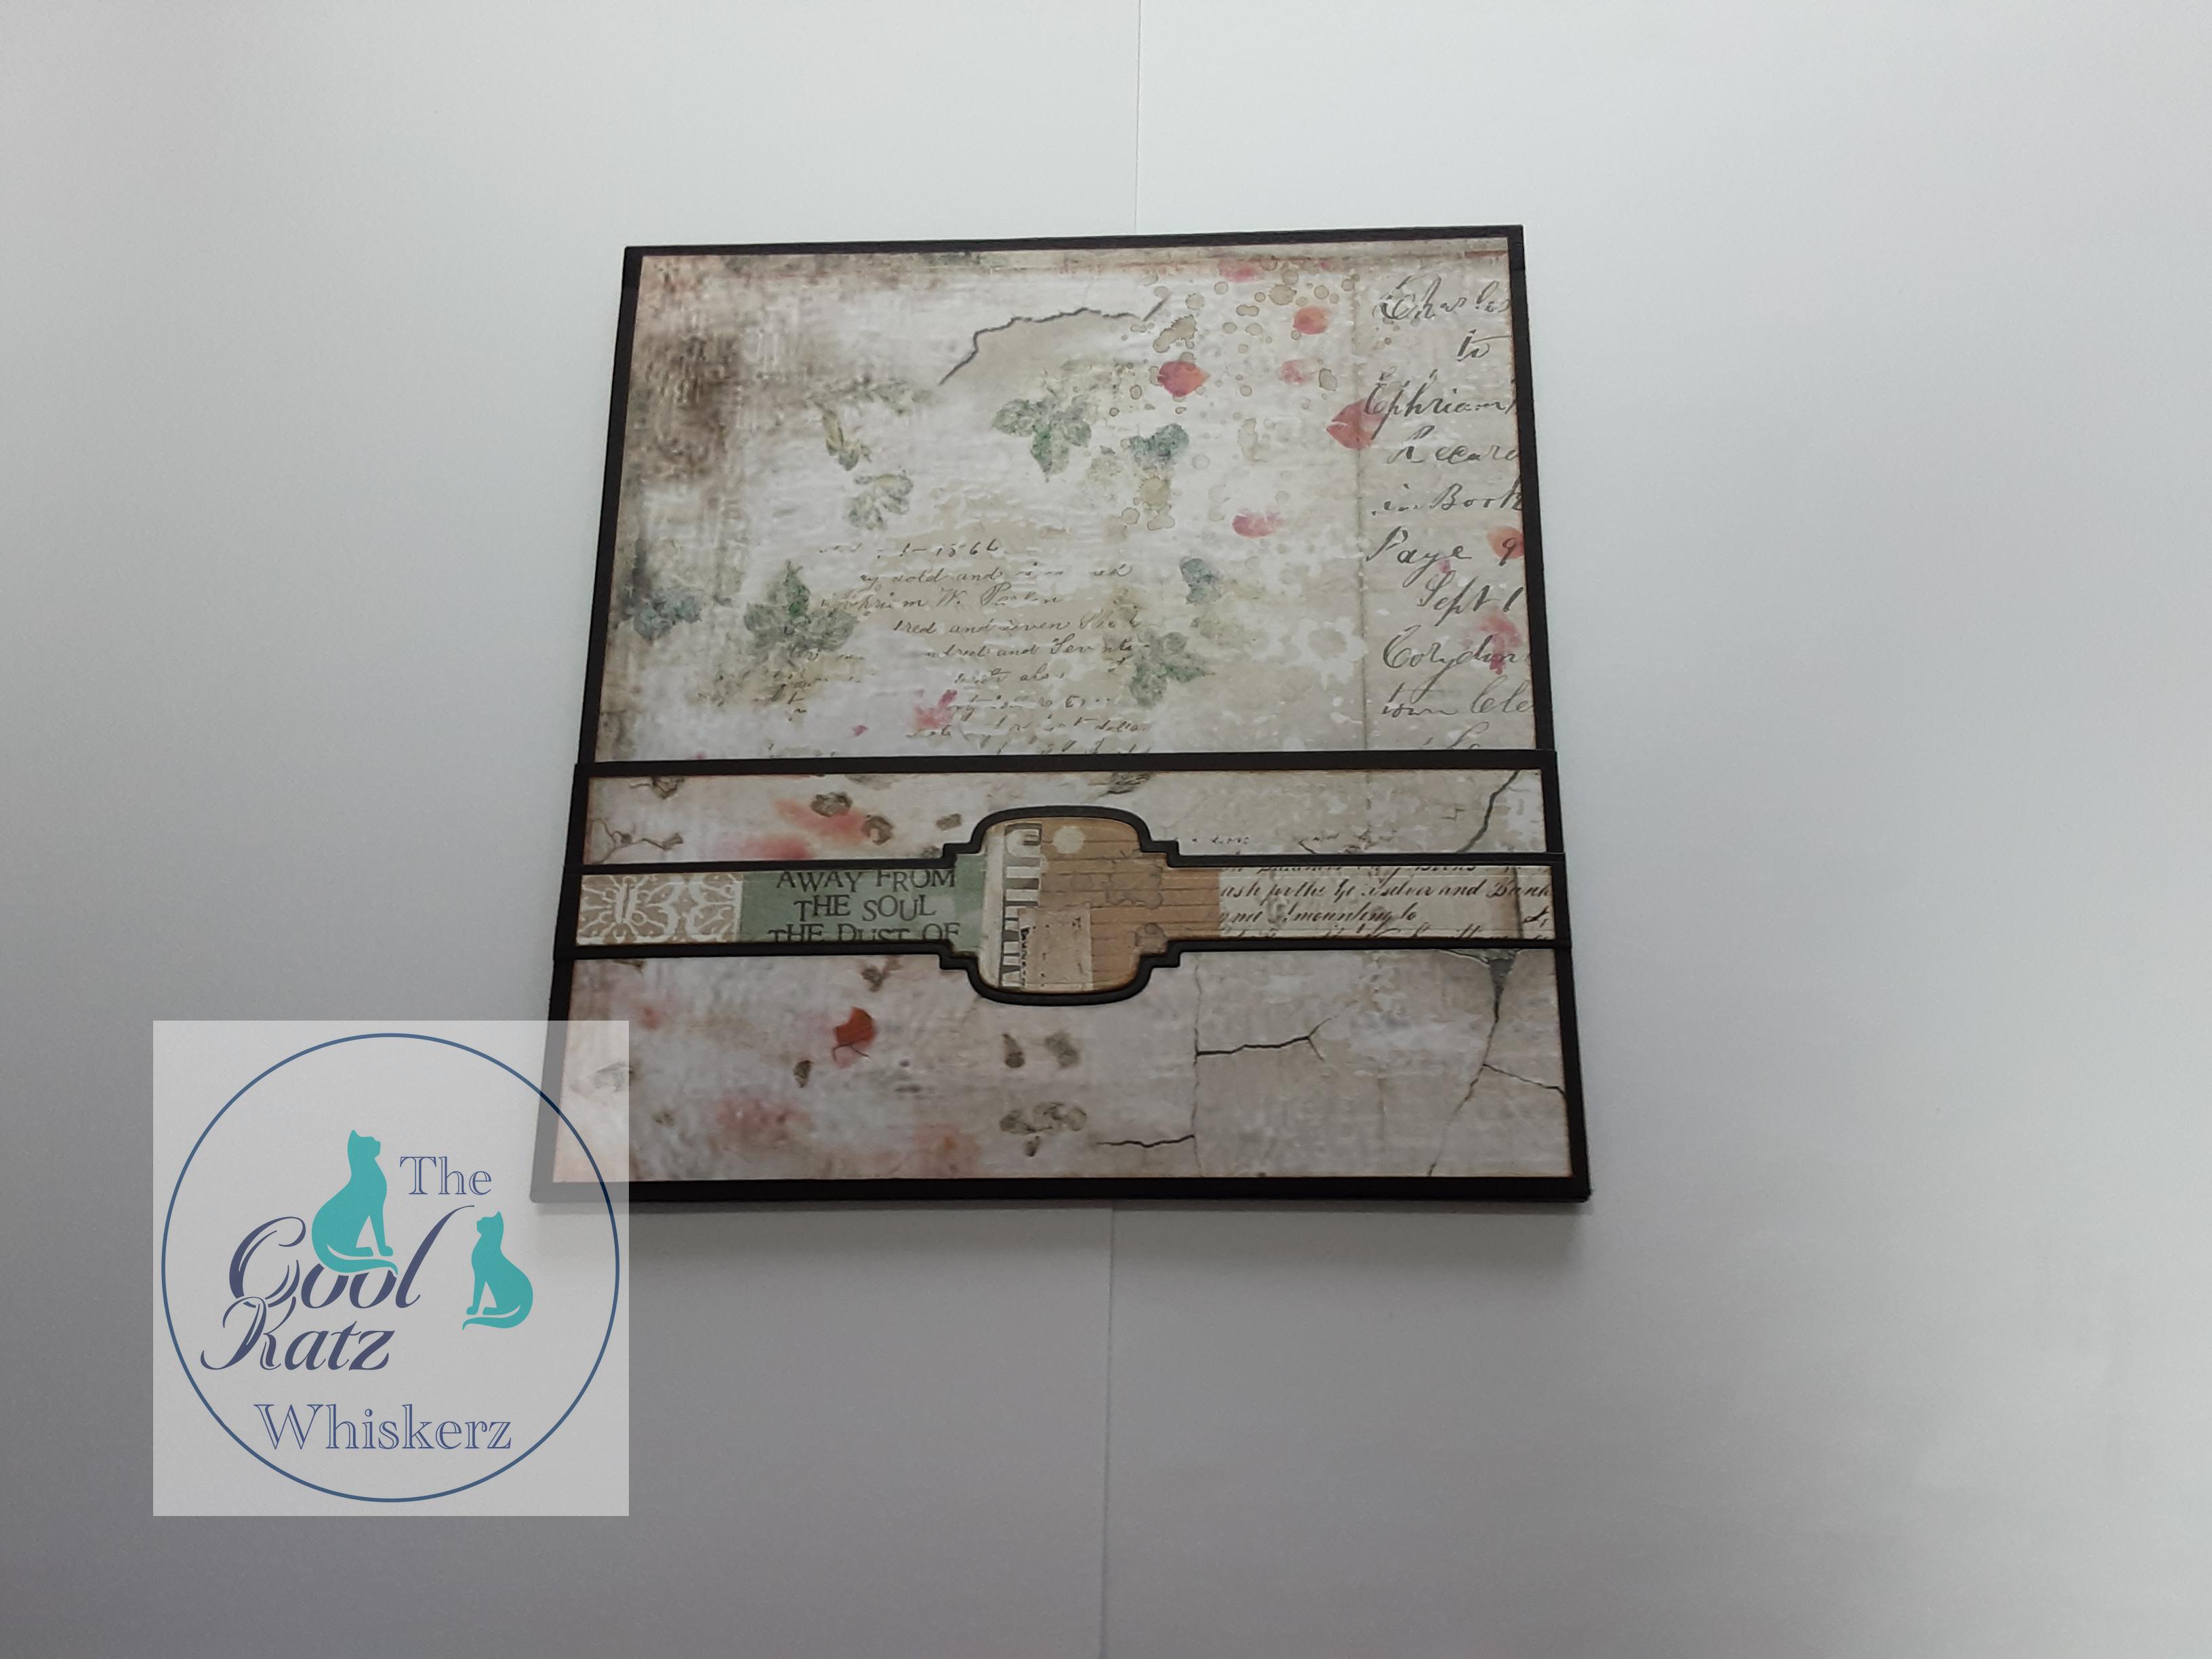
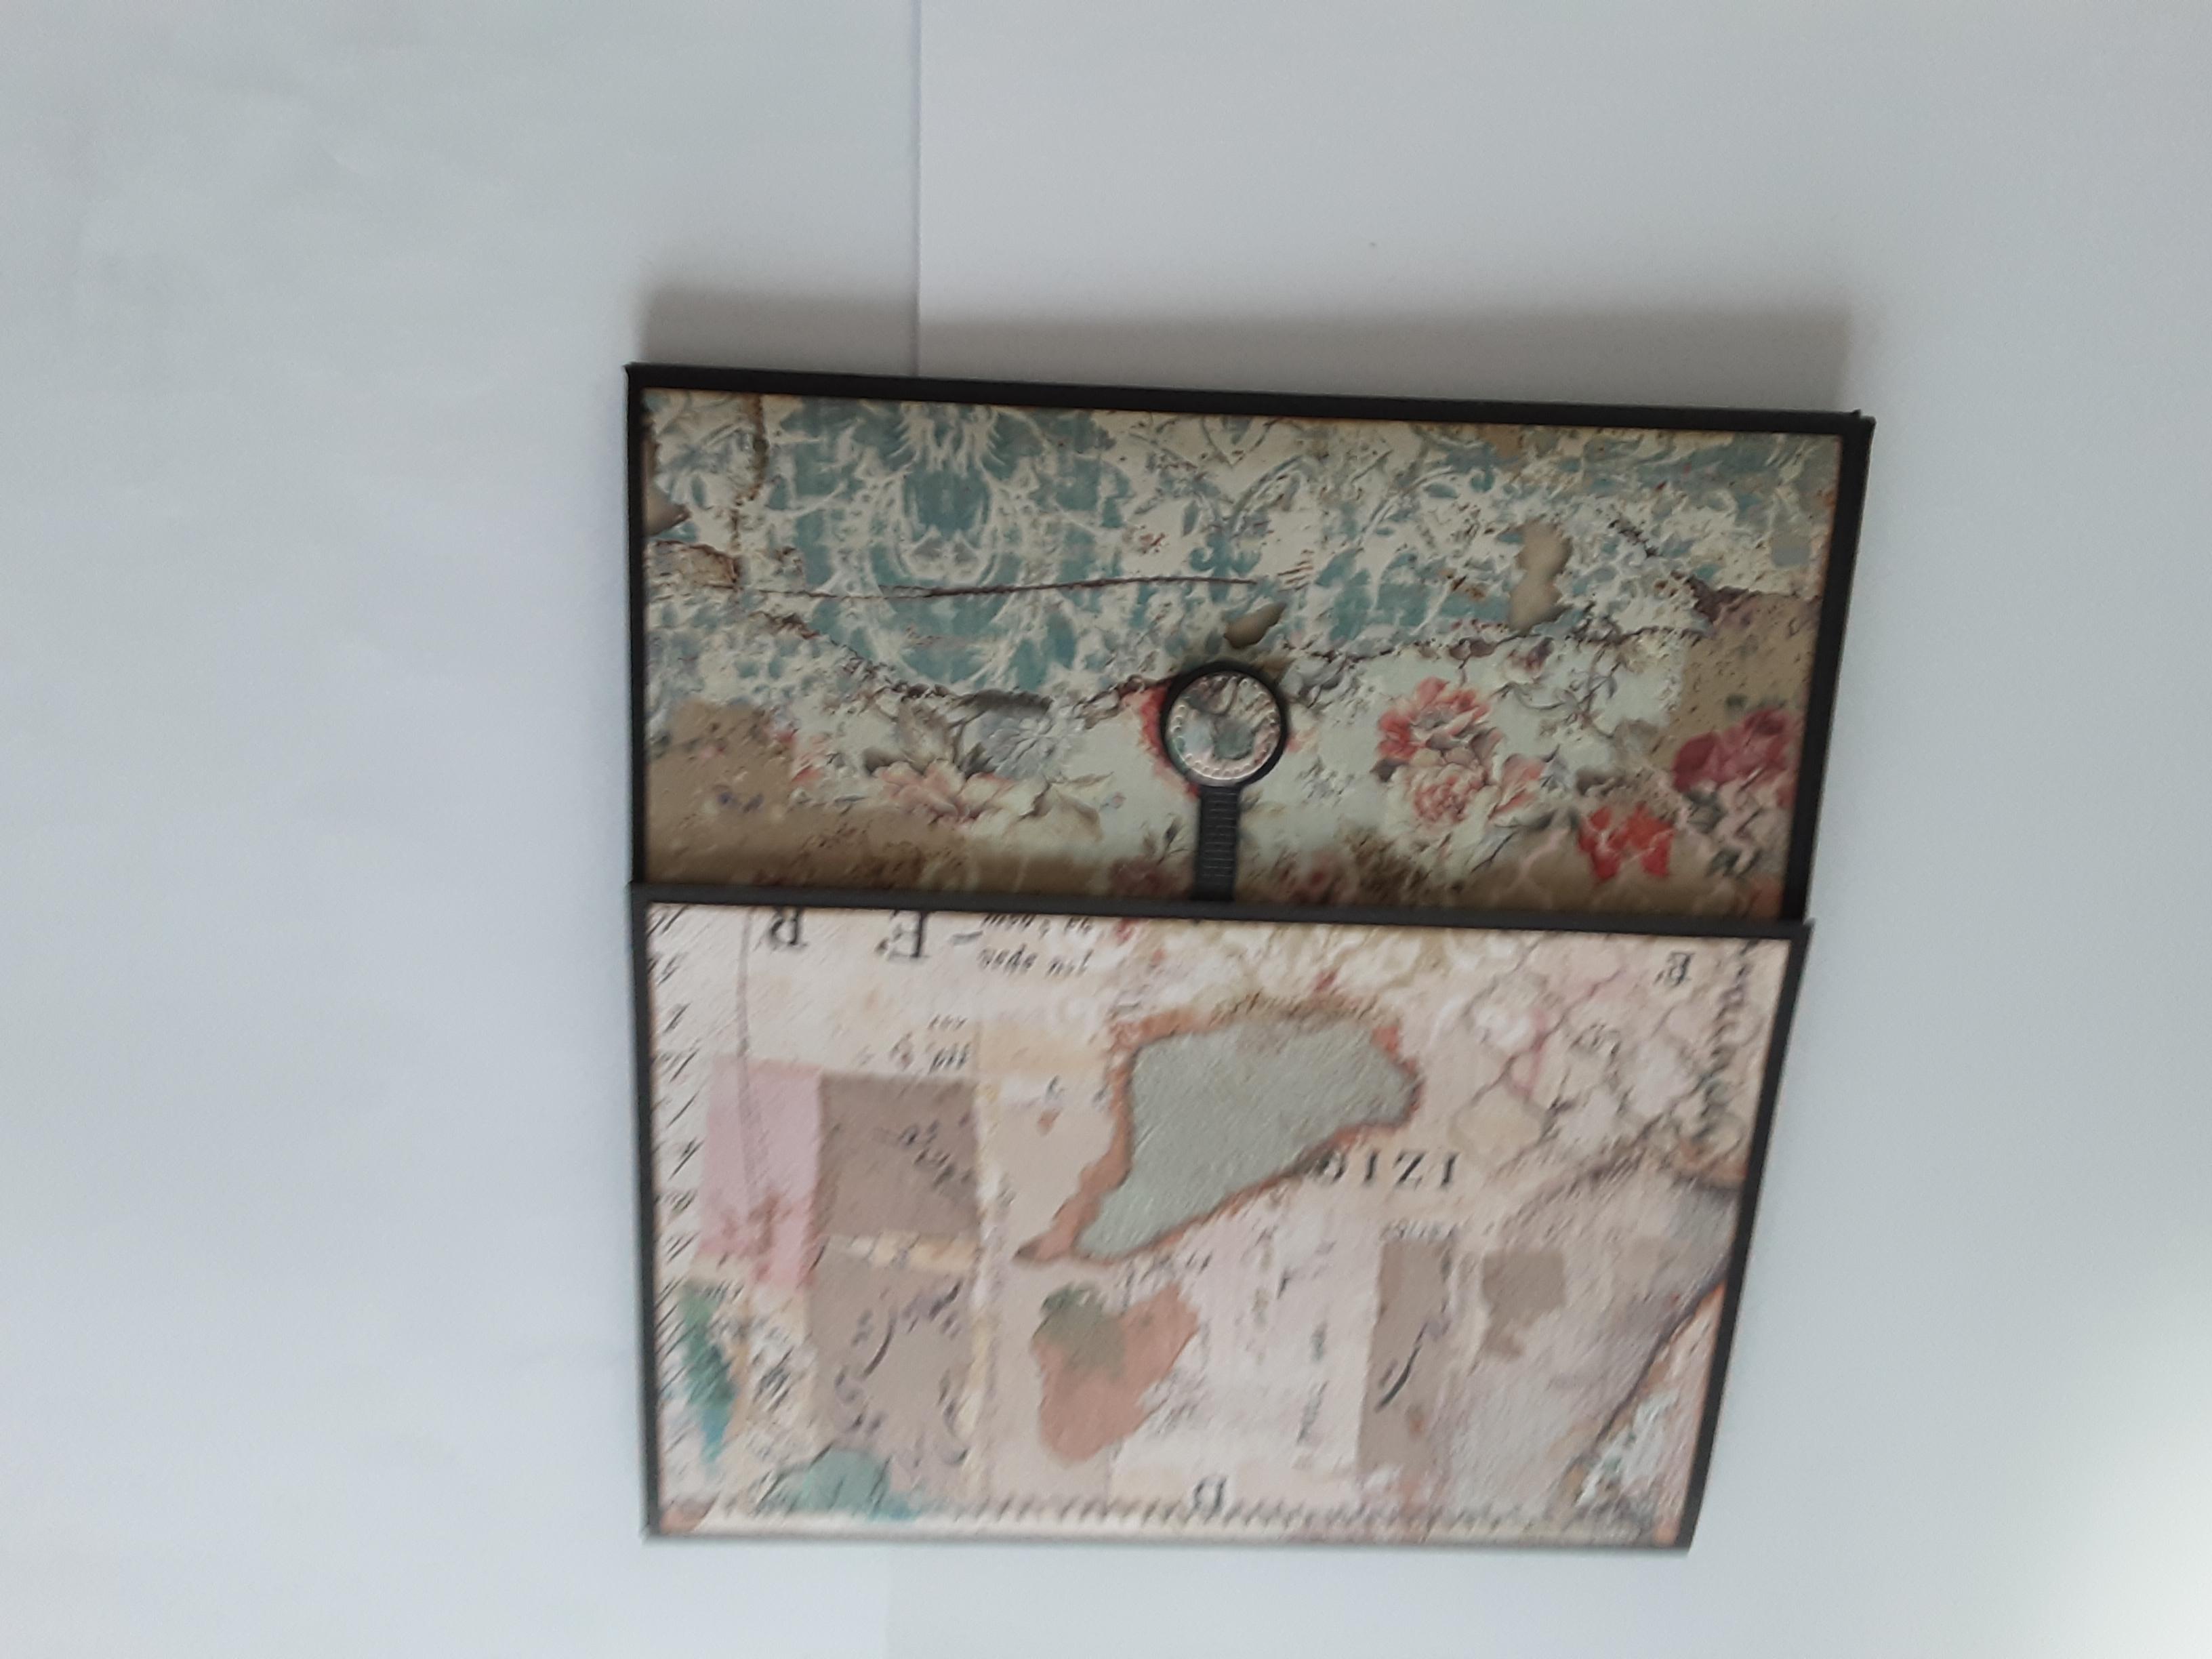
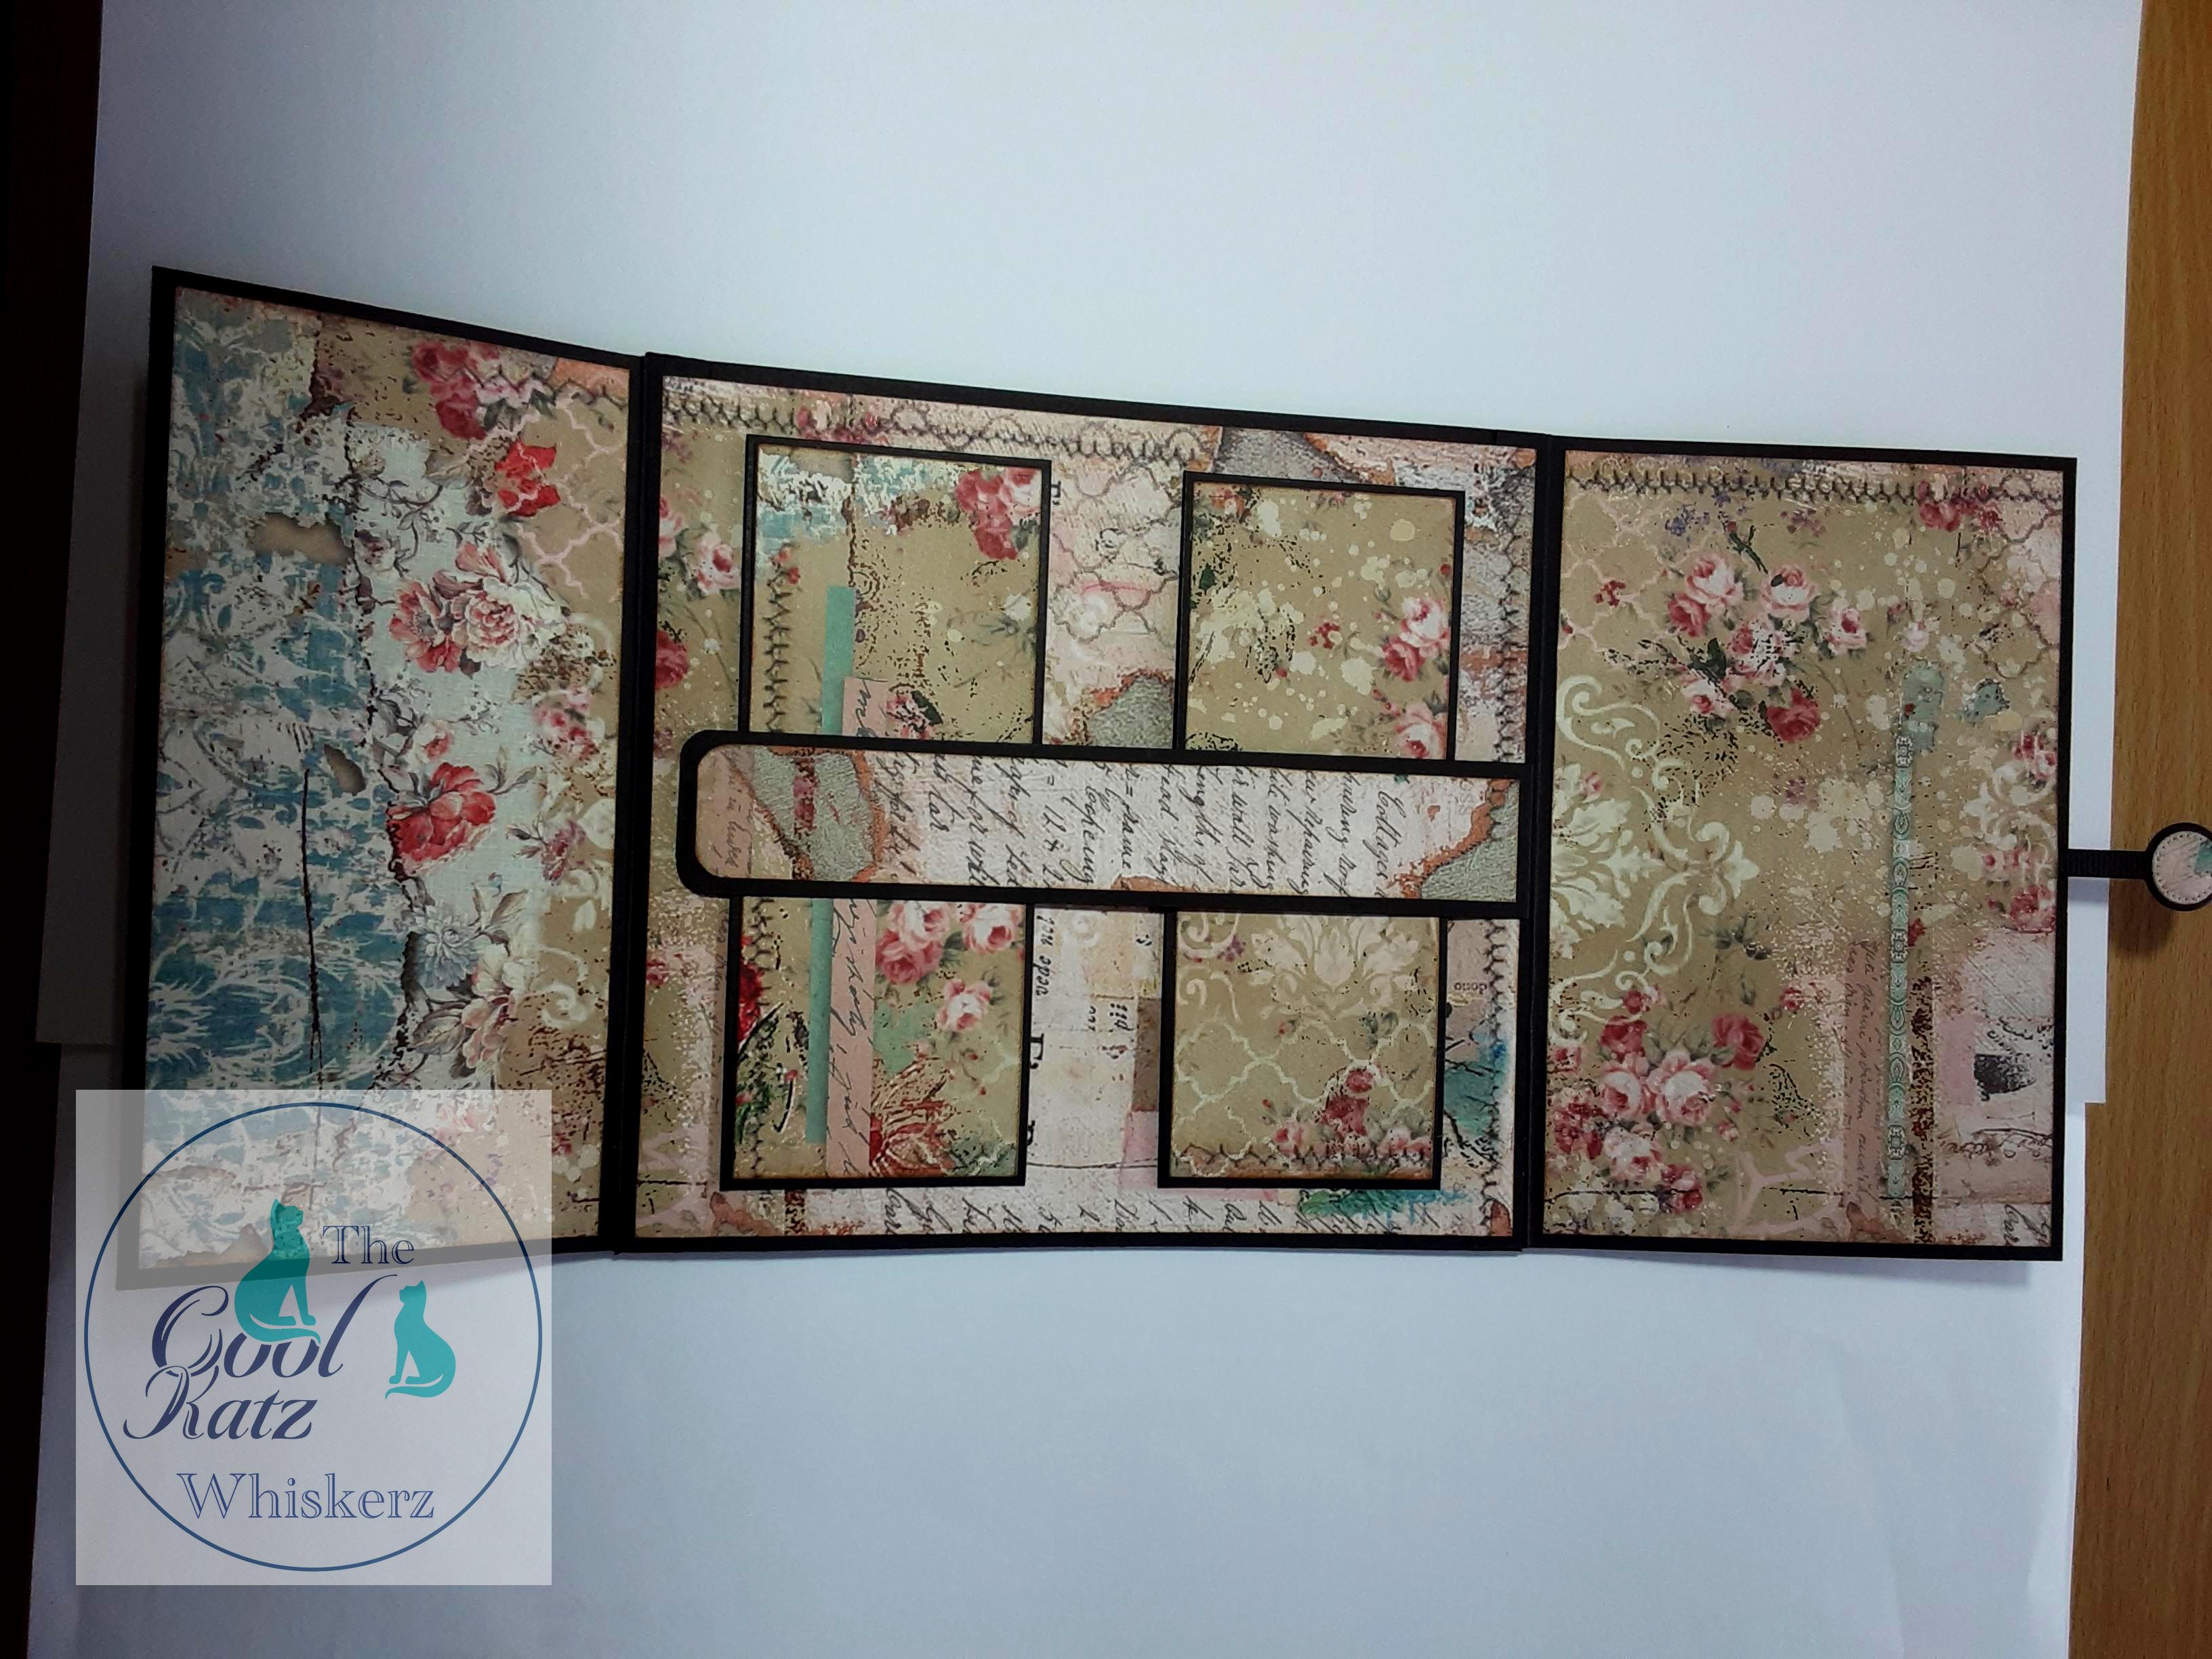
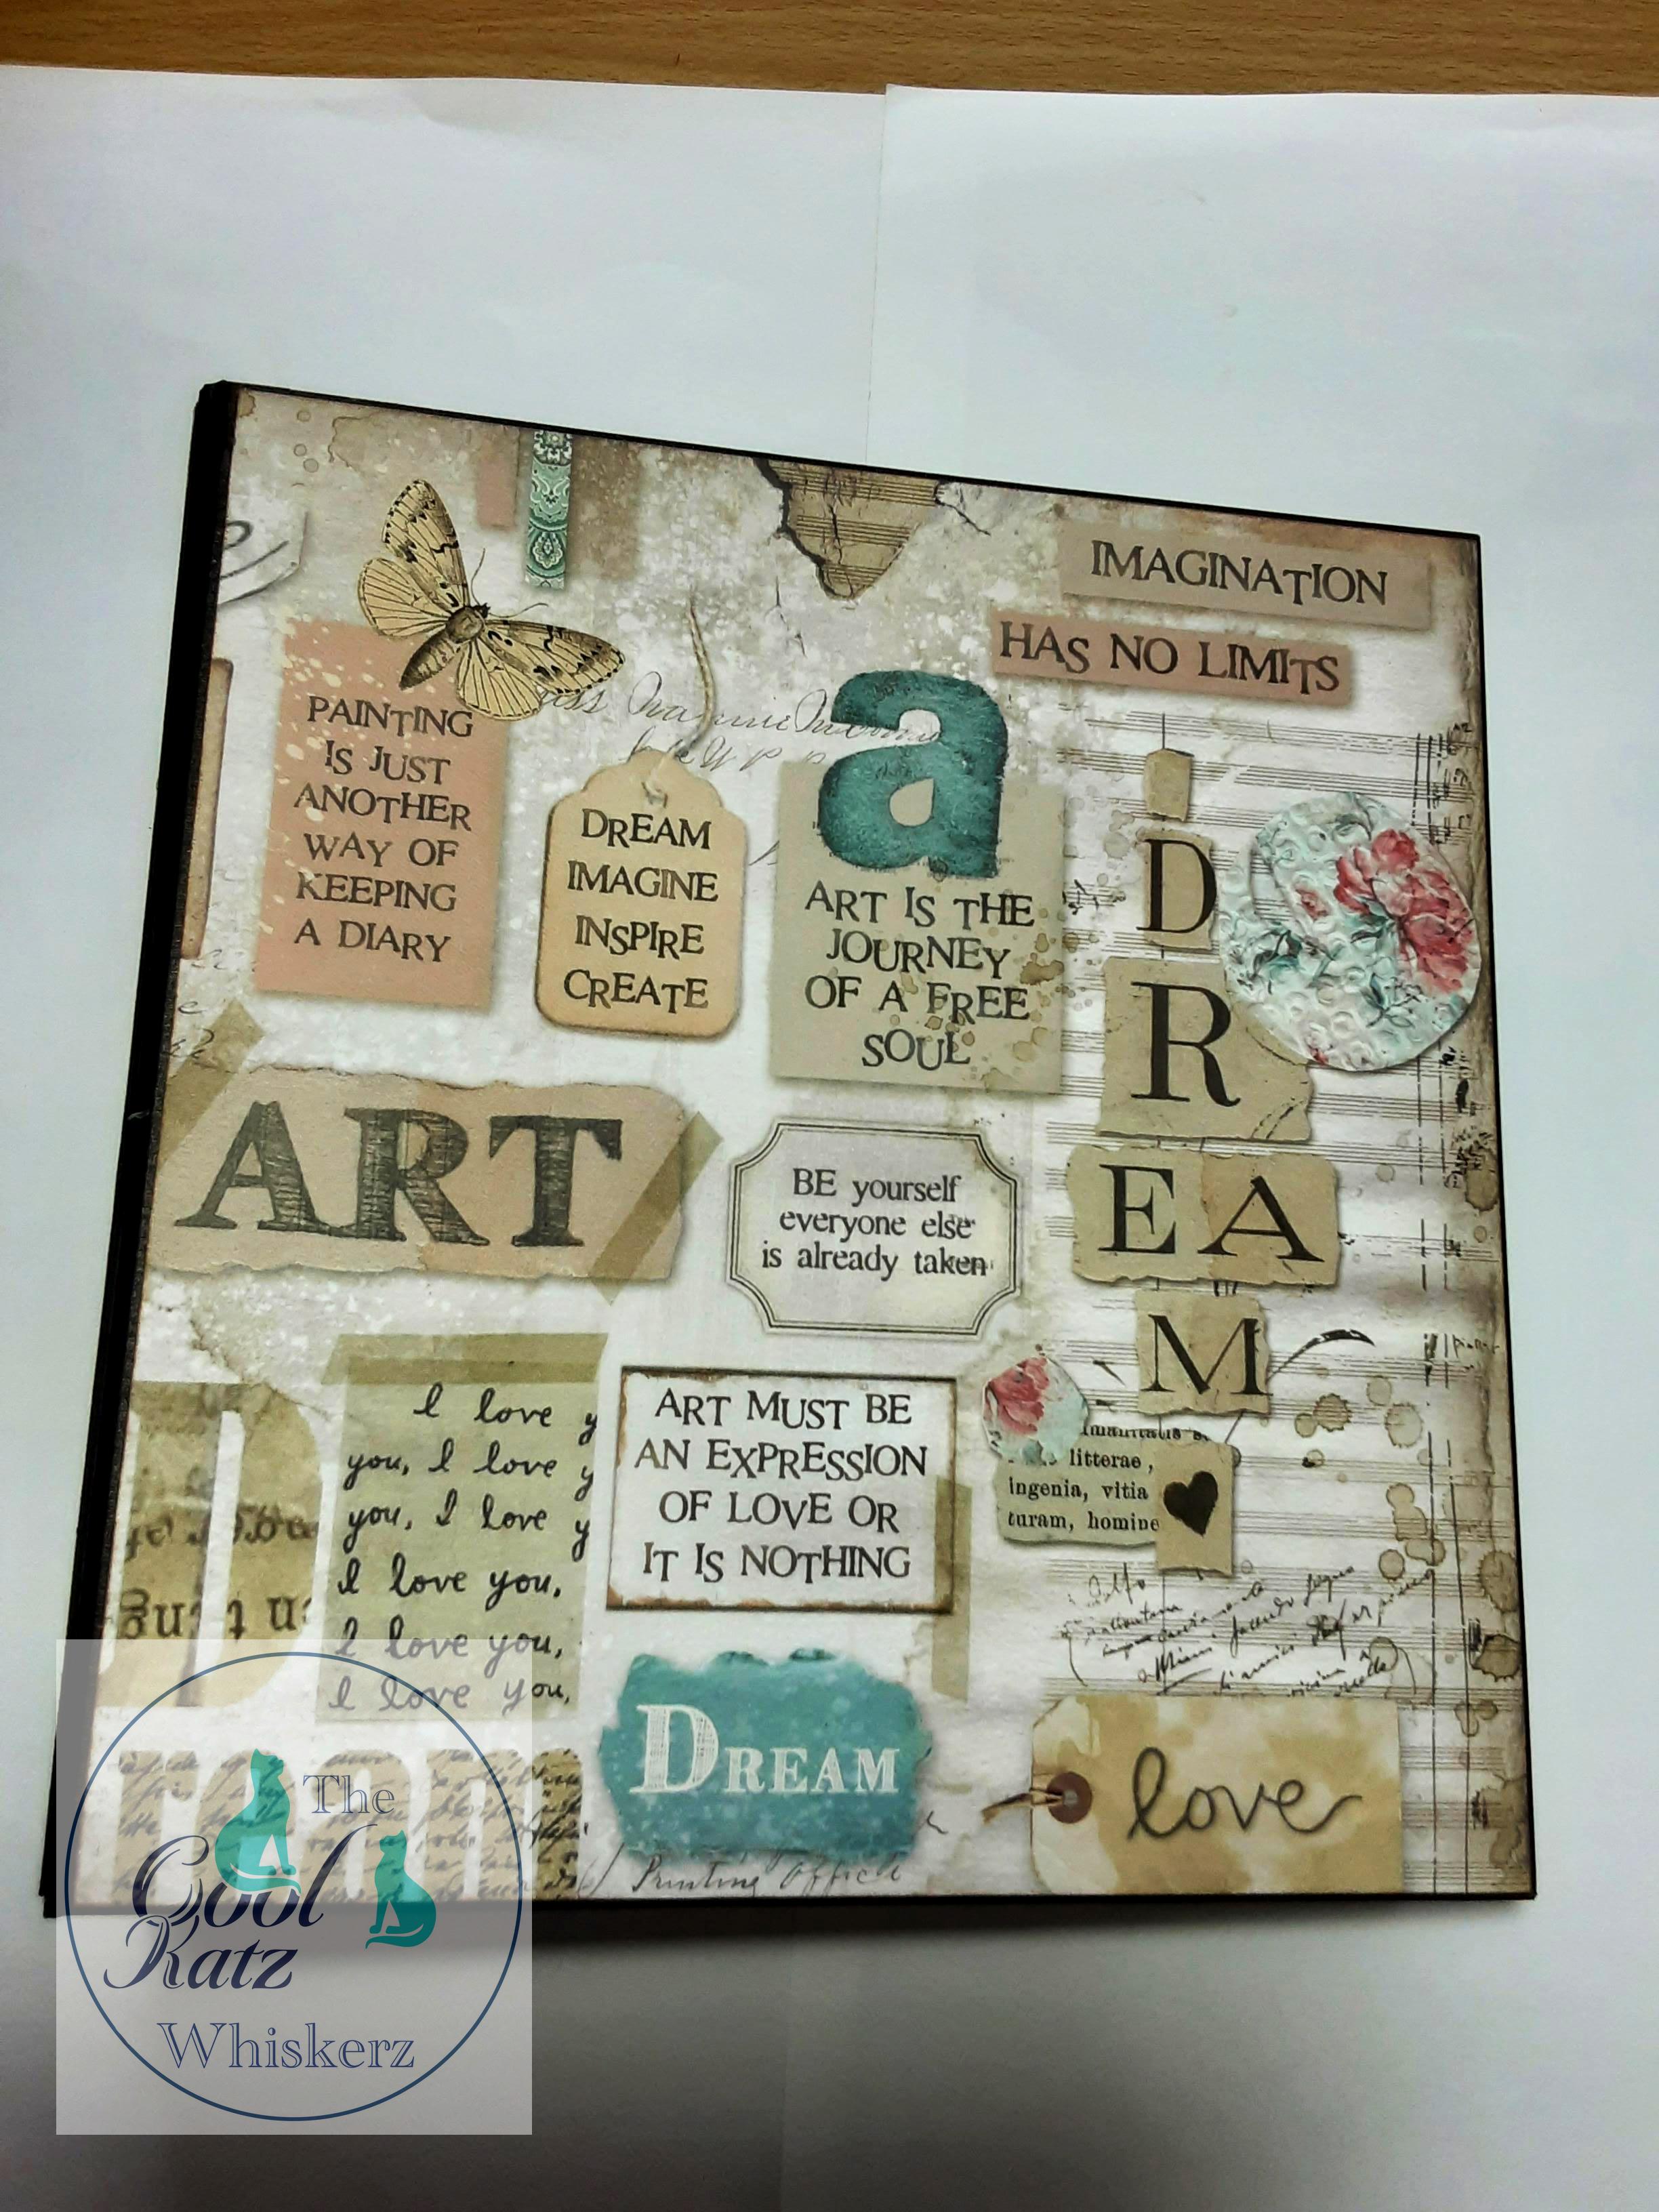
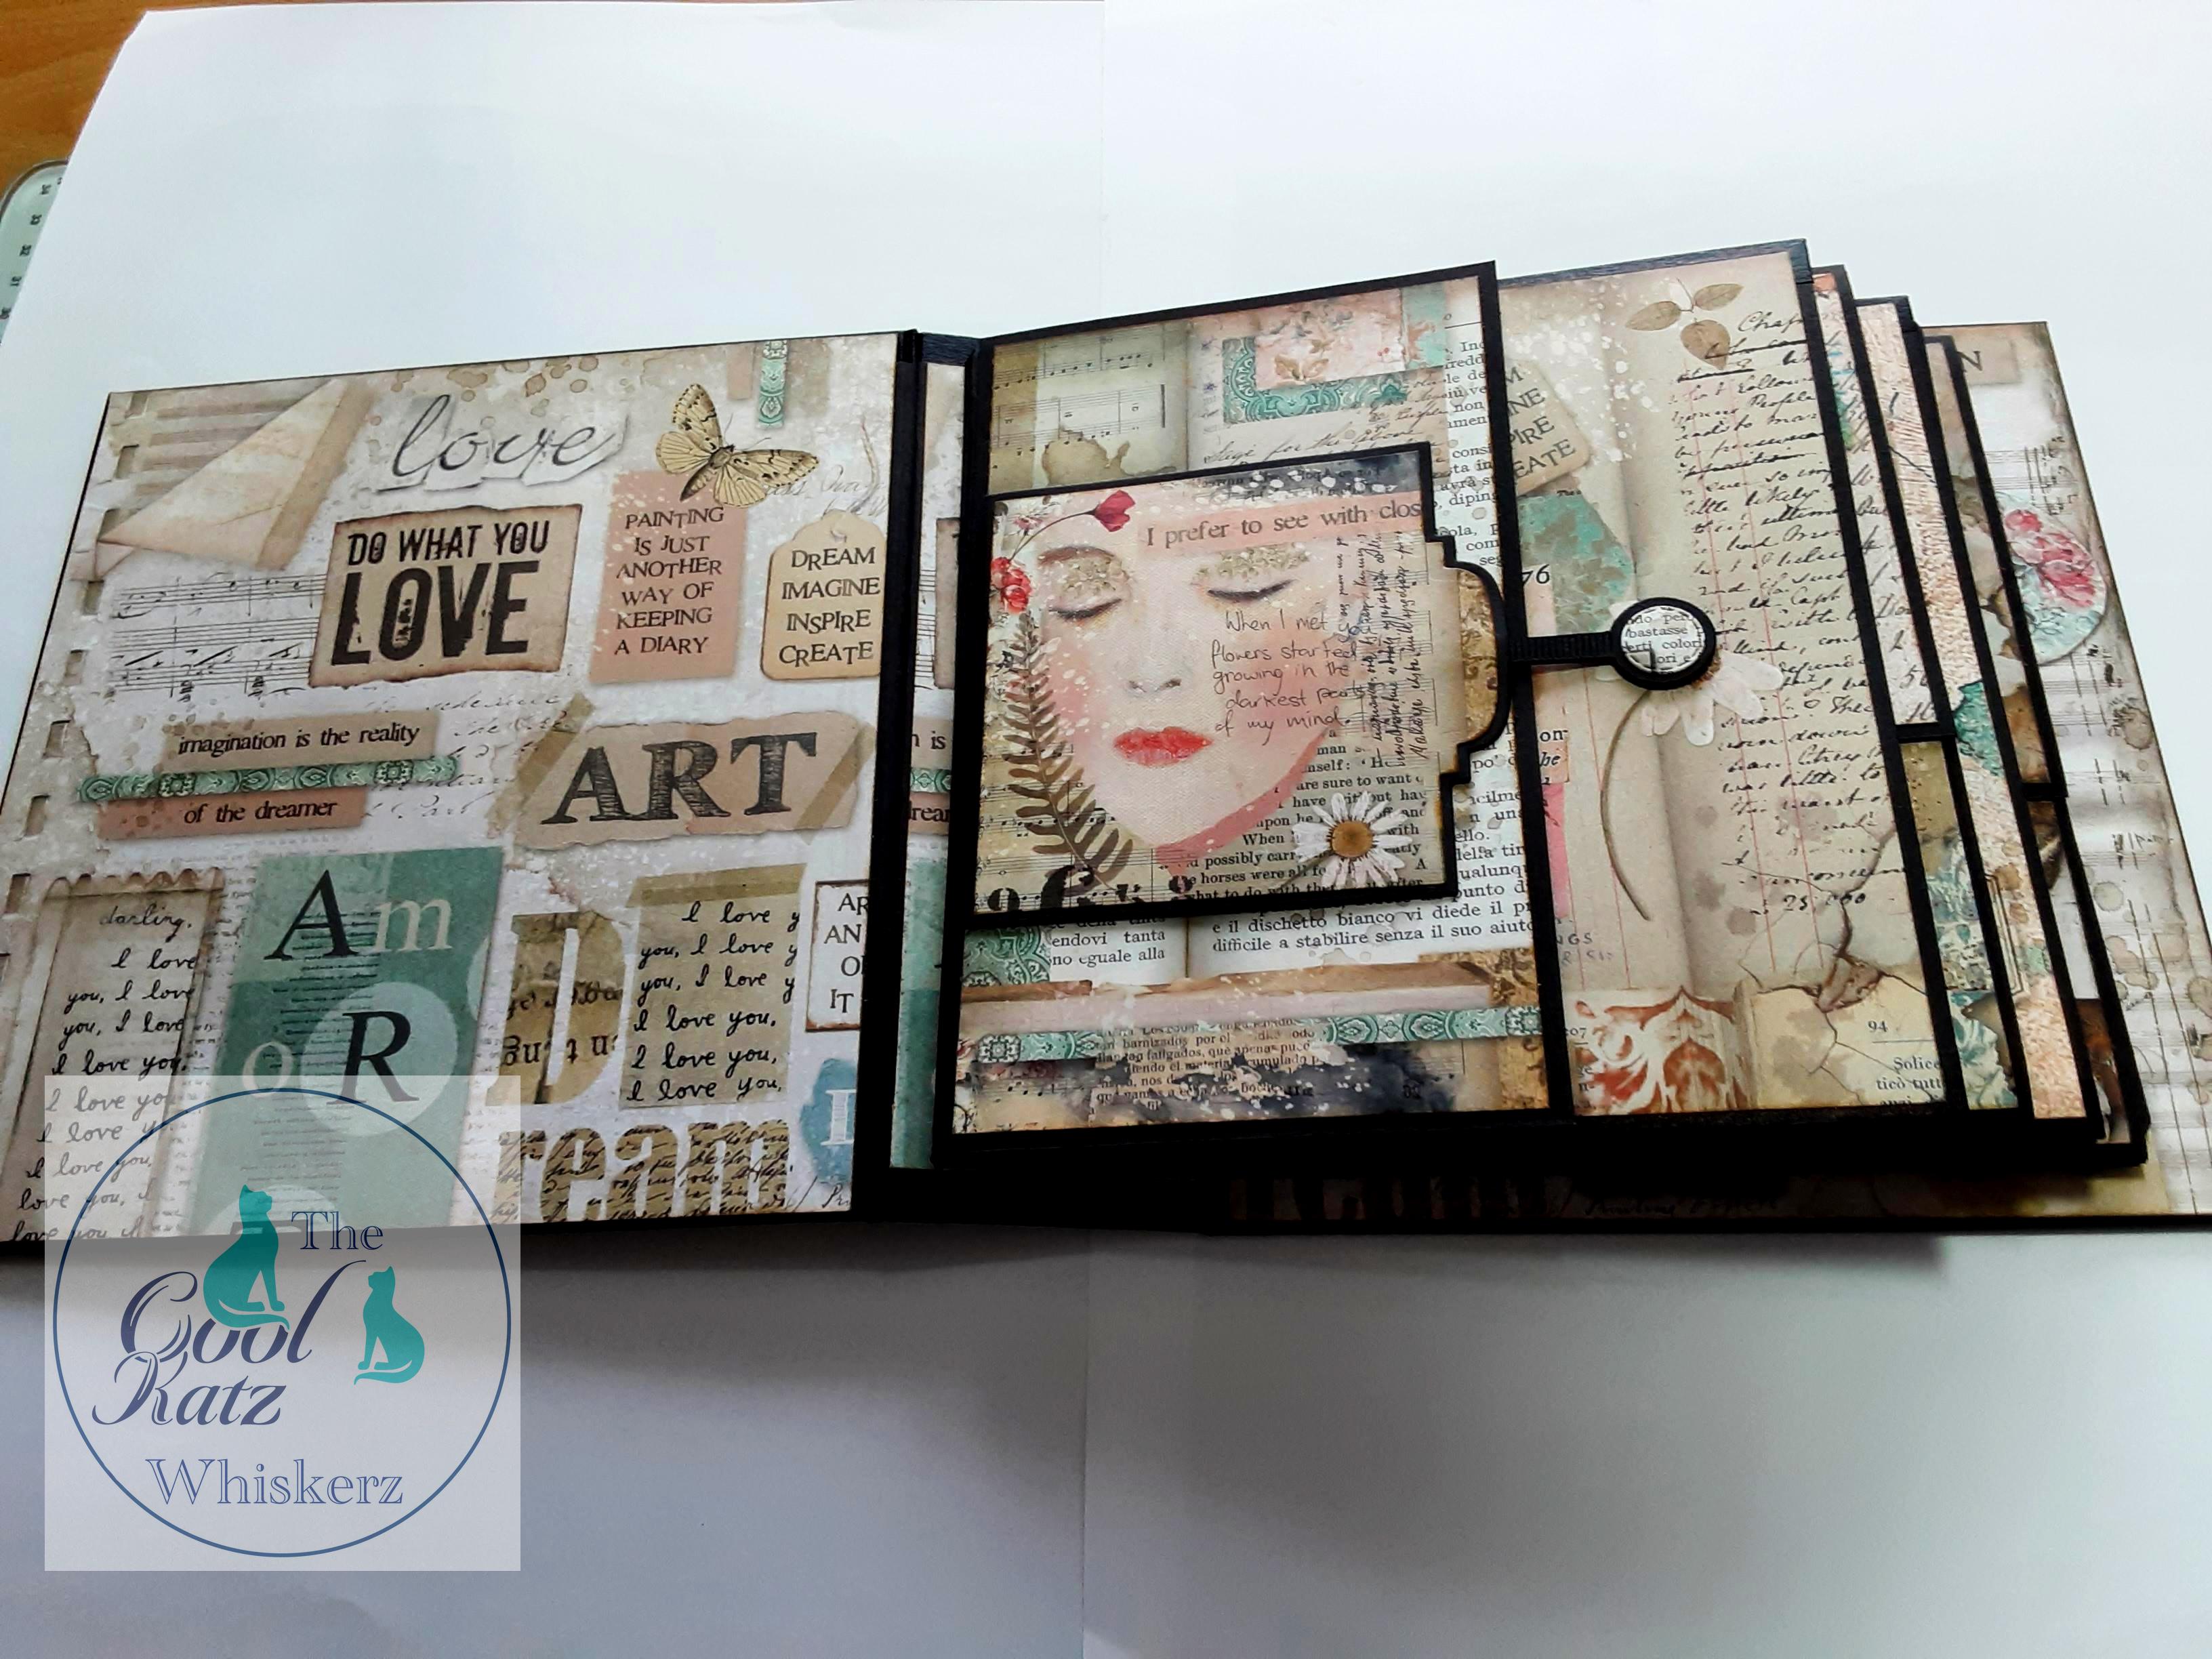
Have you wanted to try making an Album, but thought it looked too complicated so didn't bother? If that sounds familiar, then Lynne has created a great blog post to make a simpler album for anyone just starting on their album journey.
Lynne used the following dies:
The album can be made without the above die sets , by adjusting the pages that contain the flip flaps to straight edge fold overs. Allowance of 1/8 inch border of card showing.
Album 8 inches x 7 1/2 inches ( height x length)
Spine 8 inches x 2 3/8 inches
4 pocket pages - cut 8 at 7 3/4 inches x 6 3/4 inches score 1/2 inch
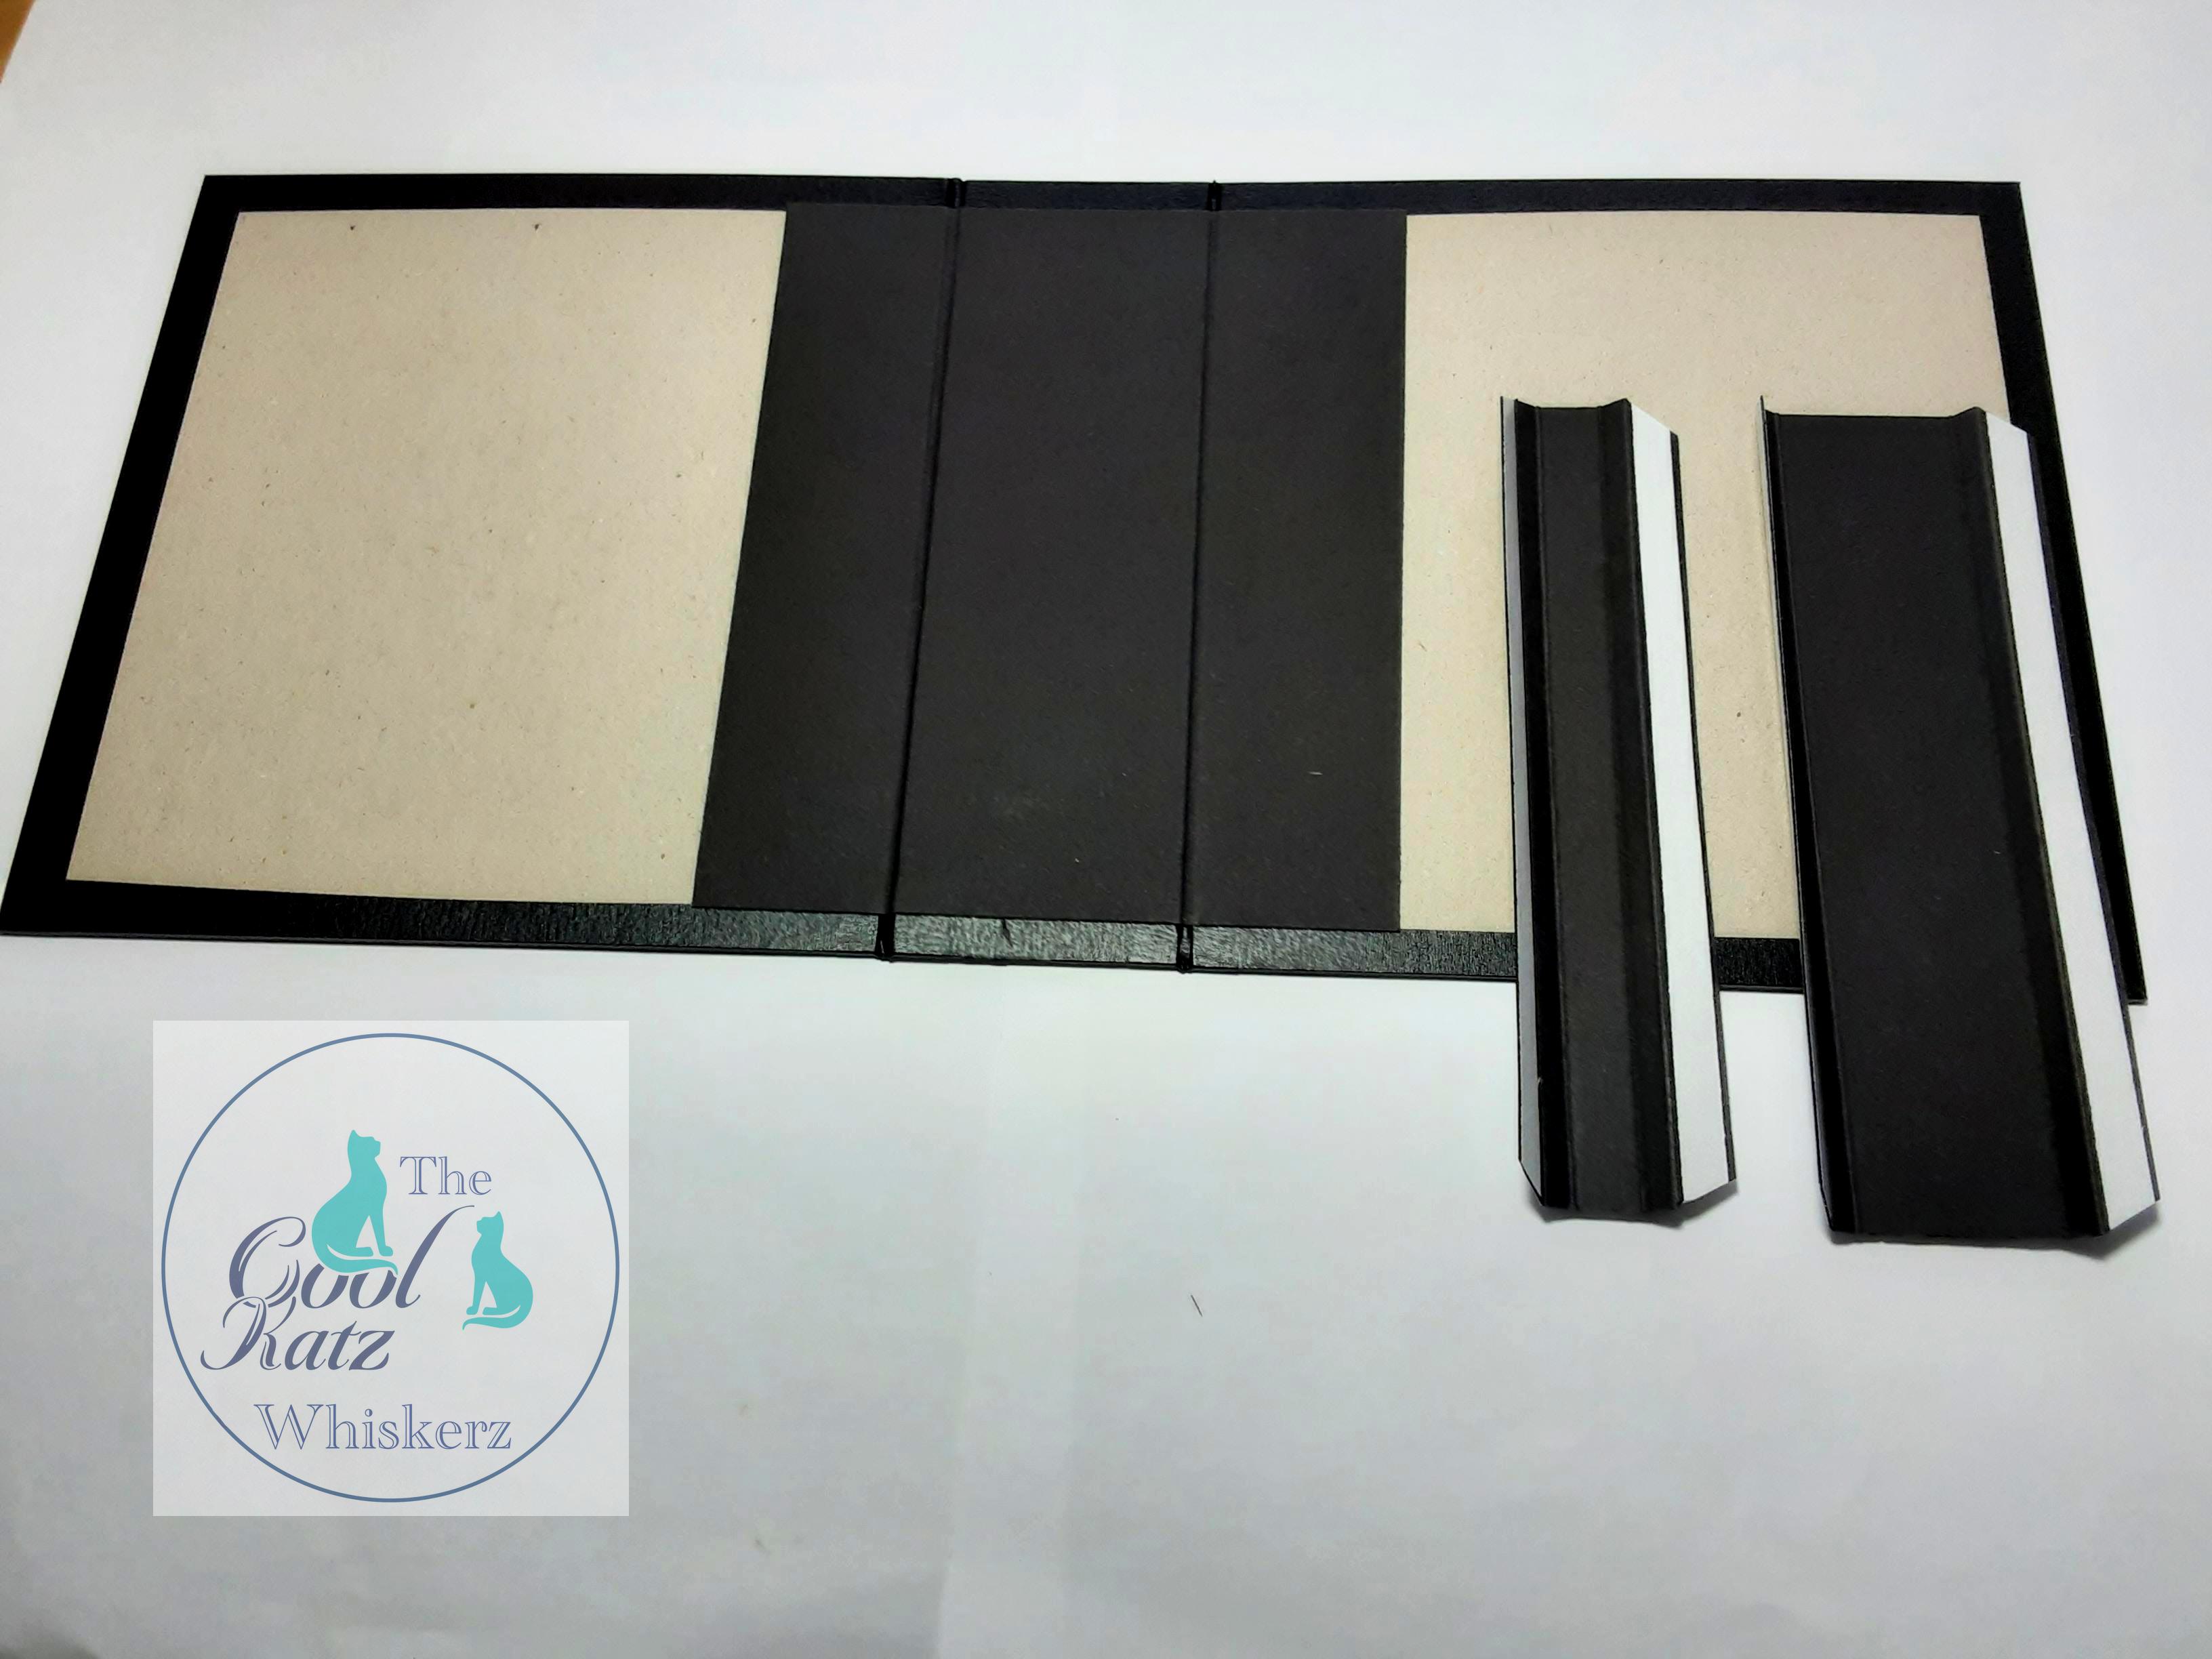
Extended spine (spine stack)
Cut 1 @ 7 1/4 inches x 3 inches score at 1/2 inch, 3/4 inch each side
Cut 1 @ 7 1/4 inches x 2 inches score at 1/2 inch, x 3/4 inch each side
To cover spine & onto front/back inside cover cut 1 at 7 1/4 inches x 6 inches
Pages 1 & 5
Left flap cut 1 at 7 1/4 inches x 4 7/8 inches score 1/2 inch down left hand side ( flap to measure across 4 3/8 inches).
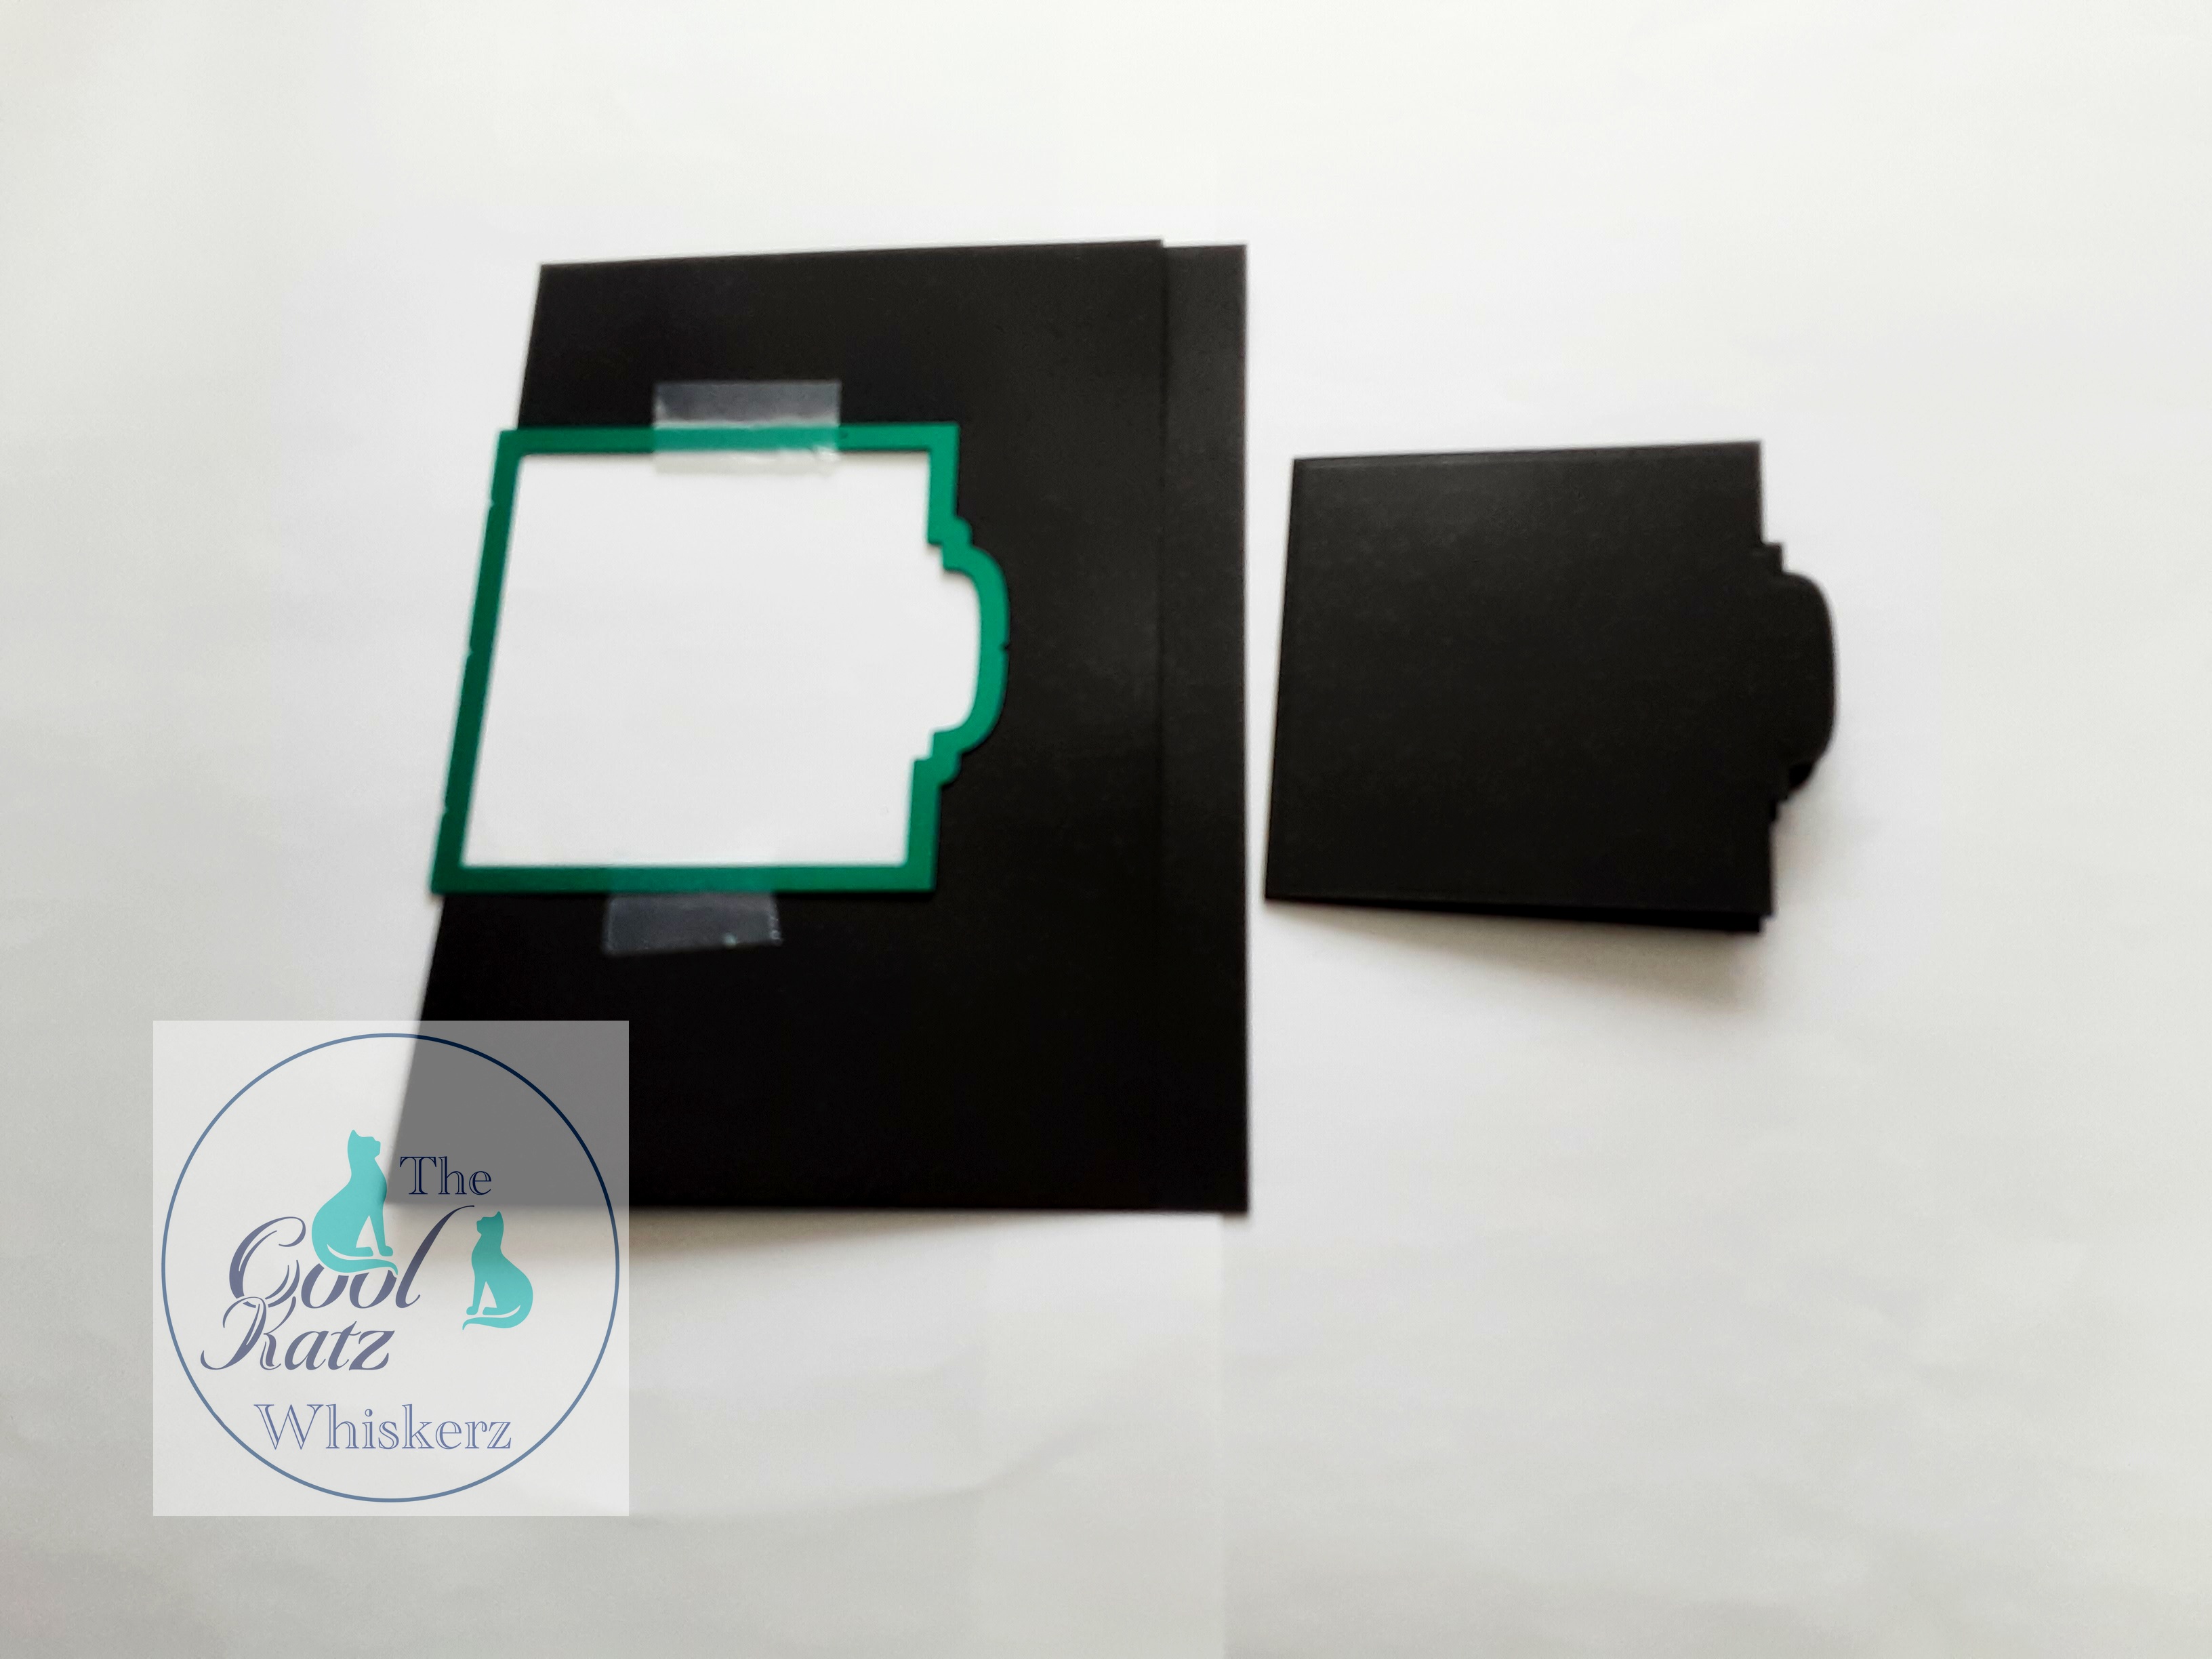
Using 210gsm card, score and fold in half, put score line of large Walrus flip flap onto fold of card, run through die machine; it should cut through both layers.
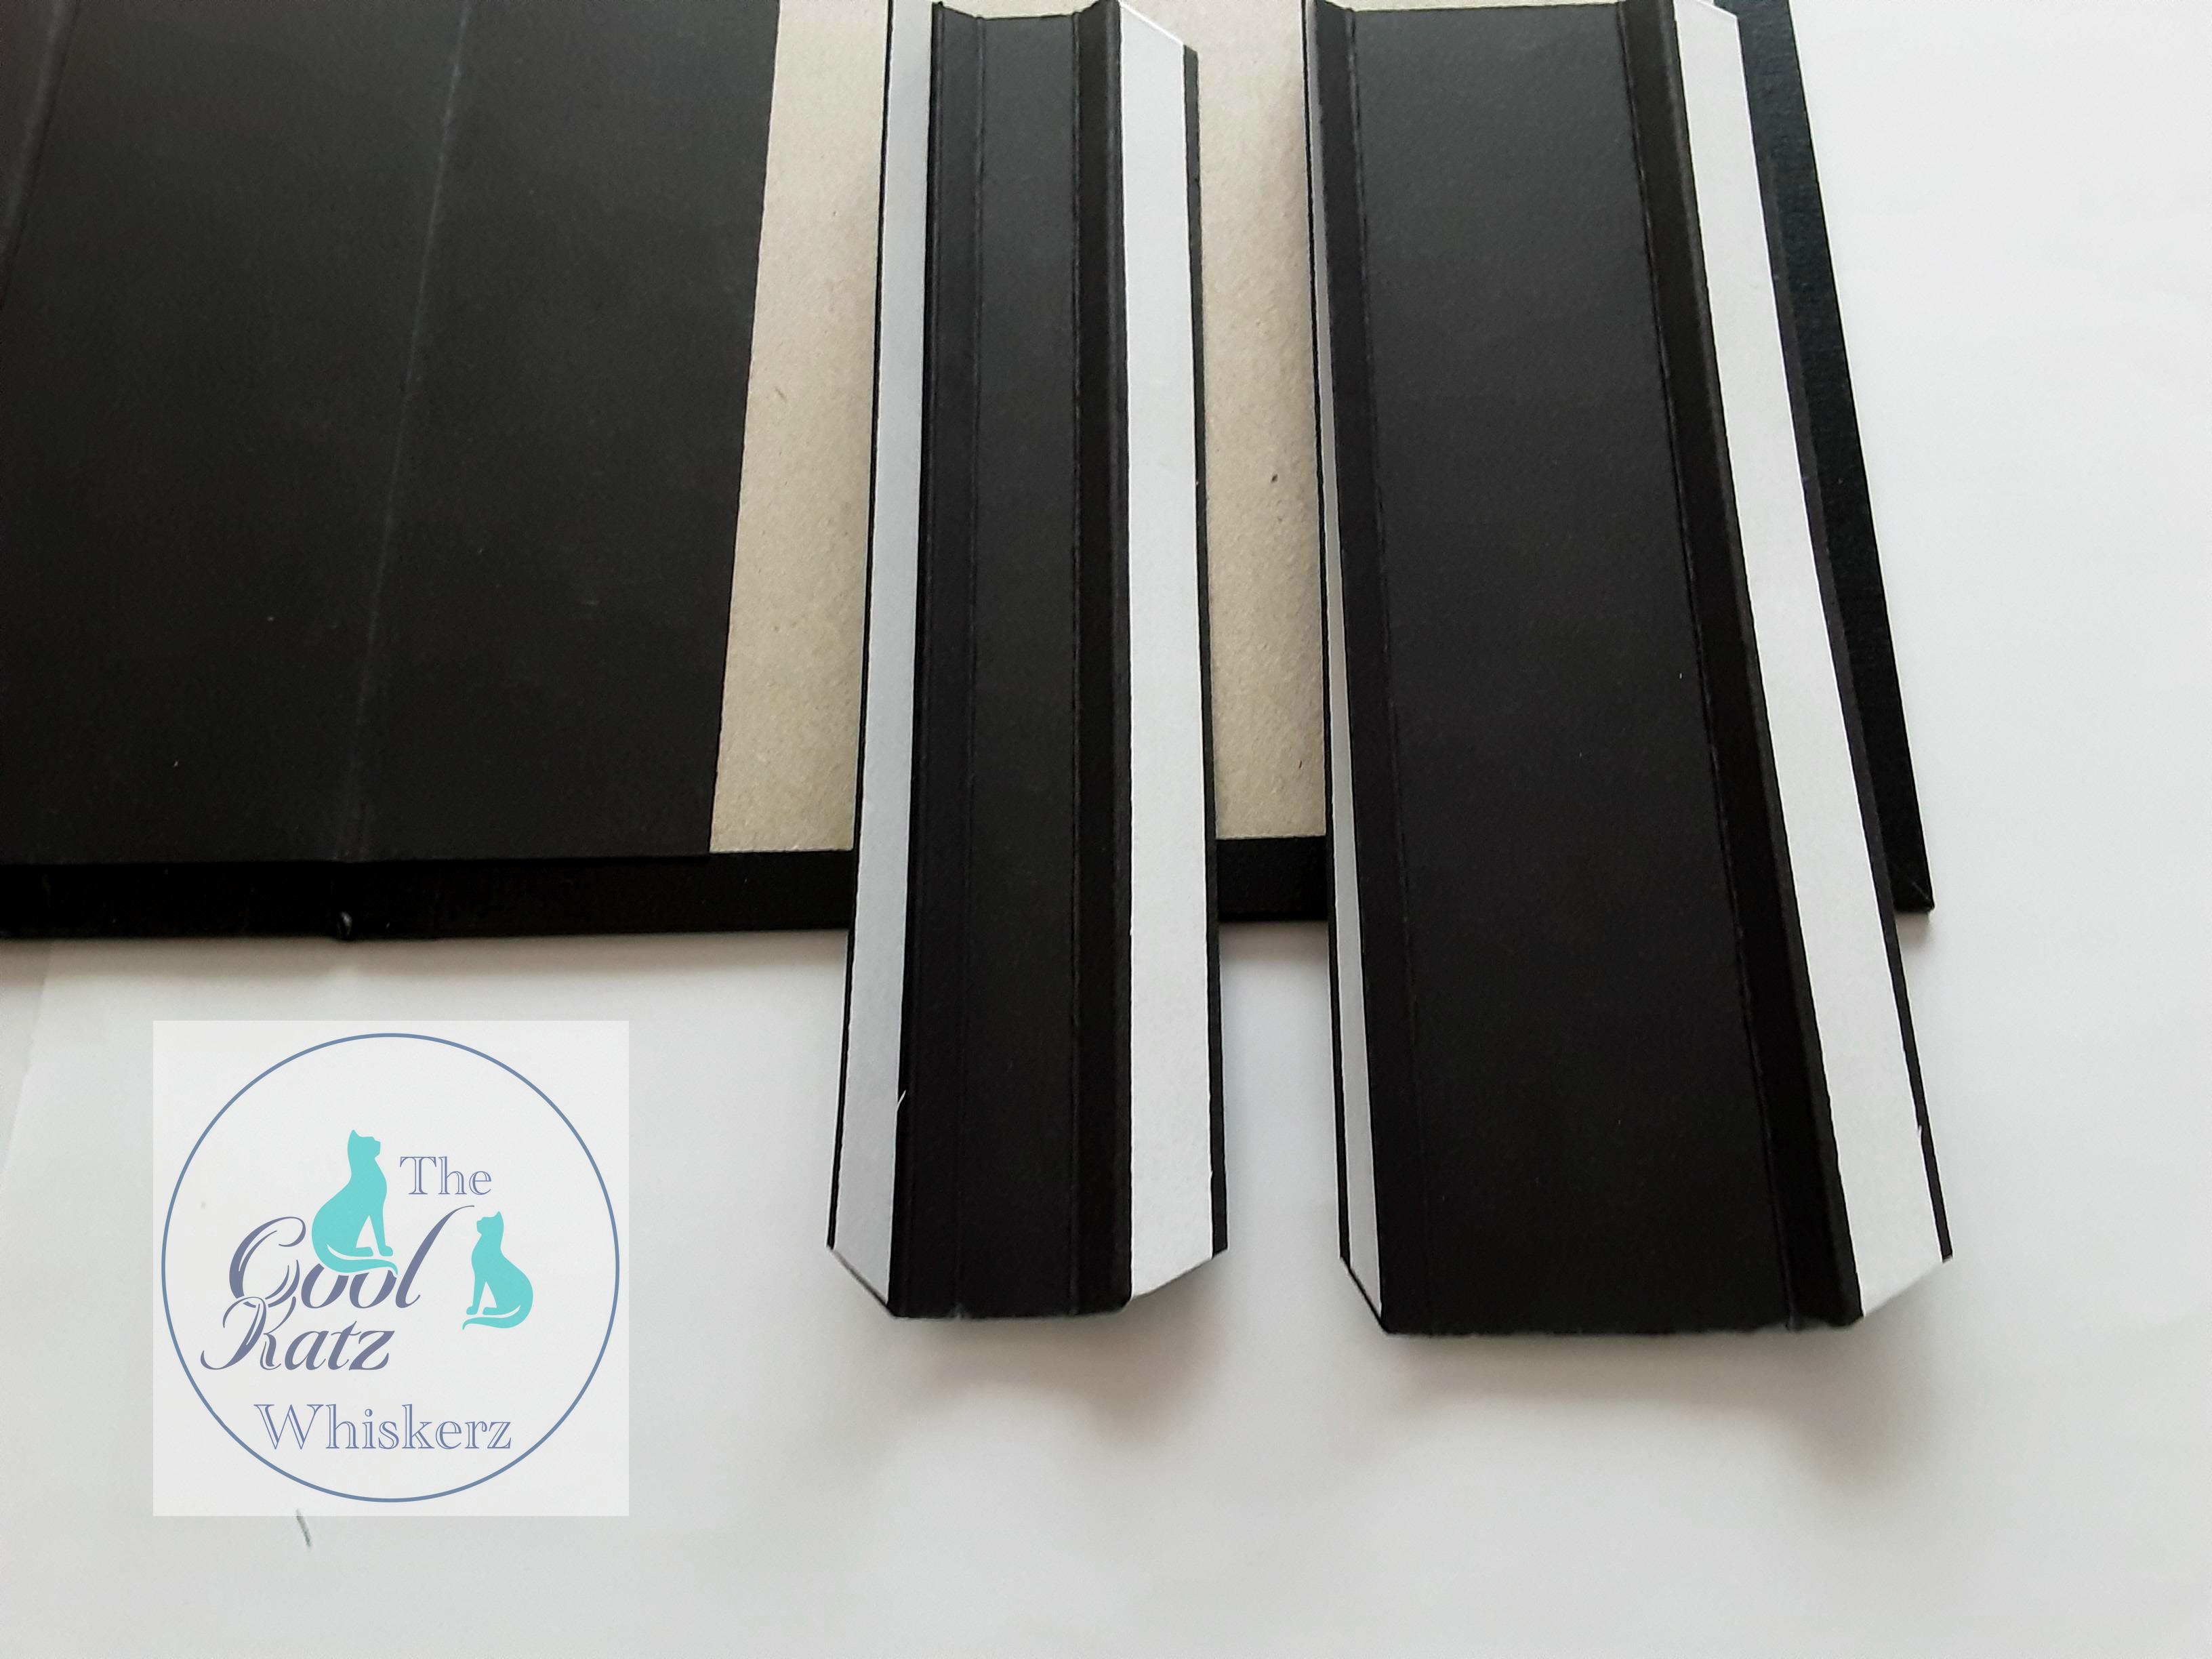
Put Expanding Dumbbell on inside of flip flap top flap, and put corresponding magnet on pocket page. On patterned paper for pocket page use largest Walrus Whisker to cut tuck spot and finished page.
Pages 2, 4, 6, & 8
Horizontal pocket
Cut 1 at 3 1/2 inches x 7 3/4 inches, score 1/2 inch on 3 sides.
Walrus bellyband, side top edge of bellyband to be 3/4inch from top of pocket.
Pages 3 & 7
Top flap cut 1 at 5 inches x 6 3/4 inches, score 1/2 inch
Bottom flap cut 1 at 3 3/4 inches x 6 3/4 inches, score 1/2 inch
Vertical bellyband cut 1 at 7 3/8 inches x 1 1/4 inches, score 1/2 inch , when placing onto pocket page, ensure top flap is stuck down first then put bellyband in place ensuring it is a smidgeon away from top flap hinge.
Using 210 gsm card score at 4 1/4 inches along the length of an a4 sheet, this will give you enough card to cut out 4 of the small Walrus flip flaps. Put magnet on underside of vertical bellyband and pocket page before sticking down patterned paper. If allowing for 1/8 border around page cut patterned paper to measure 7 inches x 6 1/2 inches, placed mini flaps as follows:-
3/8 inch from side edges, 5/8 inch down from top edge, 5/8 inch up from bottom edge
Expanding dumbell used to close top flap over bottom flap (cut 2 Place magnet in between, stick down edges).
Front cover
Inside
We would love you to share your makes using CoolKatz products with us over in our Facebook Group, and also for more even more inspiration head over to our YouTube channel where you will find plenty of helpful video tutorials to guide you.
Happy Crafting
The CoolKatz Team x
https://www.youtube.com/channel/UCHVLrneEbdNJp3EIhJoH4BA
https://www.facebook.com/groups/CoolKatzCraft

