
free UK postage
over £40.00
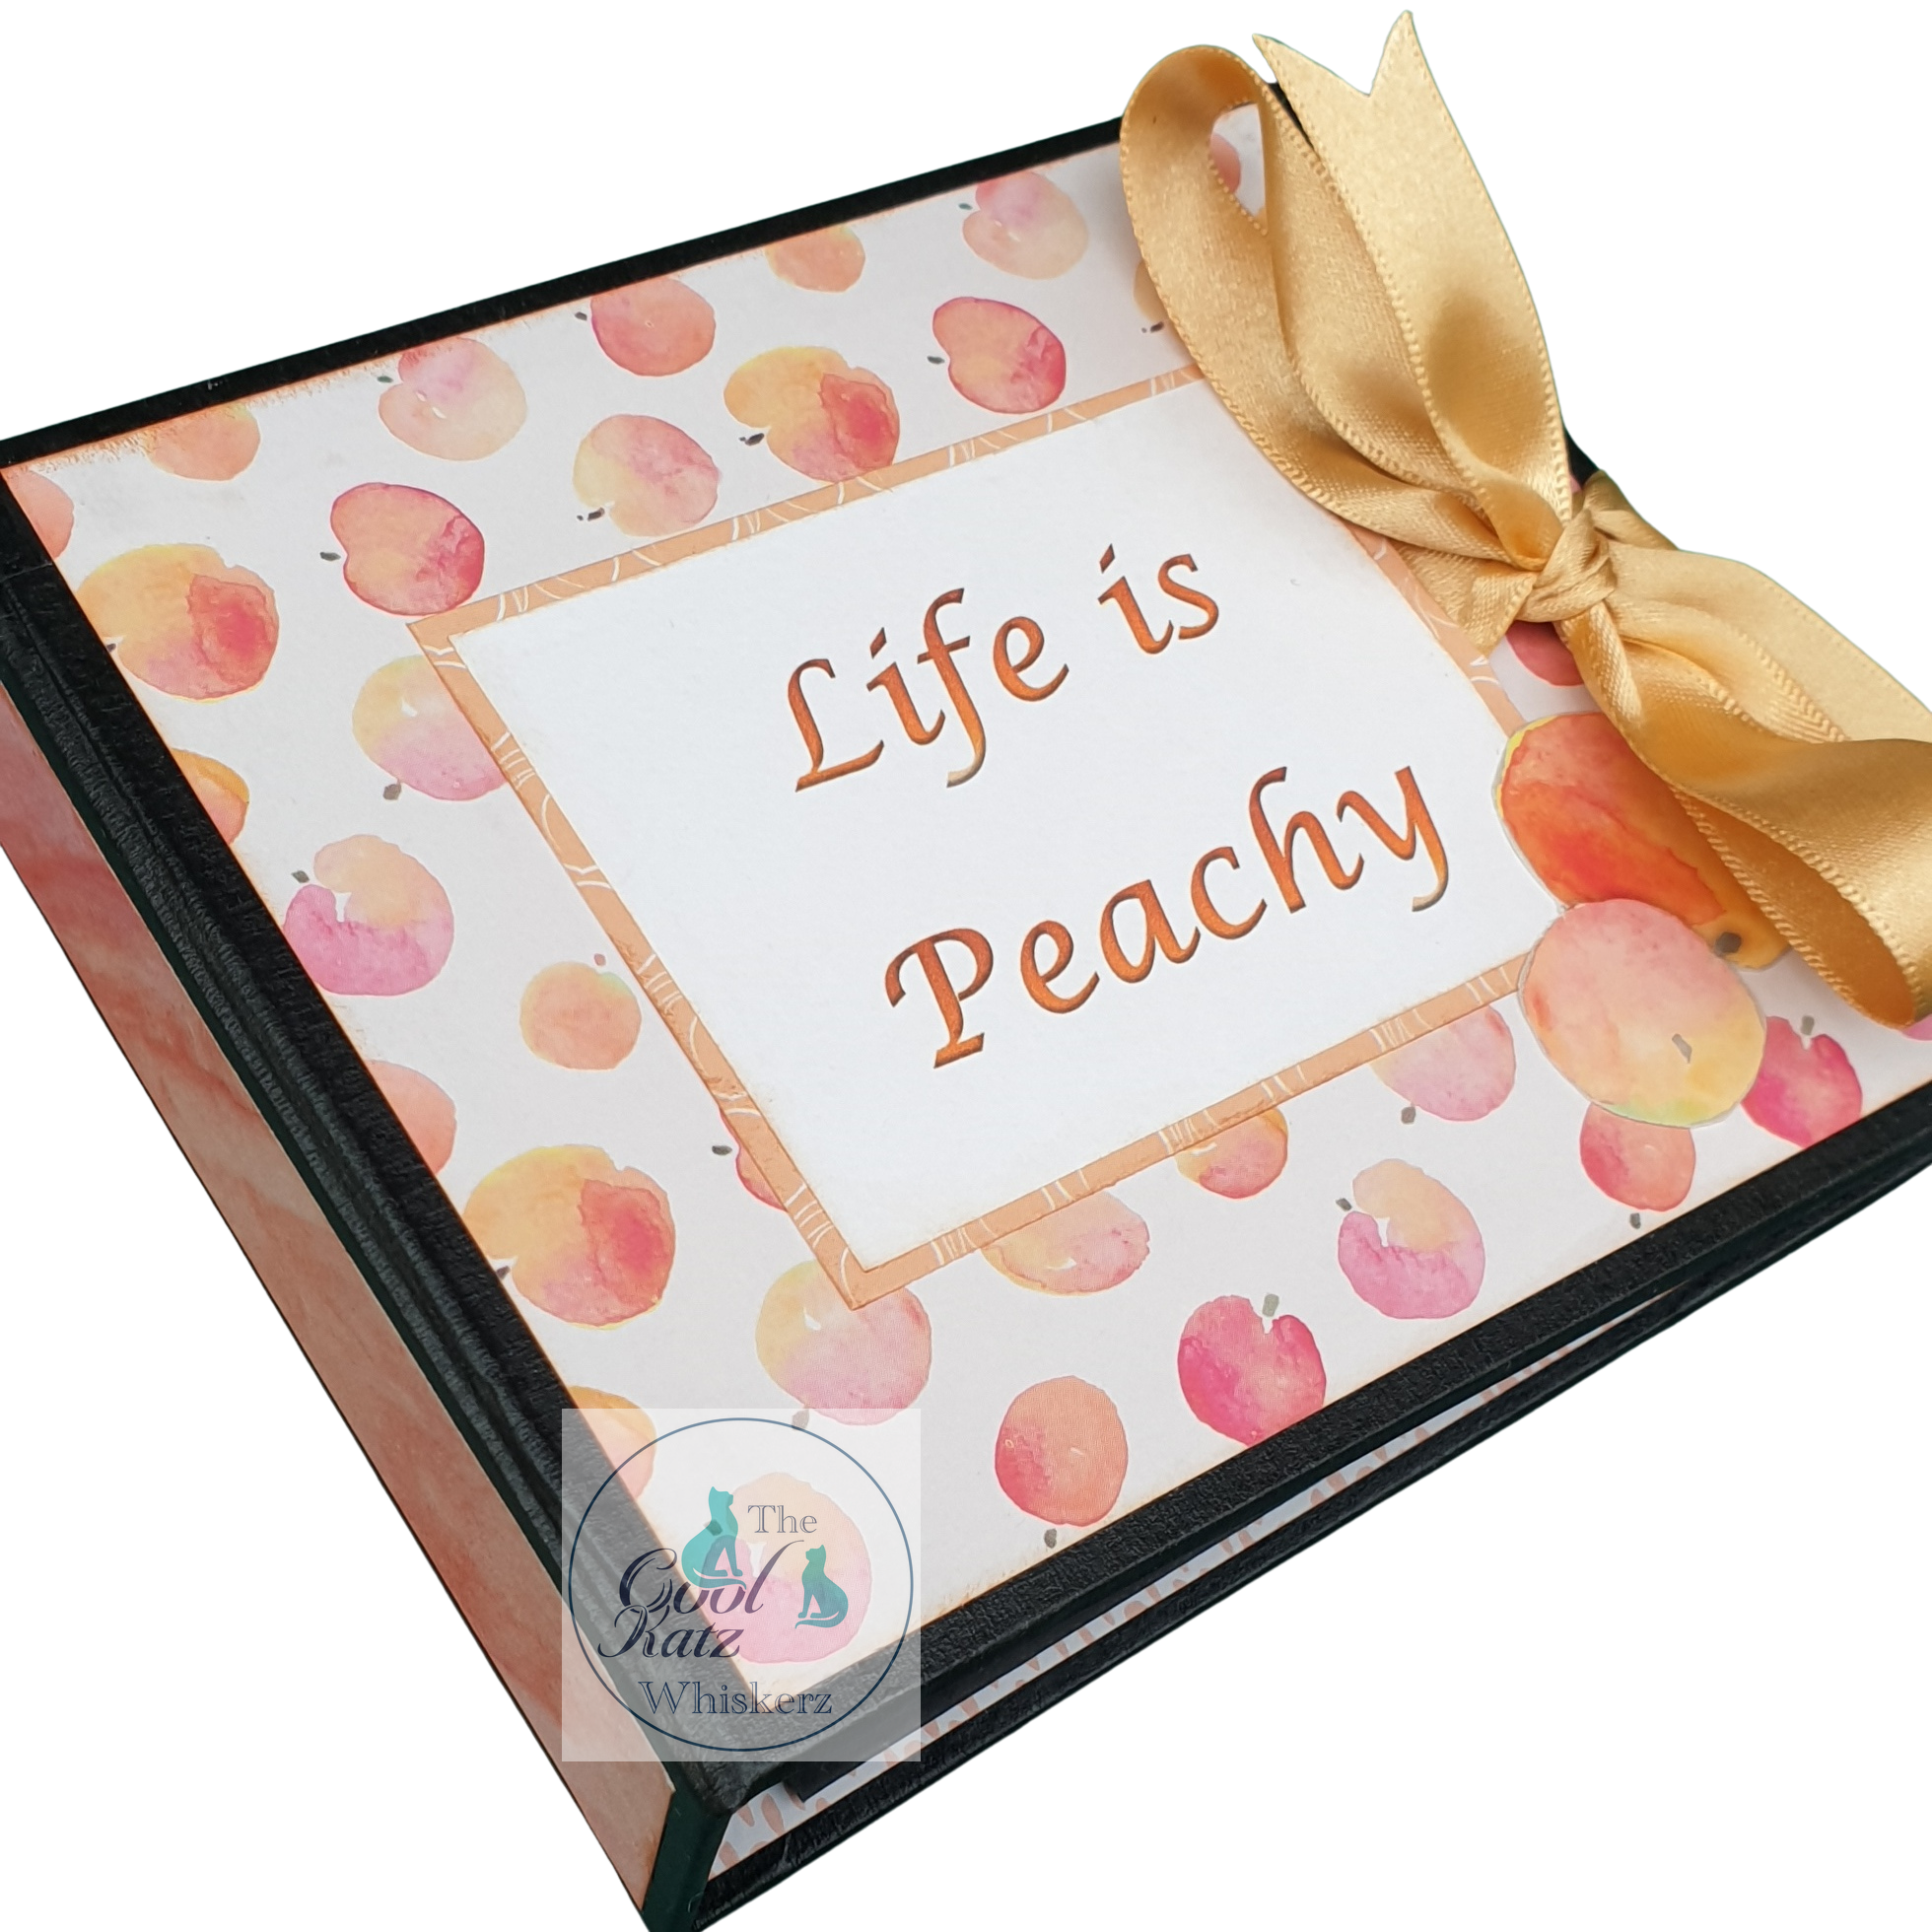
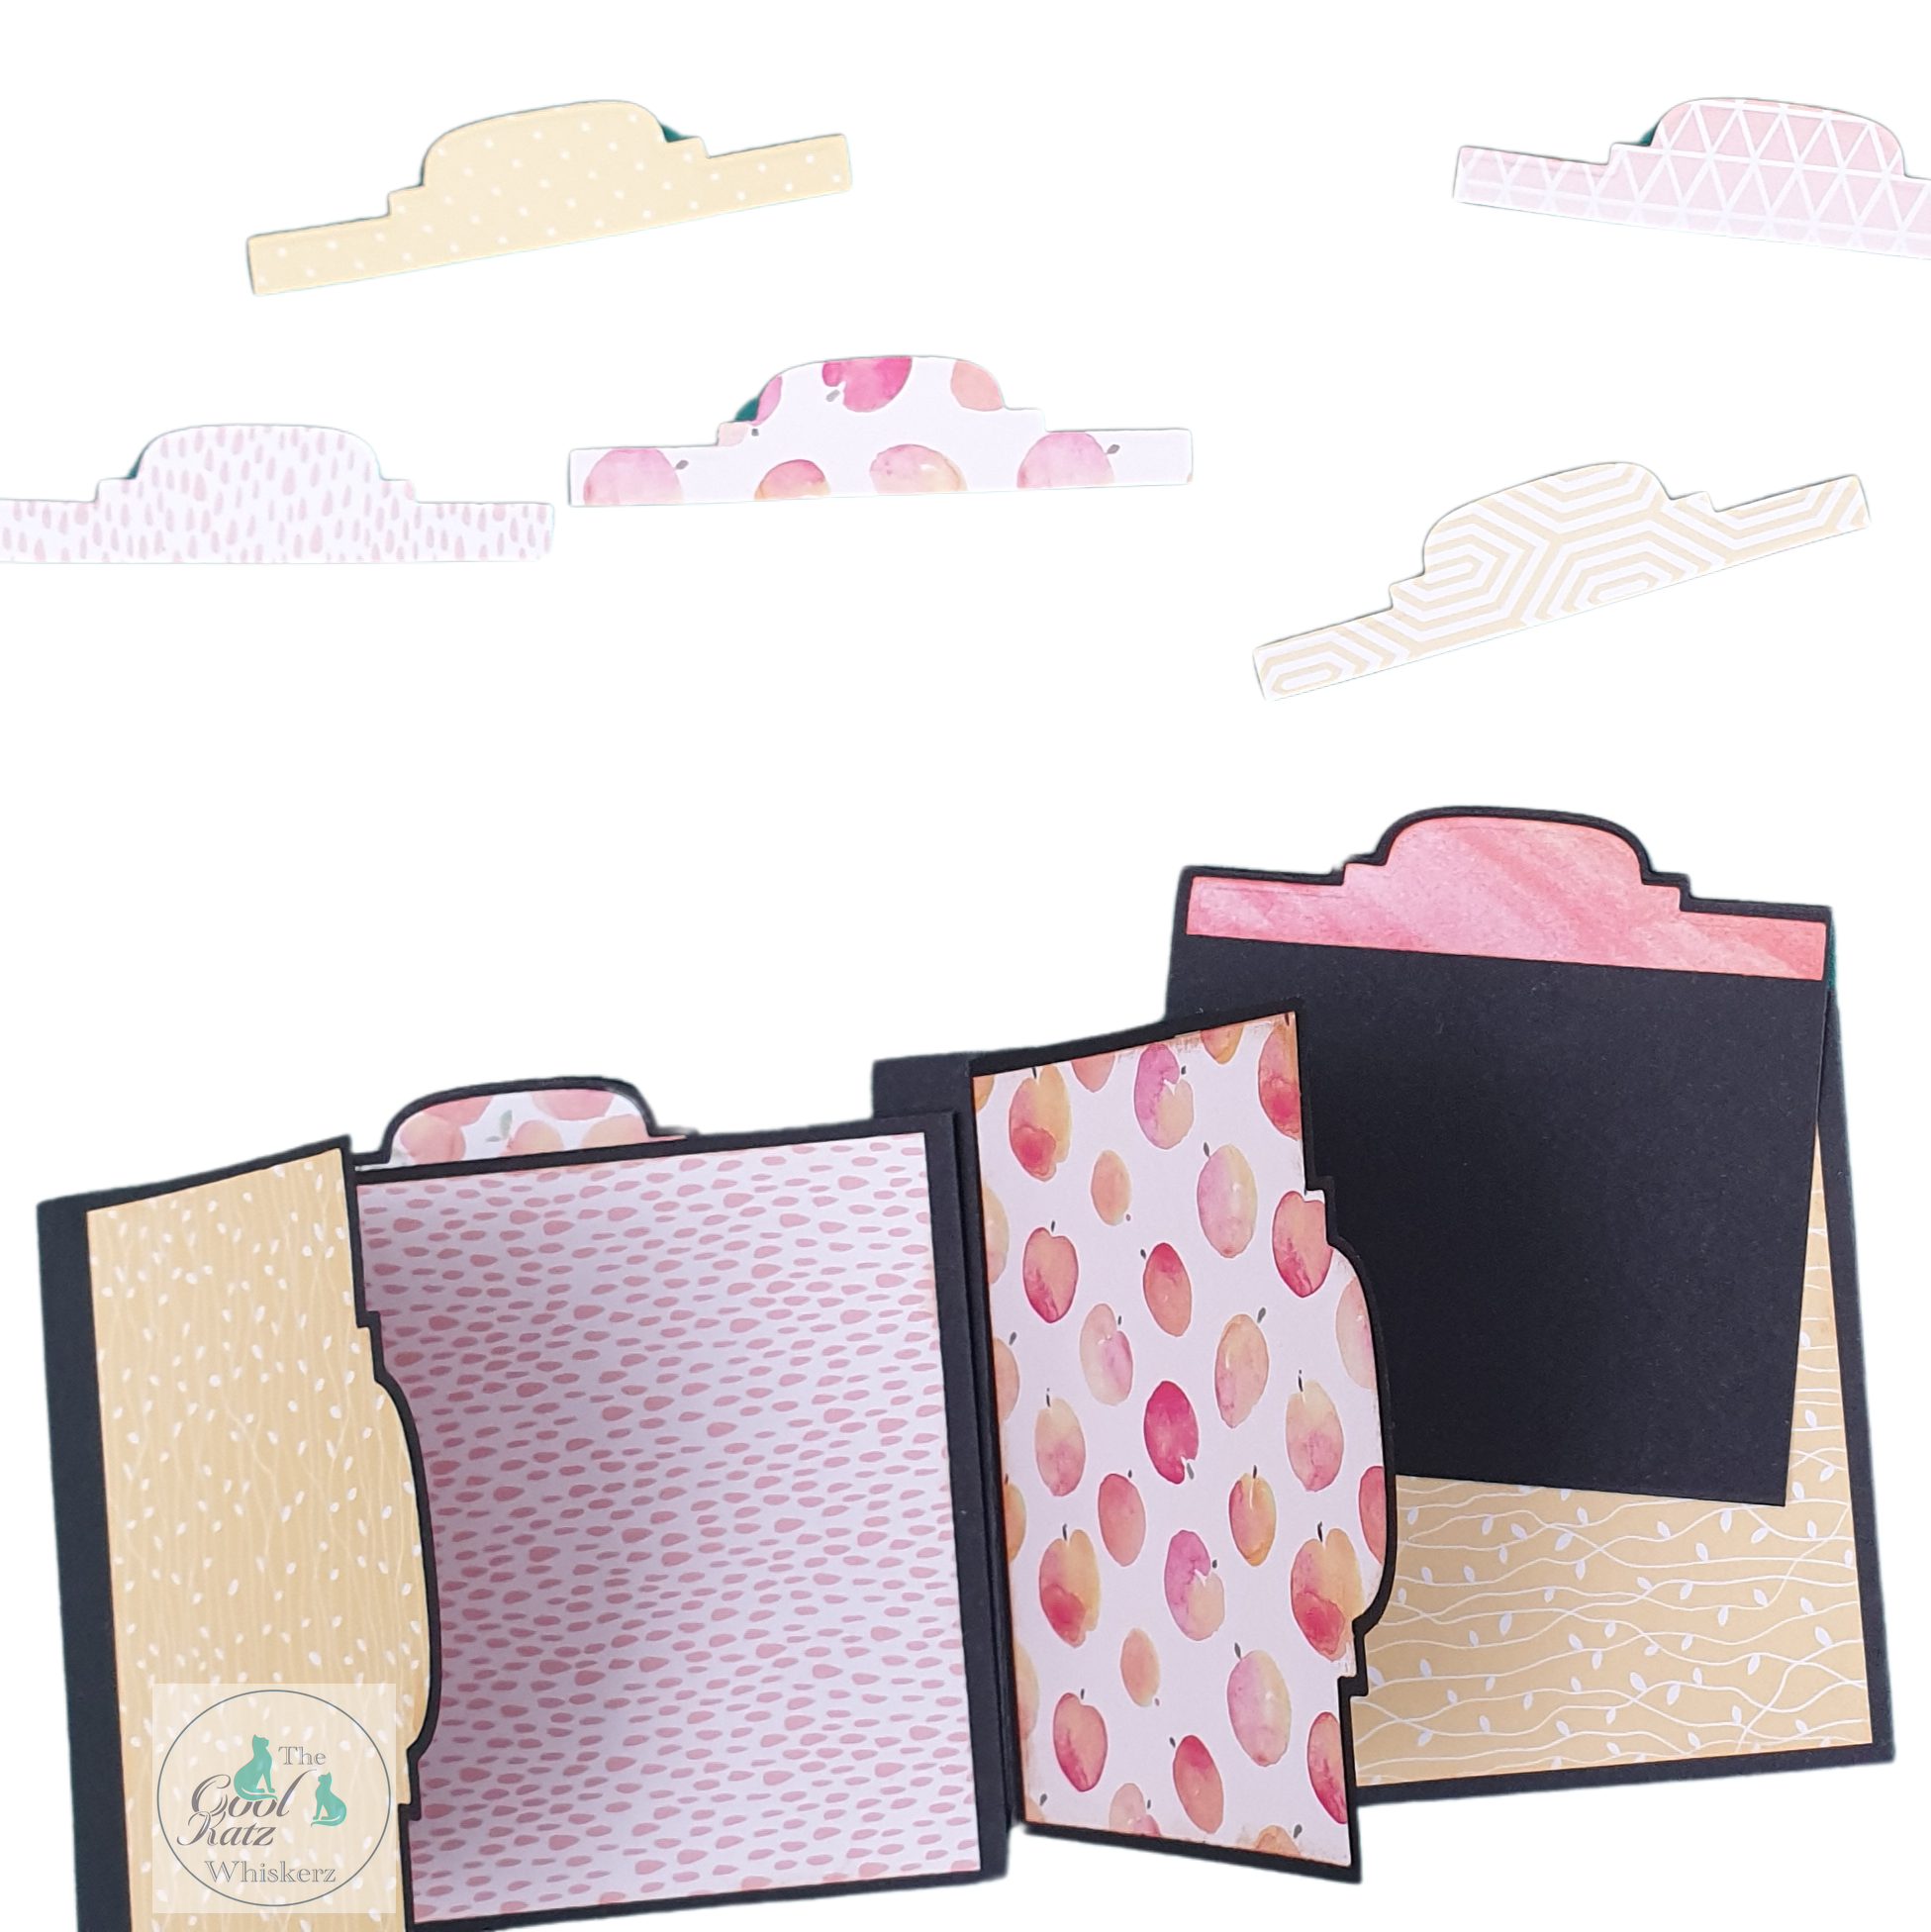
The Walrus Tags Die Set was an obvious choice for a Mini Album. The two tag sizes and the pocket die all have slightly smaller versions so that you cut the larger from cardstock, the smaller corresponding one from patterned paper and Bob is your new relative! You cannot get anything other than a beautifully proportioned tag.
Although I have an idea for the tags with holes punched and decorative ribbons to decorate presents, and these could be used in an album, I decided to show my mini album in a more basic state to emphasise the effect that can be achieved without embellishments.
Using A4 cardstock, cut 4 pieces at 3 ½ inch wide Across the long edge I then scored at ½ inch which will form the hinge piece, 4½ inch and 8 ½ inch. On the shorter edge of the cardstock opposite the ½ inch hinge piece I put the largest tag through my die cutting machine but did not cut the whole way through but in fact, it would be so much easier to use the matching Walrus Whiskers dies along the short edge to give the tabbed effect. All score lines are then burnished to give a clean fold.
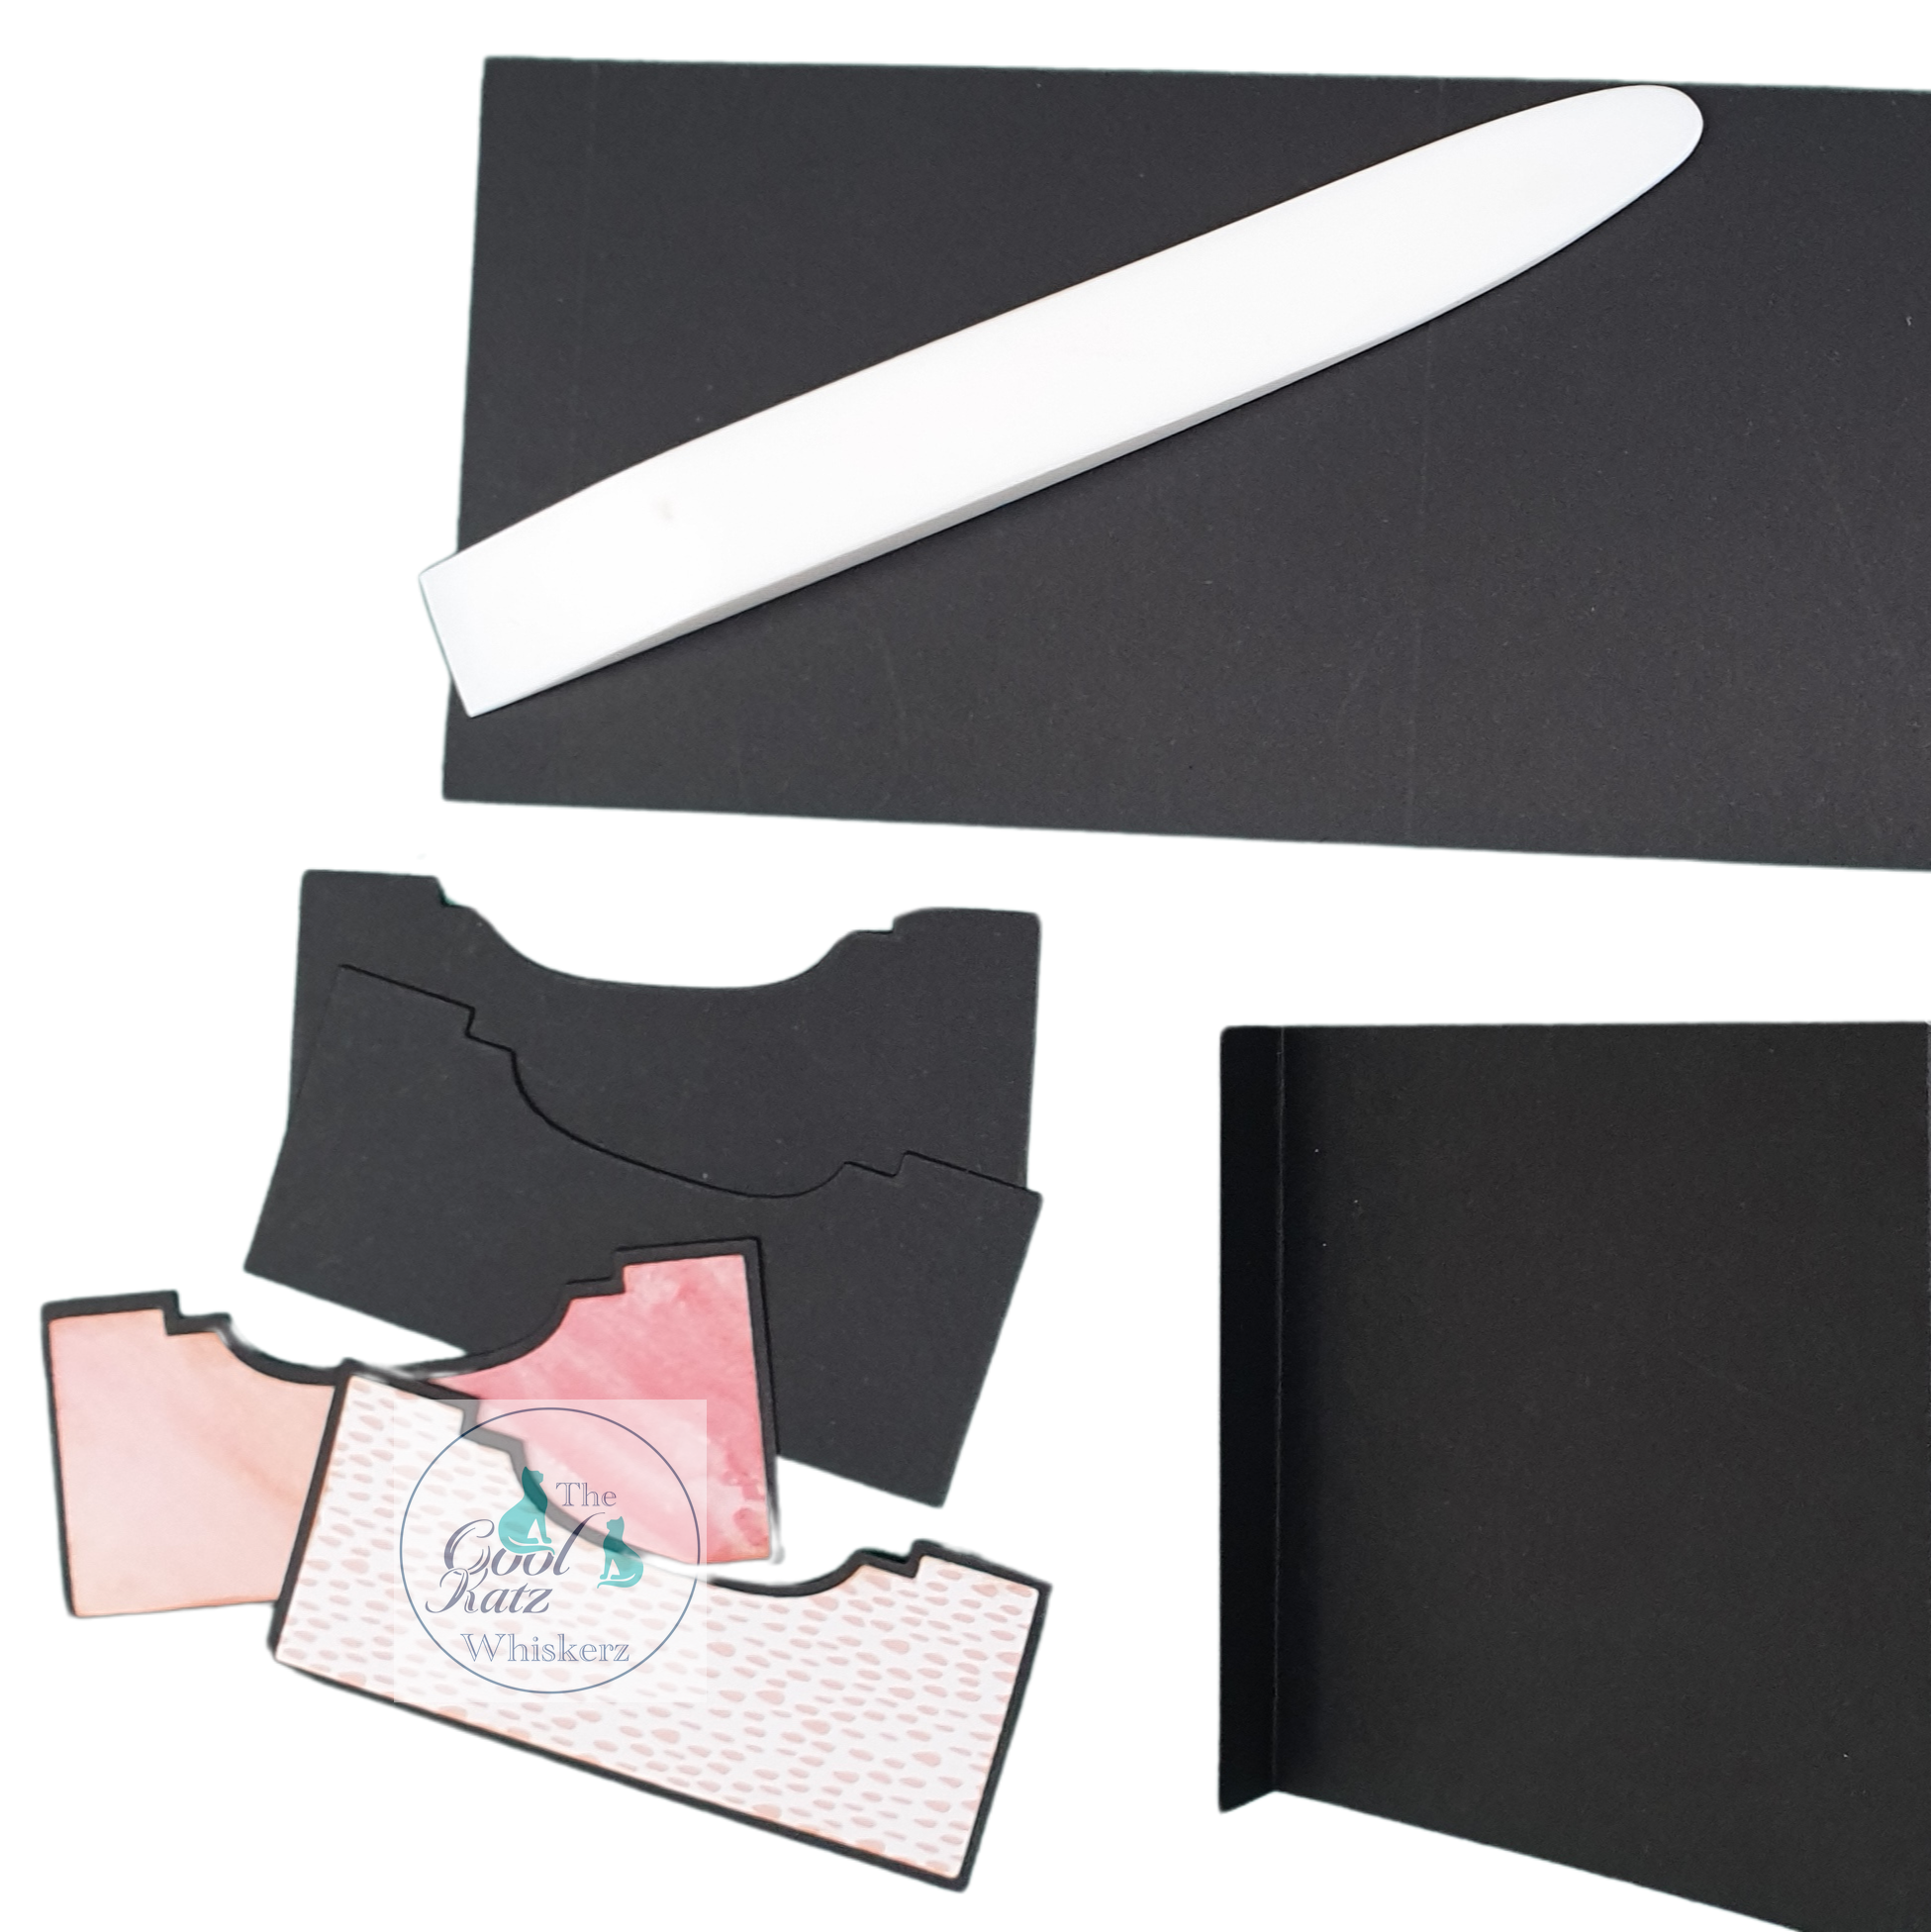
Using the larger pocket die, I cut 4 pieces of cardstock. I cut 6 tags of cardstock using the smallest die.
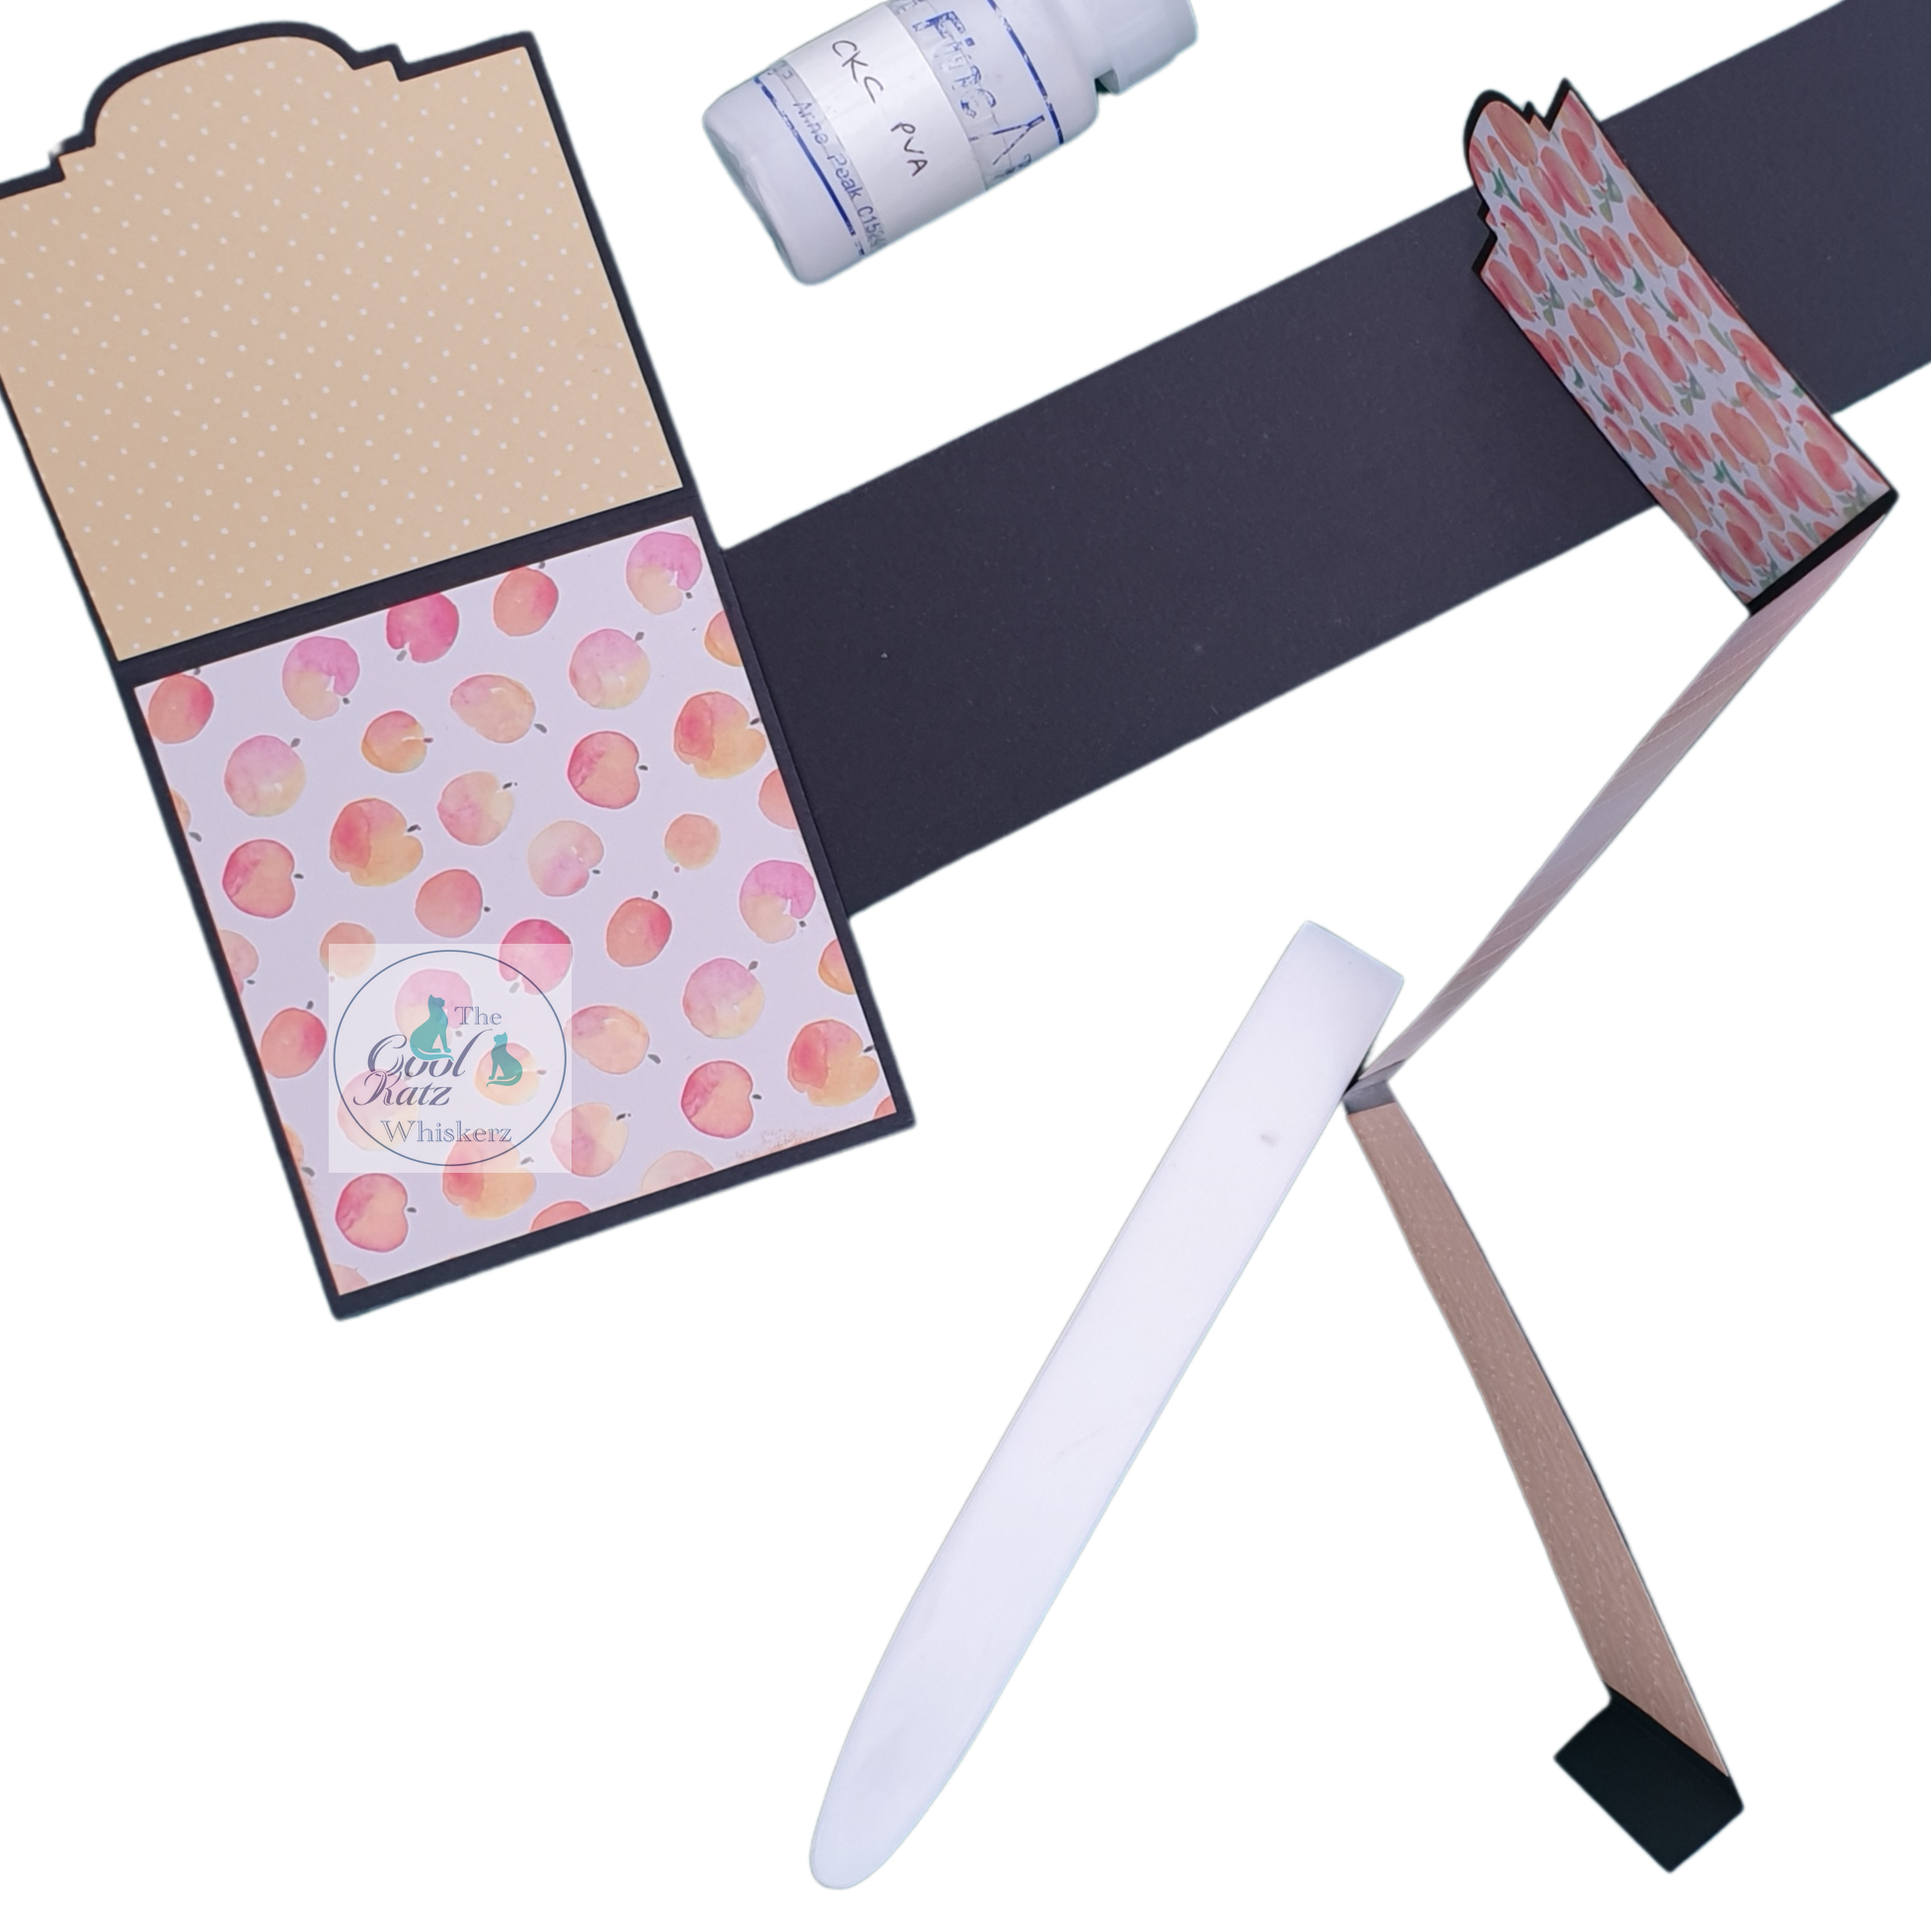
To assemble the pages, use wet glue on three sides of the first 4 inch piece (leaving a top part to form a hidden pocket opening) and stick the second 4 inch piece on it, leaving the third part with the shaped walrus tag free. I always place a piece of scrap cardstock imbetween the two pieces I am sticking to allow a little movement which helps the tag easily slide in and out in due course.
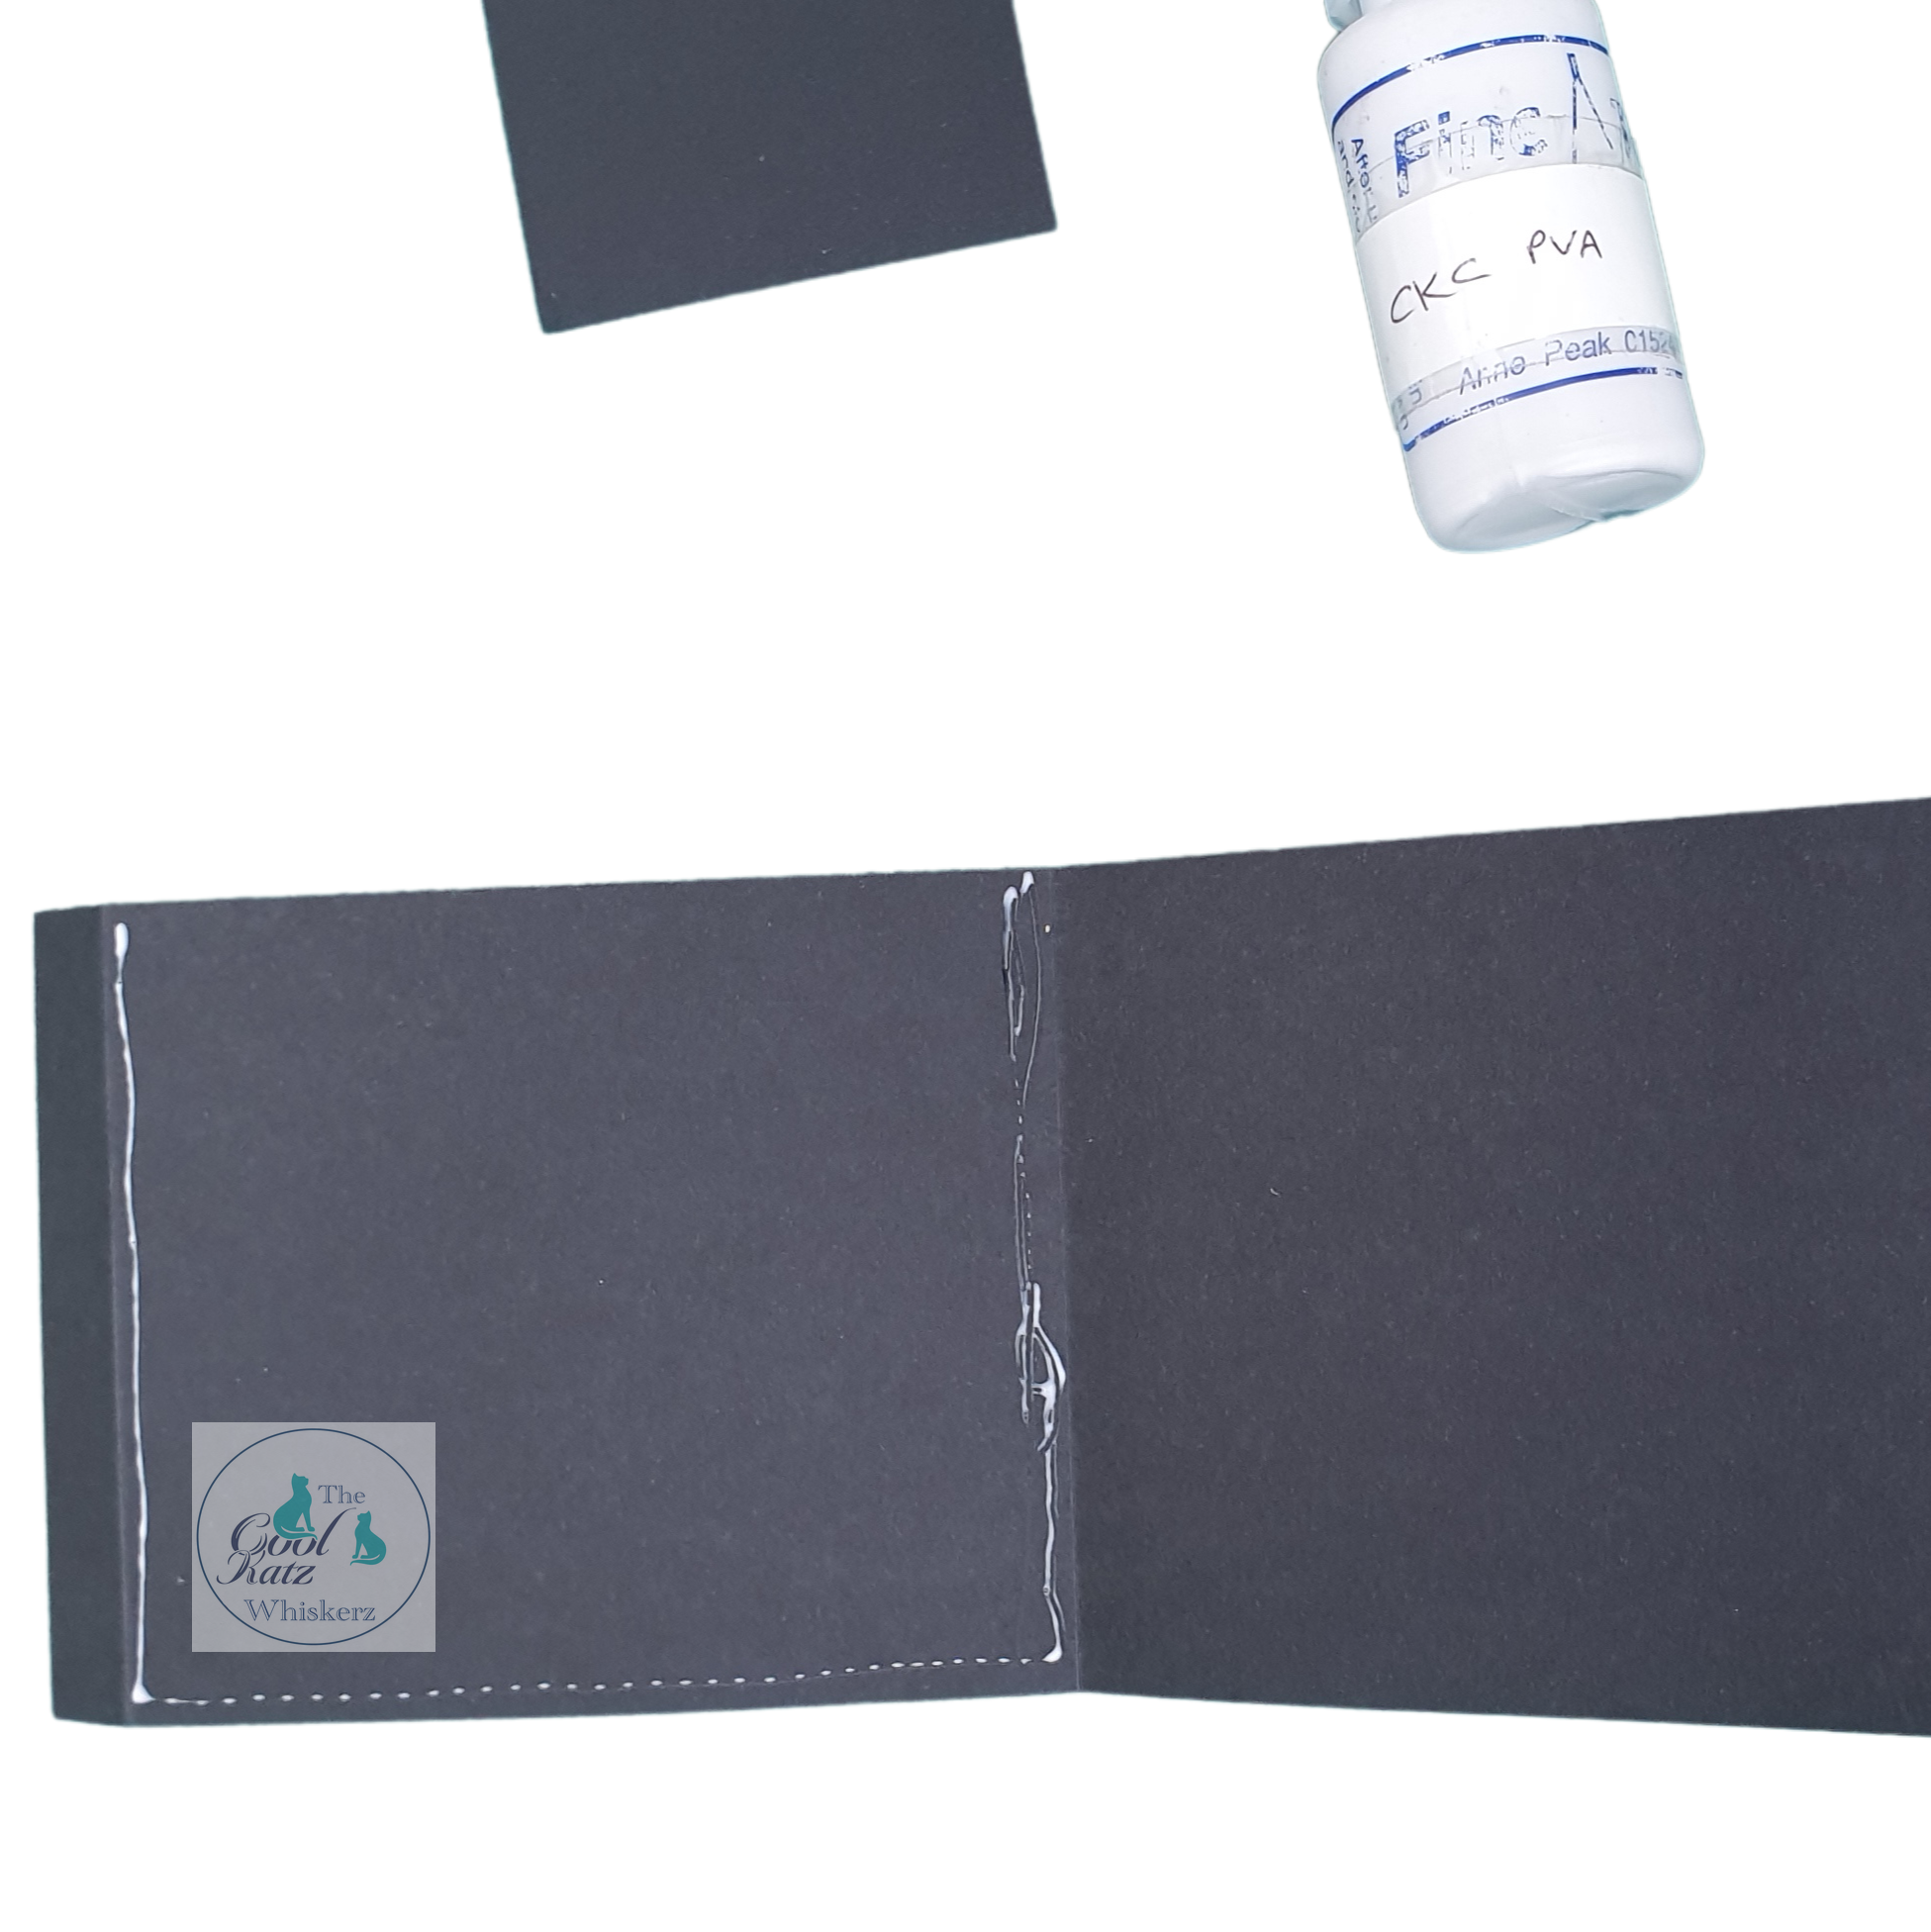
The album cover was made with grey board measuring 4 ½ x 4 ¾ inches and a piece 4 ¼ x 1 ½ inch for the spine. Using the black frame tiger tape I bound the pieces and joined with 1/8 inch hinge spacers – what a genius tool this is for easy and precise book/album making! For the cover the patterned paper pieces measure 4 x 4 ½ and the spine is 4 x 1 ¼ inch. If you are using a ribbon to decorate and act as a closure, remember to stick this to the album cover before adding the patterned paper. I actually wanted the ribbon bow to sit on the album rather than be fully at the side so added ribbon over the front piece but under the back pieces of patterned paper.
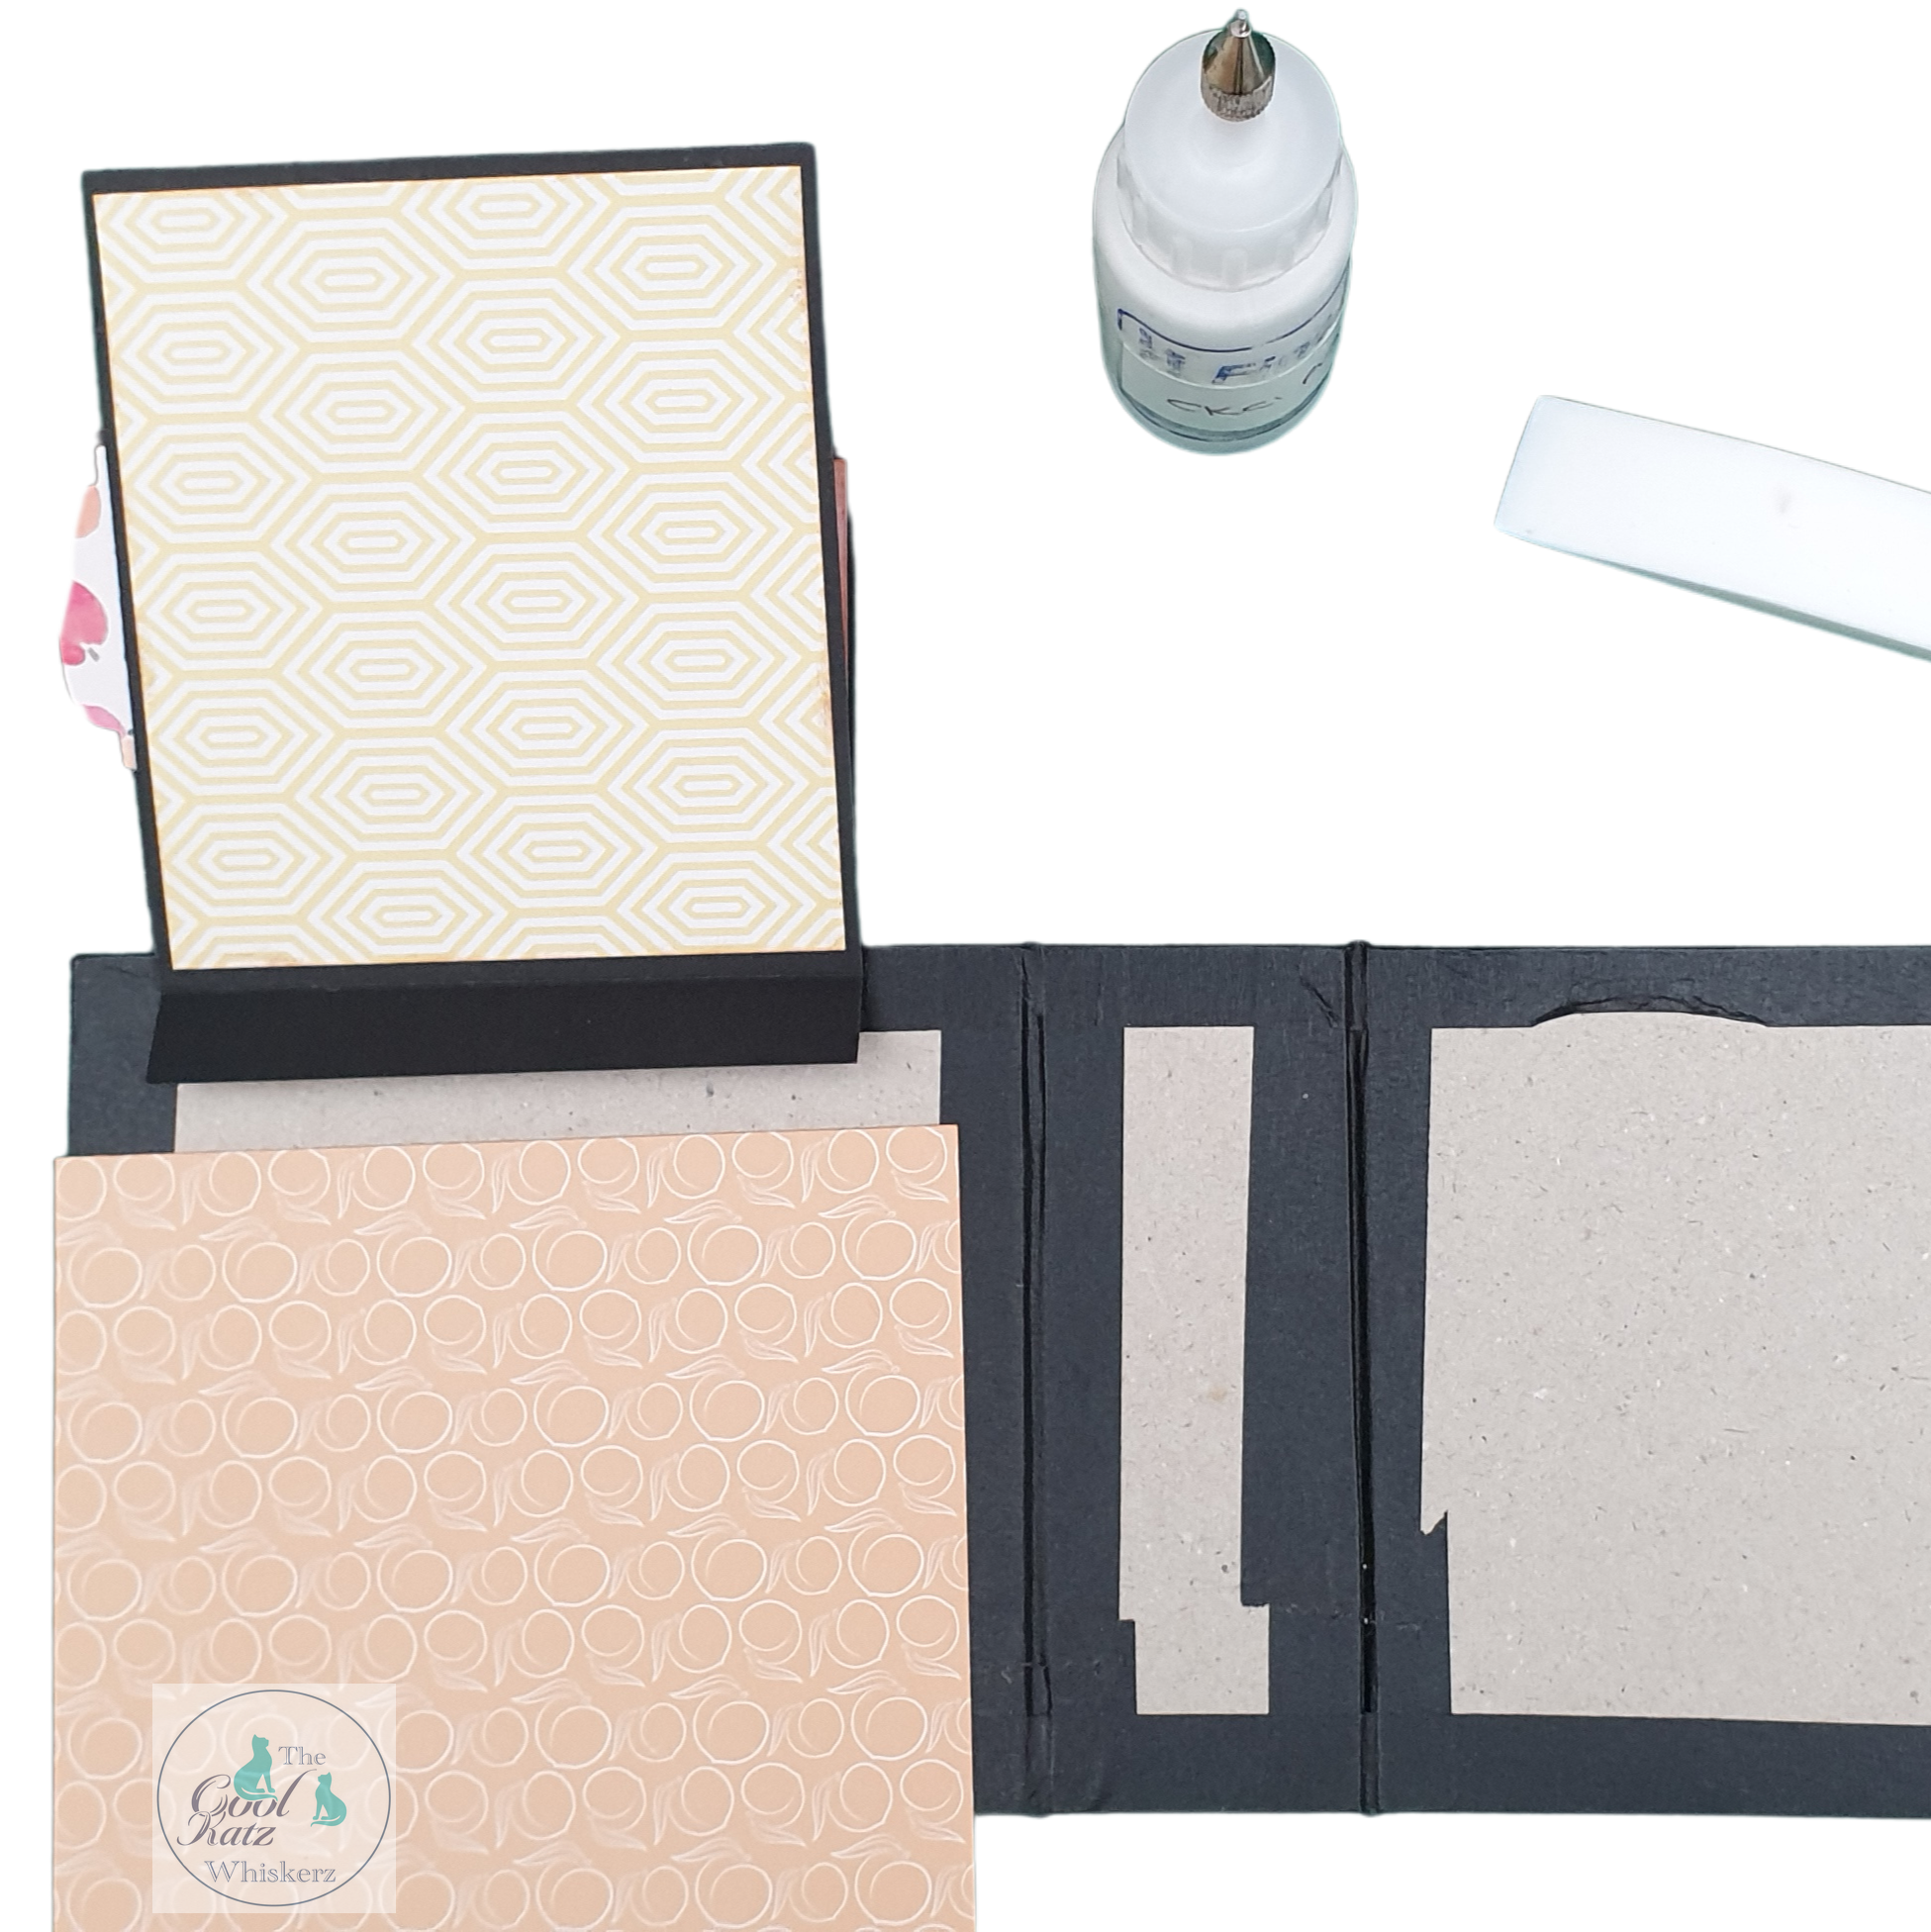
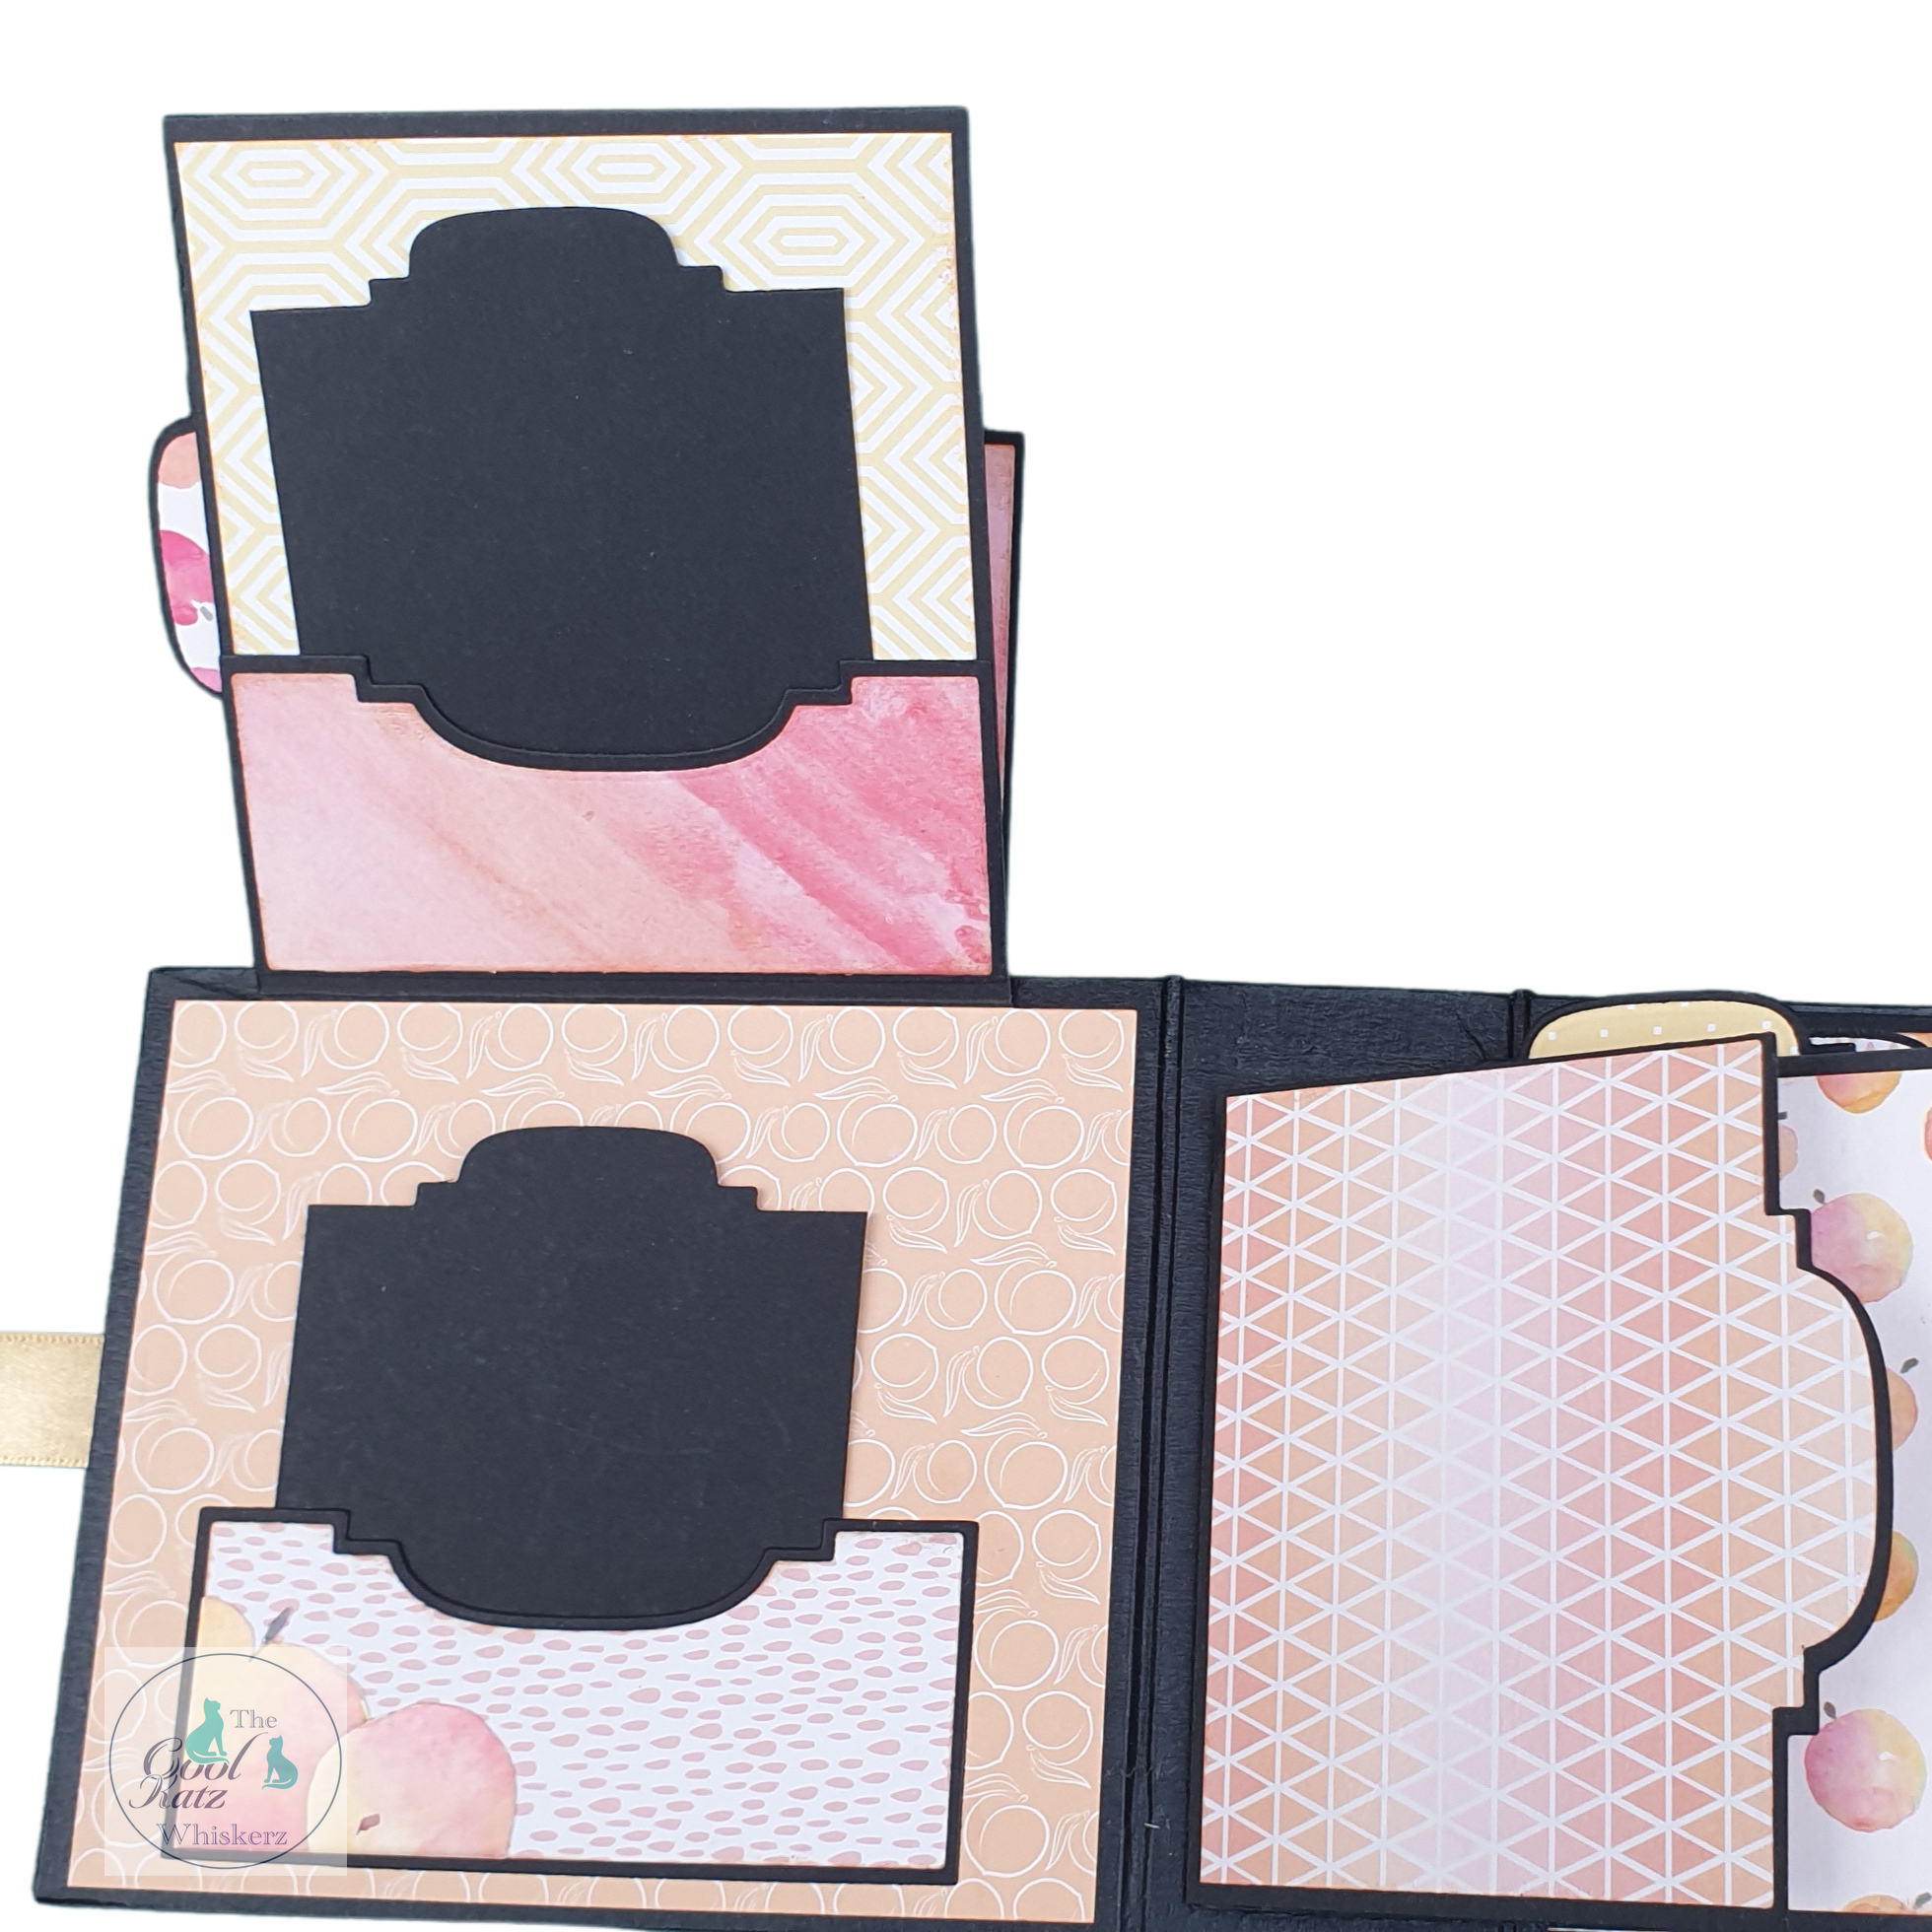
I turned two of the four page pieces at right angles and stuck the hinges of those to the inside of the album cover, both front and back, before I added the patterned p topped with paper and used for the inside hidden pocket tags. The 6 smaller cardstock tags were left blank for journaling or photos and tucked into the open pockets once these were stuck in place on the back of the page pieces.
The 4 larger cardstock tags are topped with paper and used for the inside hidden pocket tags. The 6 smaller cardstock tags were left blank for journaling or photos and tucked into the open pockets once these were stuck in place on the back of the page pieces.

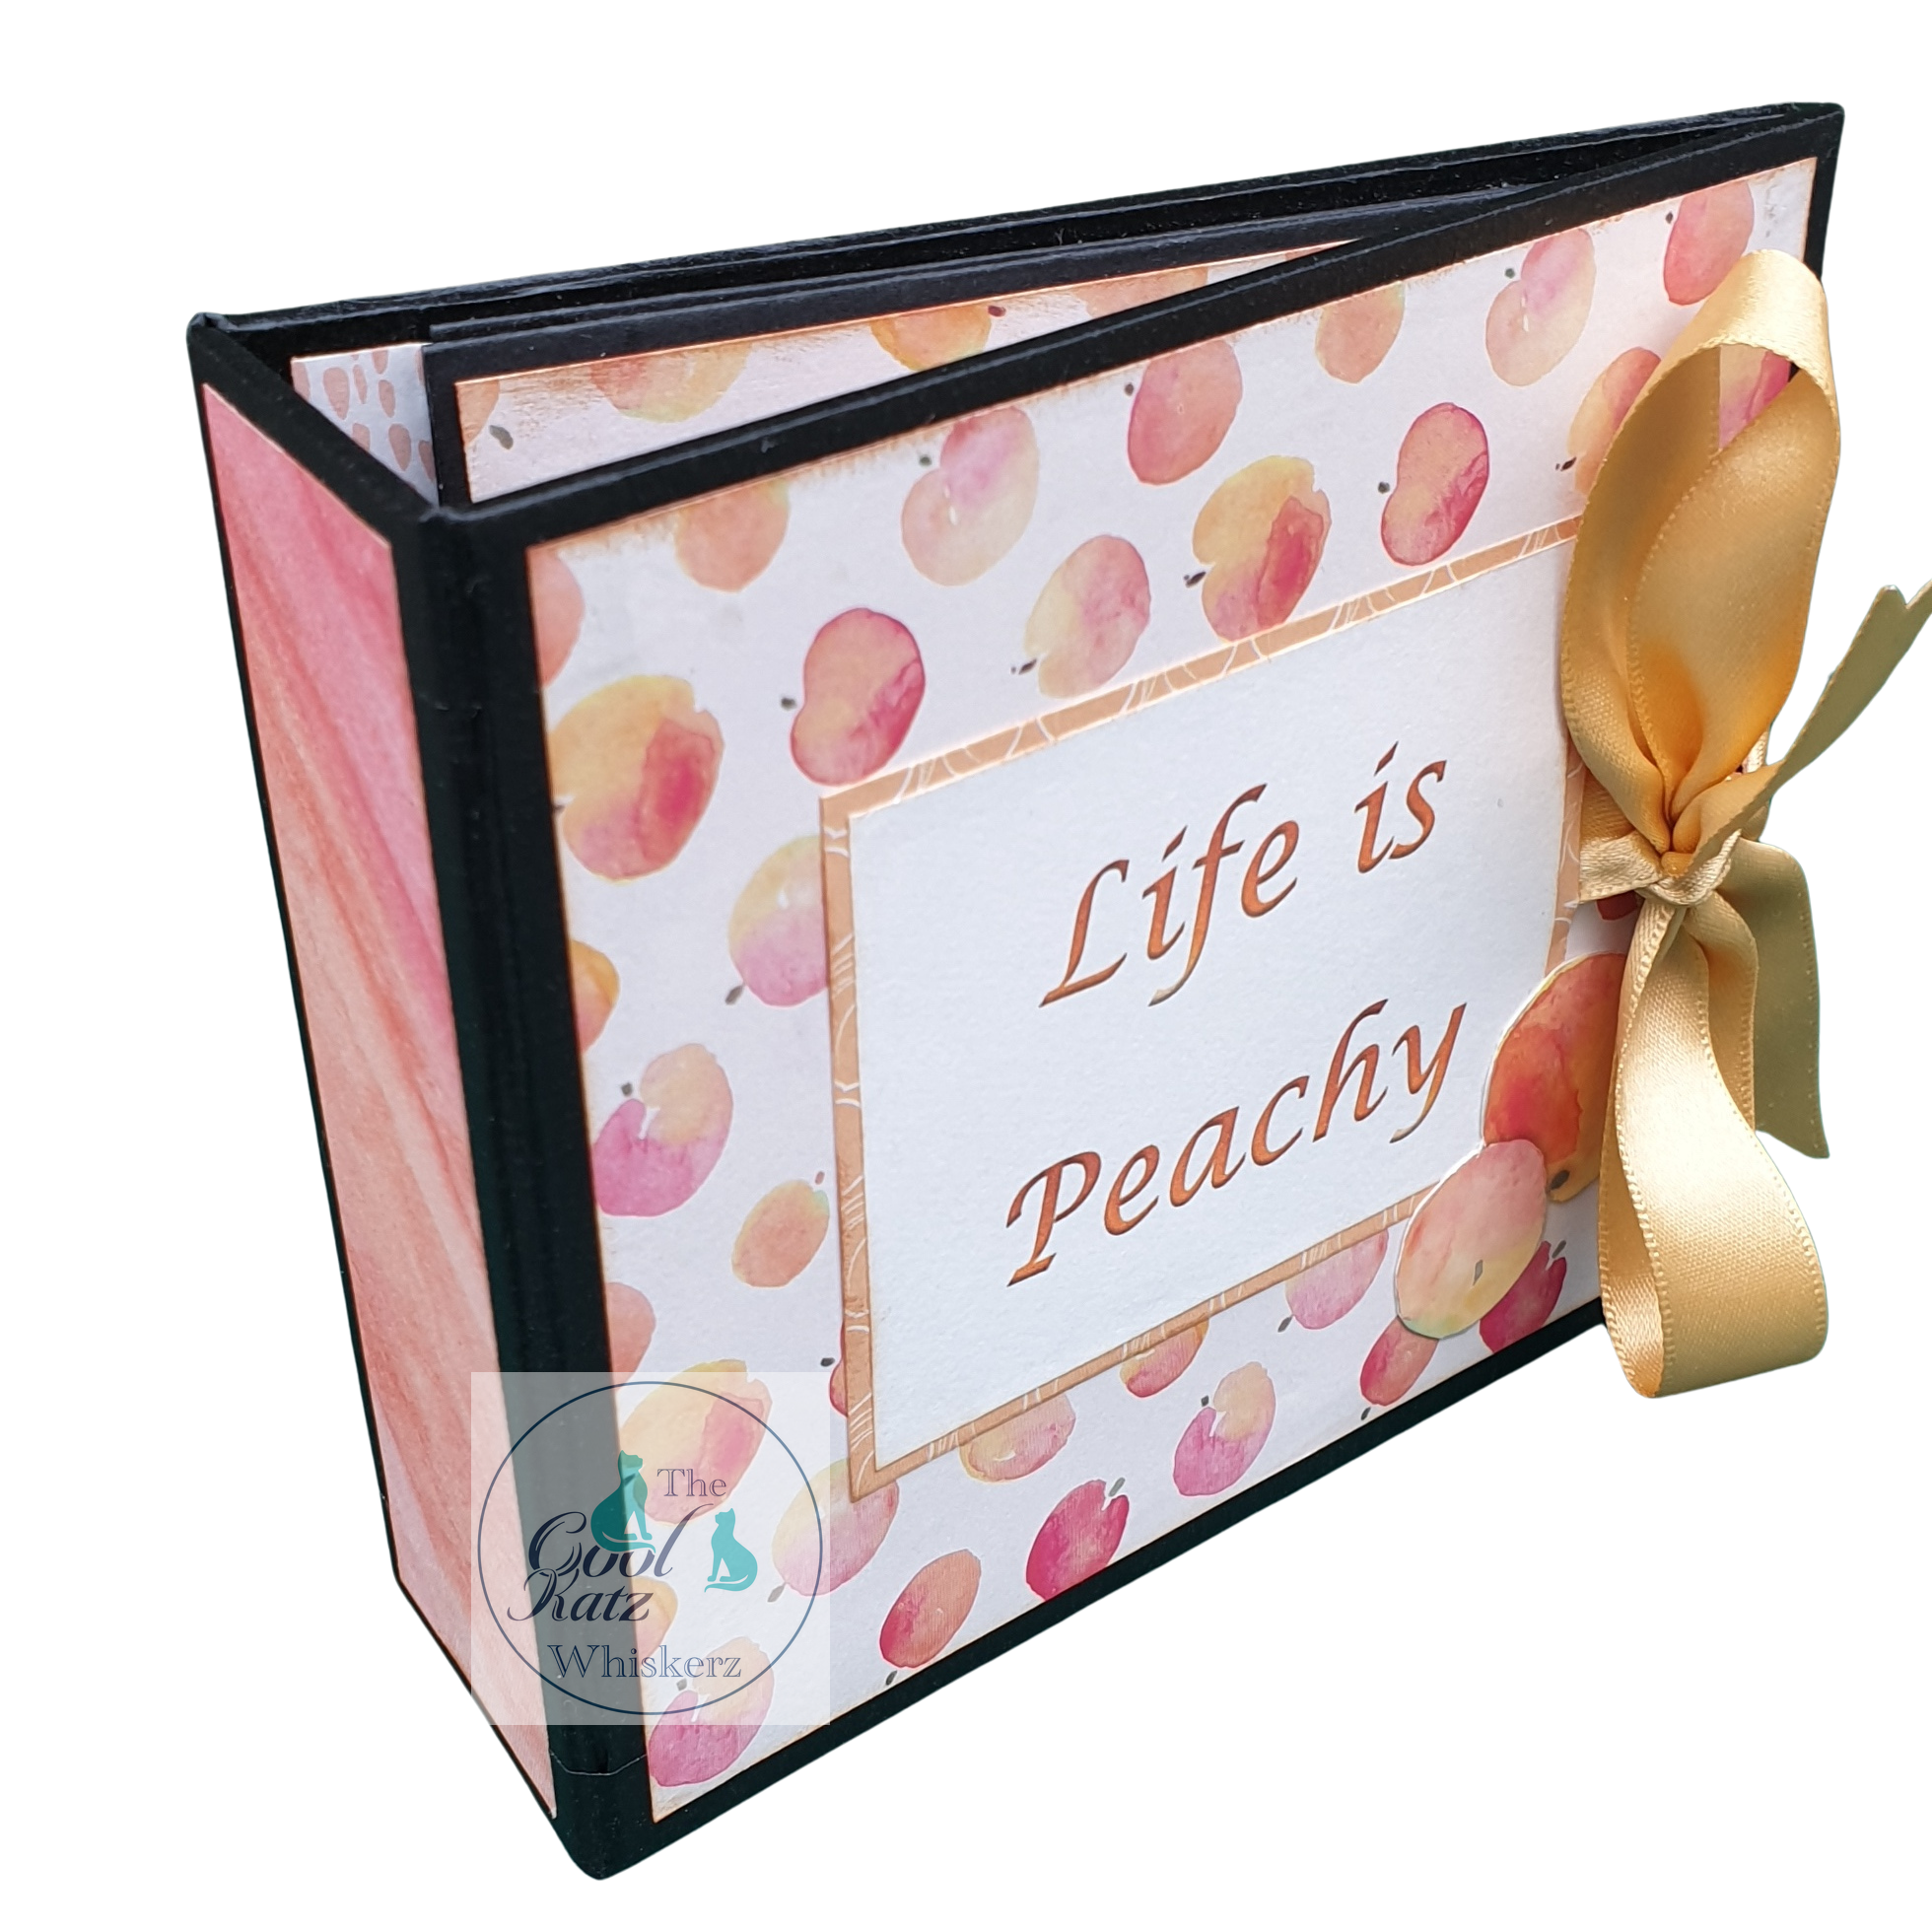
Hopefully the photos will show a little more detail of the fun in making a mini album with simple tools and I think these would make lovely gifts for even non crafters to appreciate. Christmas or birthday papers would look so effective, and a personalised front cover would complete the gift to purrfection (sorry!).
https://www.coolkatzcraft.com/
https://www.youtube.com/@CoolKatzCraft
https://www.facebook.com/groups/CoolKatzCraft
https://www.coolkatzcraft.com/catalogsearch/result/?q=walrus
https://www.coolkatzcraft.com/teflon-multi-purpose-crafting-tool-bone-folder