free UK postage
over £40.00
Search


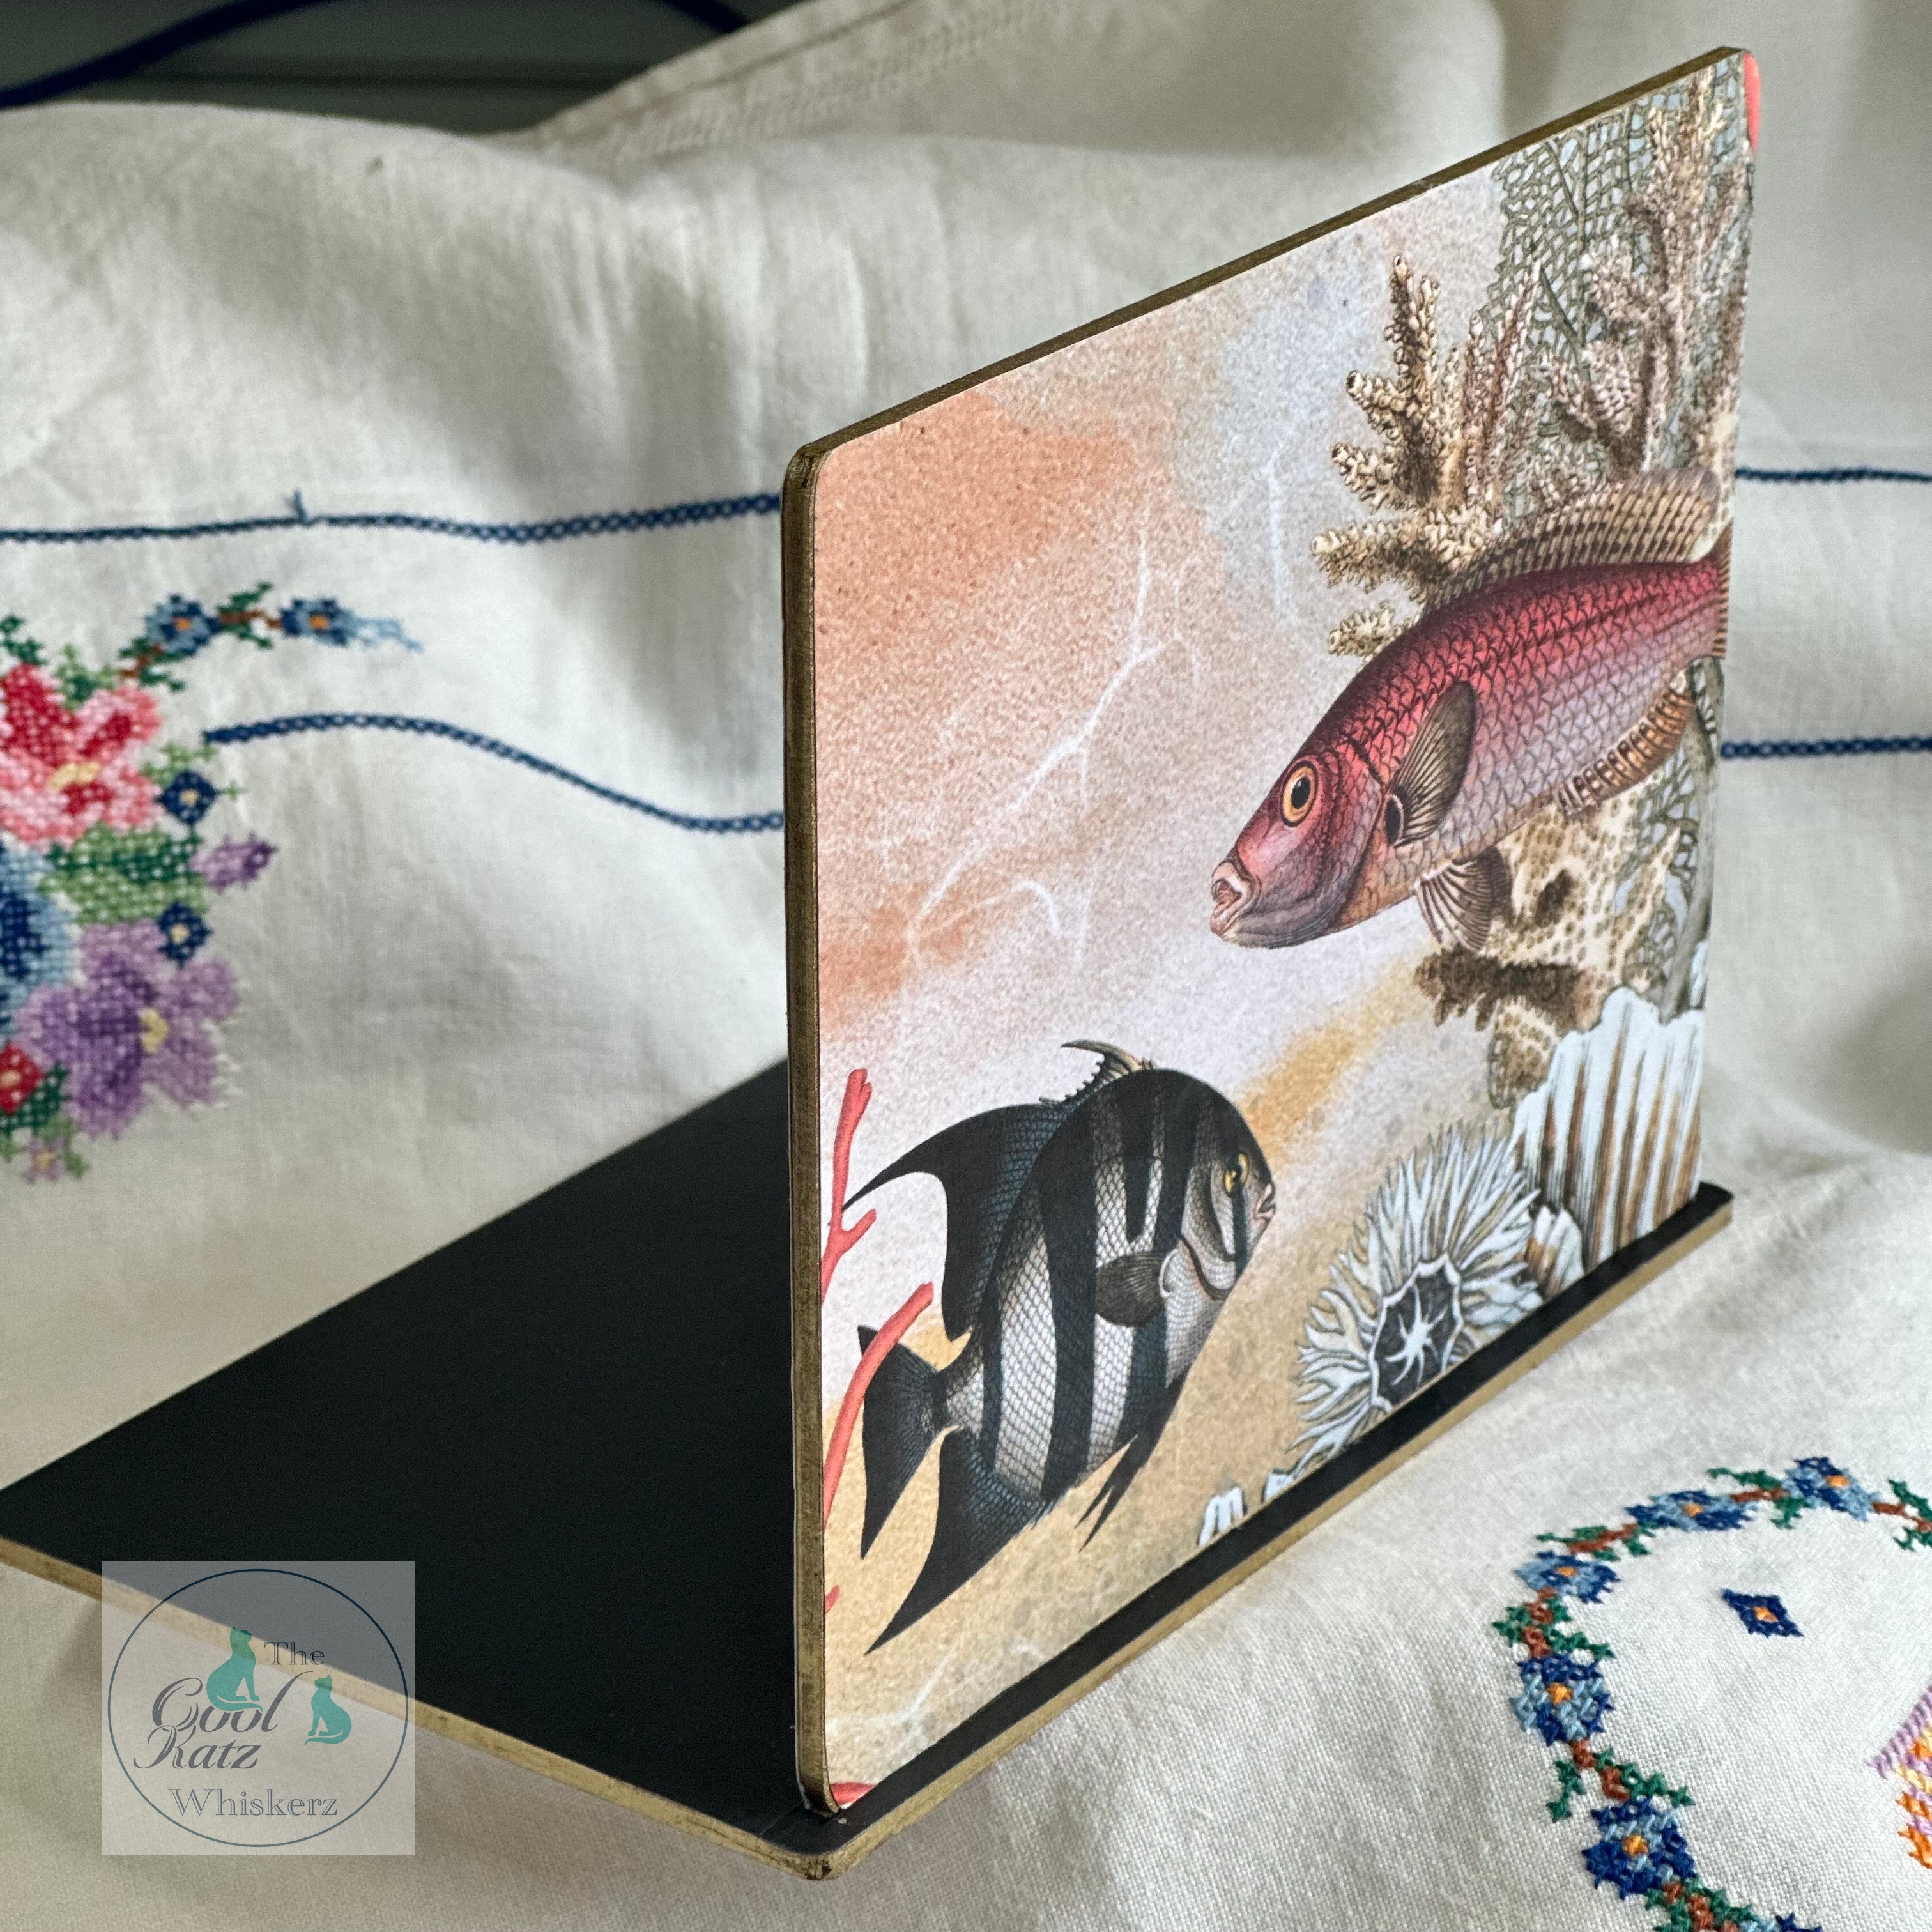
 I started by drawing around the back wall piece of the stand onto my chosen paper, both for the back as well as the front. No one likes an ugly backside....I then glued the two MDF pieces of the stand together, after making sure they were completely dry, I added gold marker pen around all of the edges of the stand.
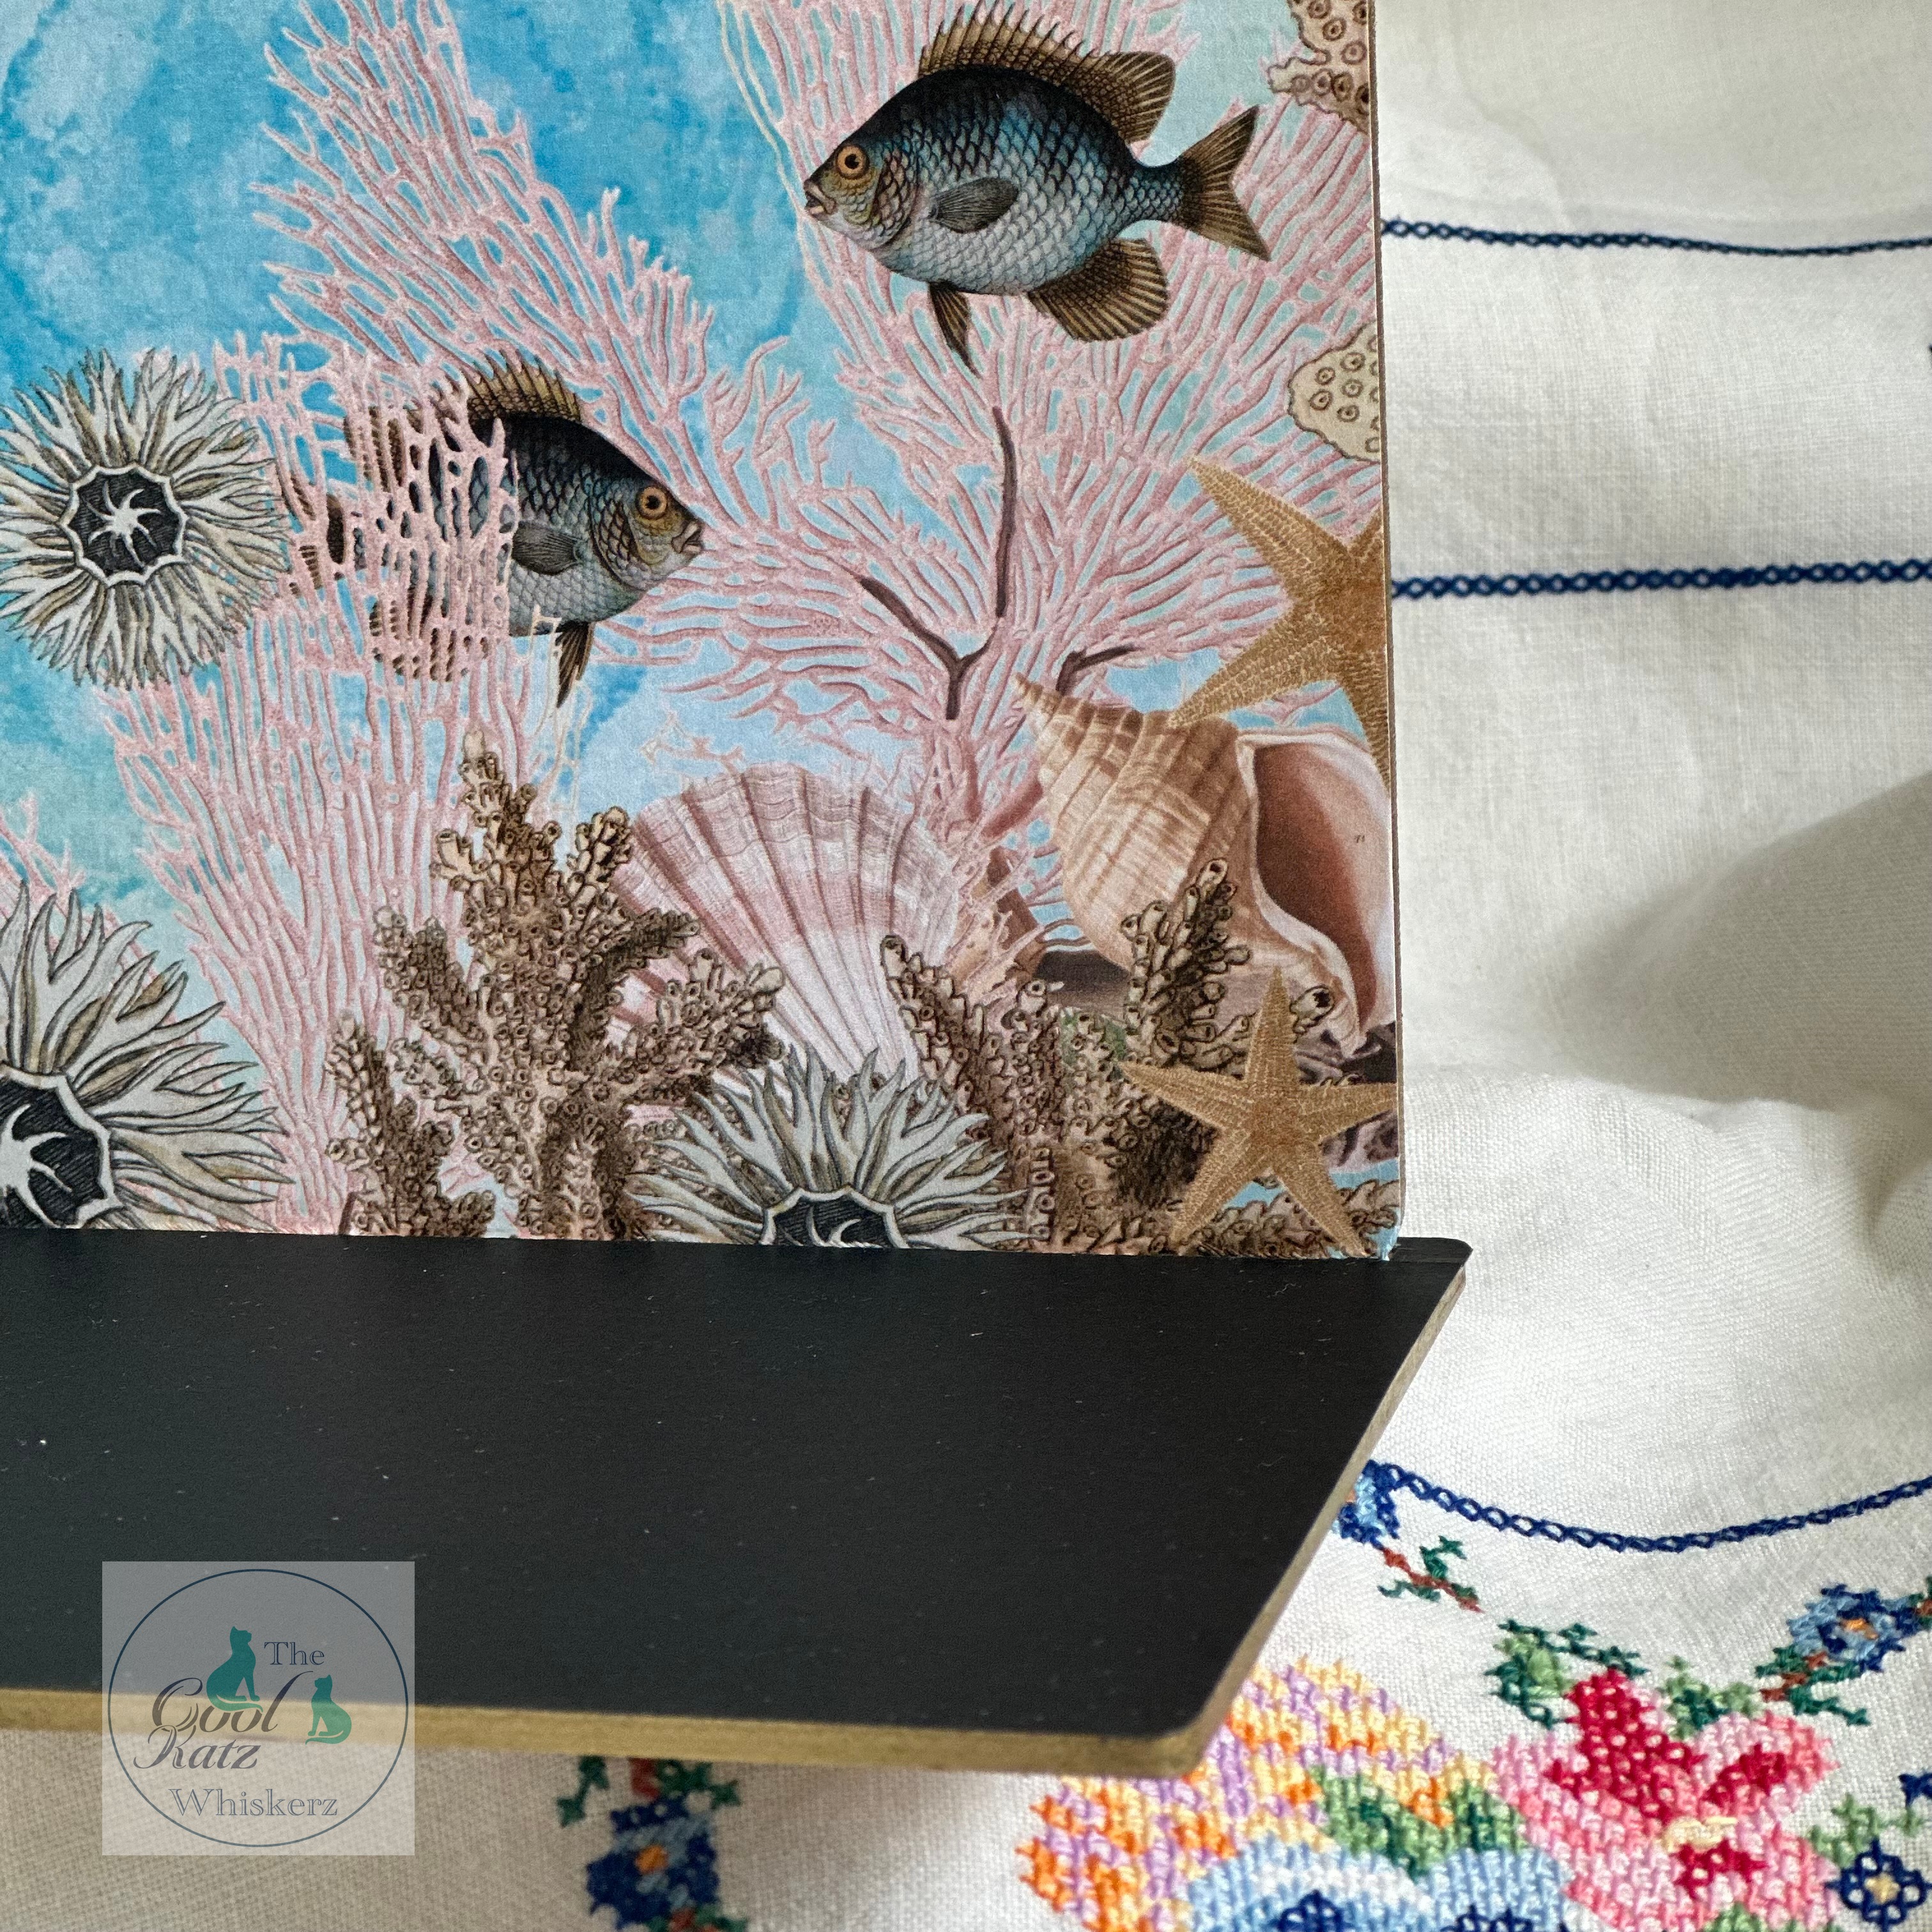
Then the paper was added, carefully using wet glue and burnishing over with my teflon tool.
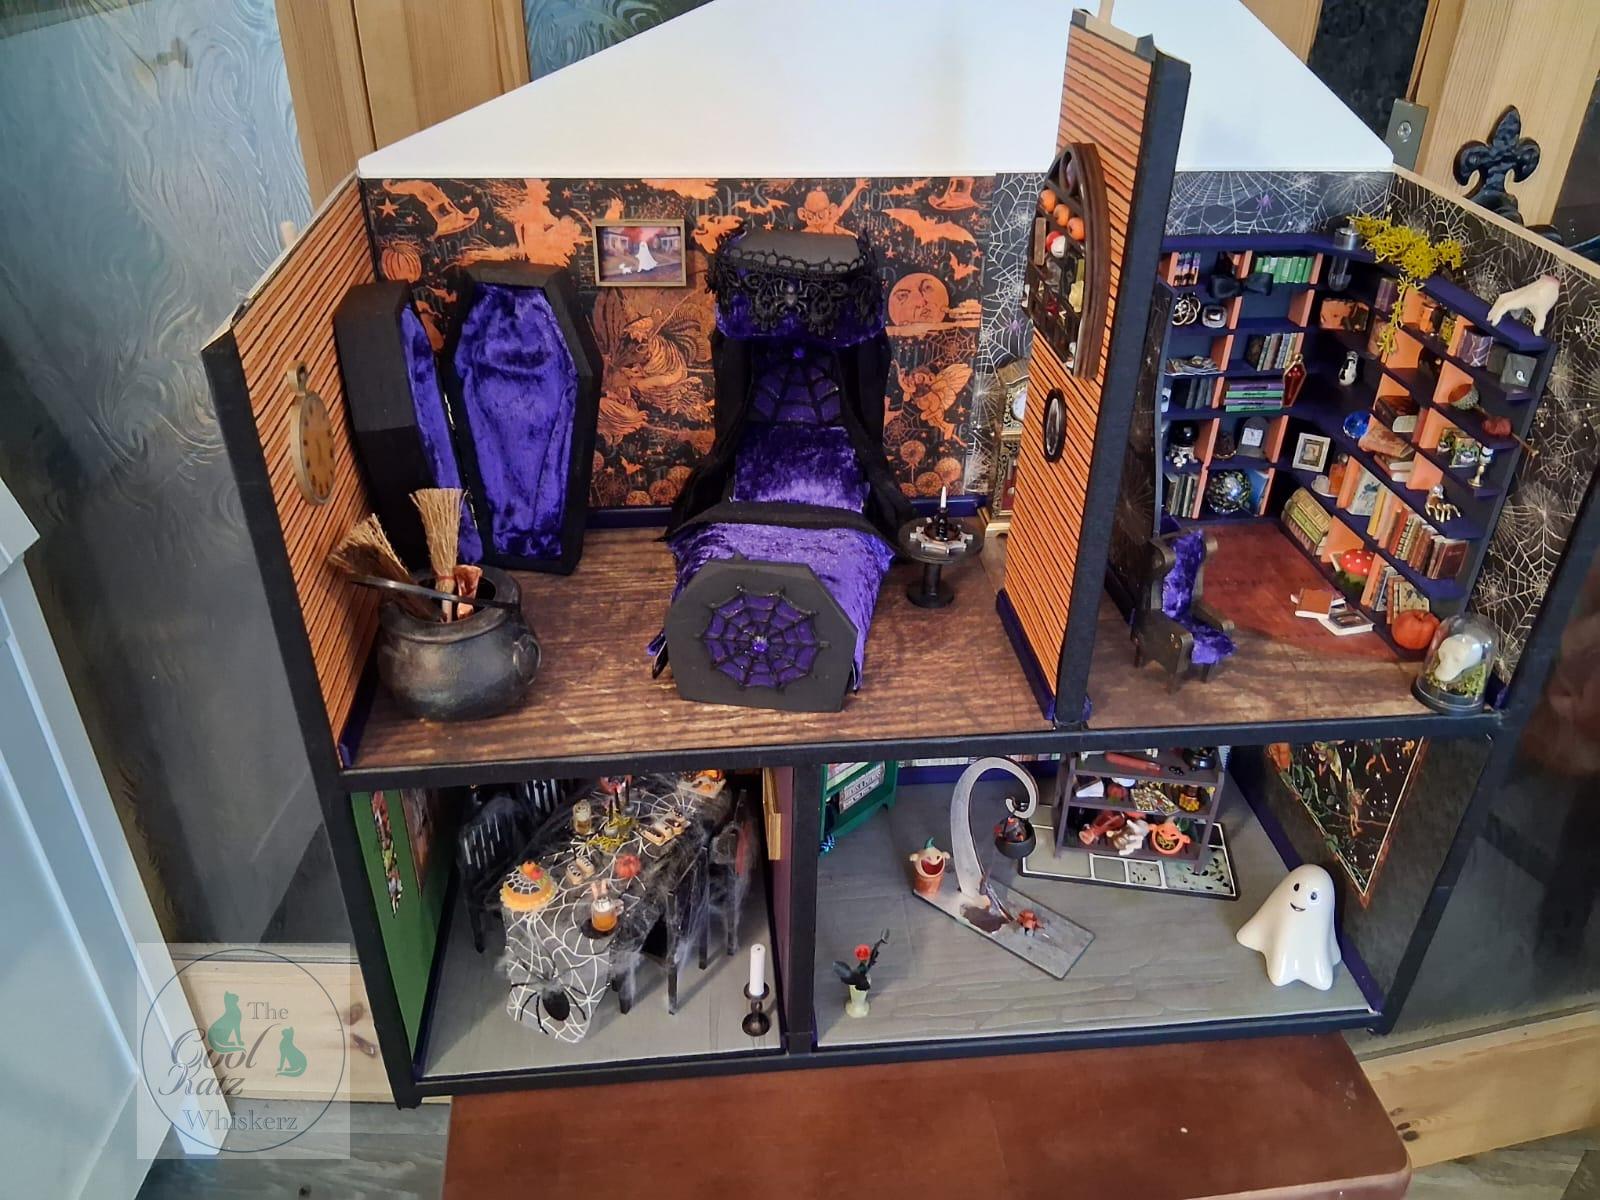
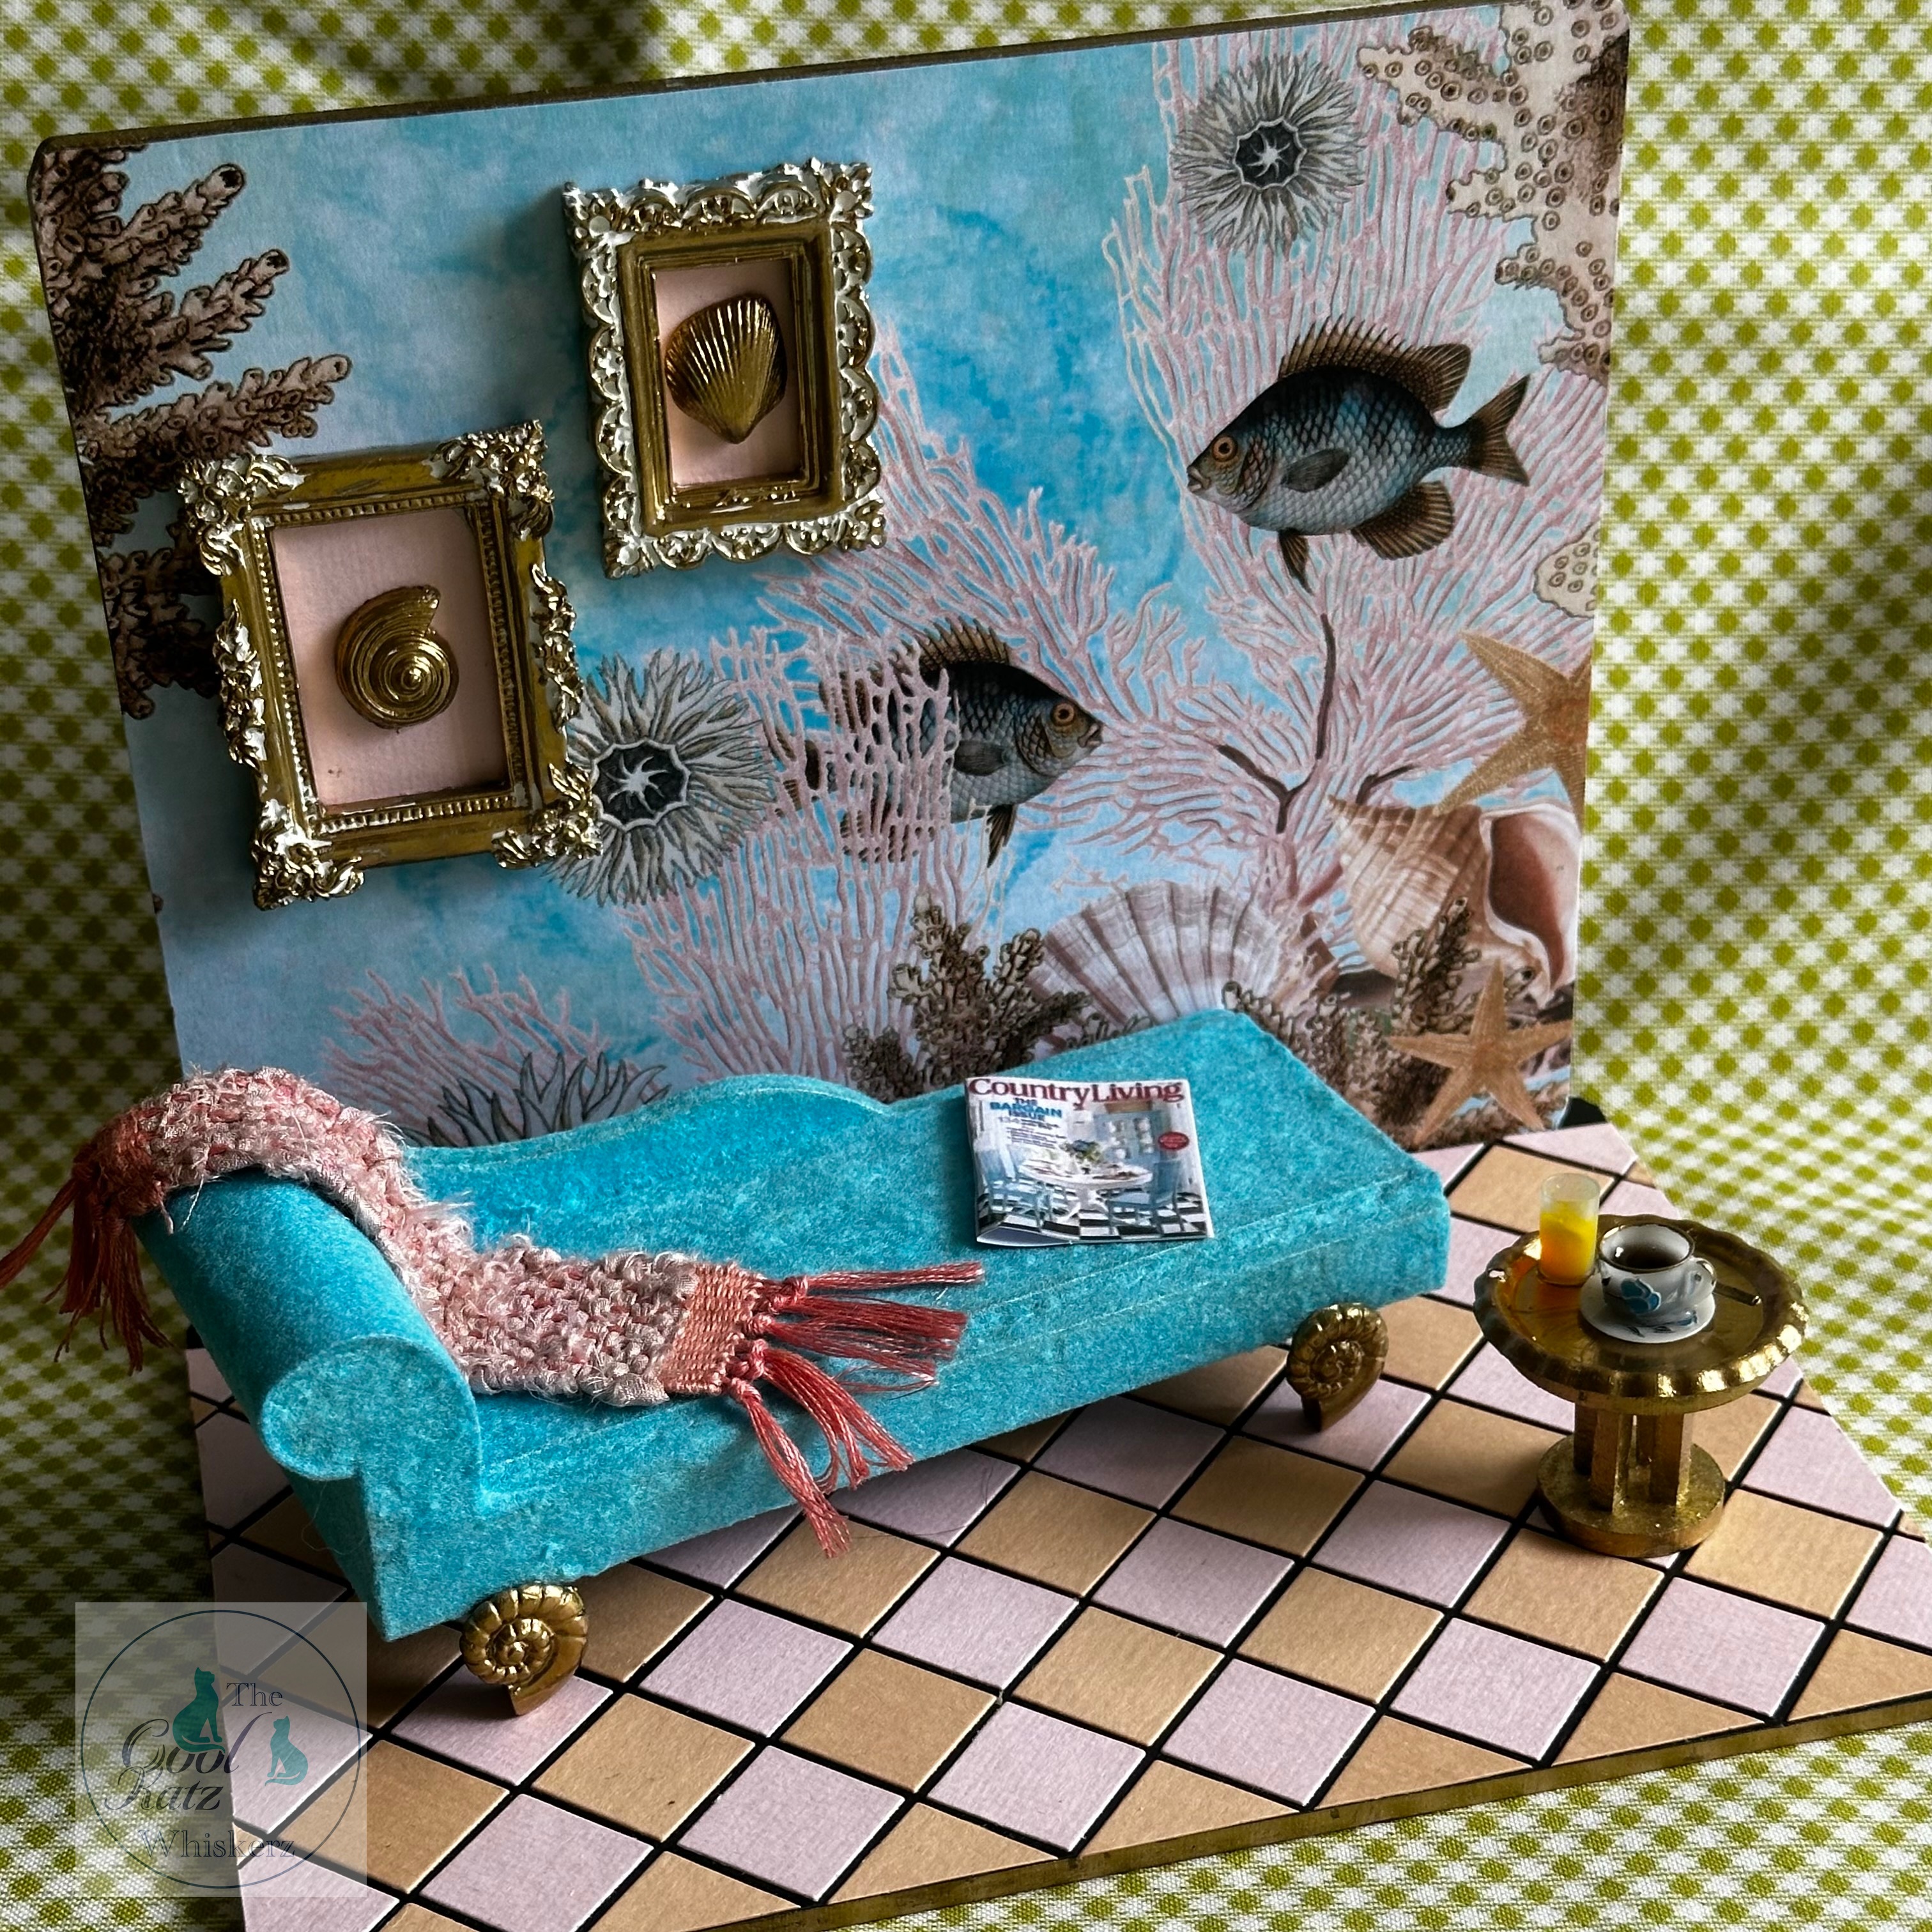
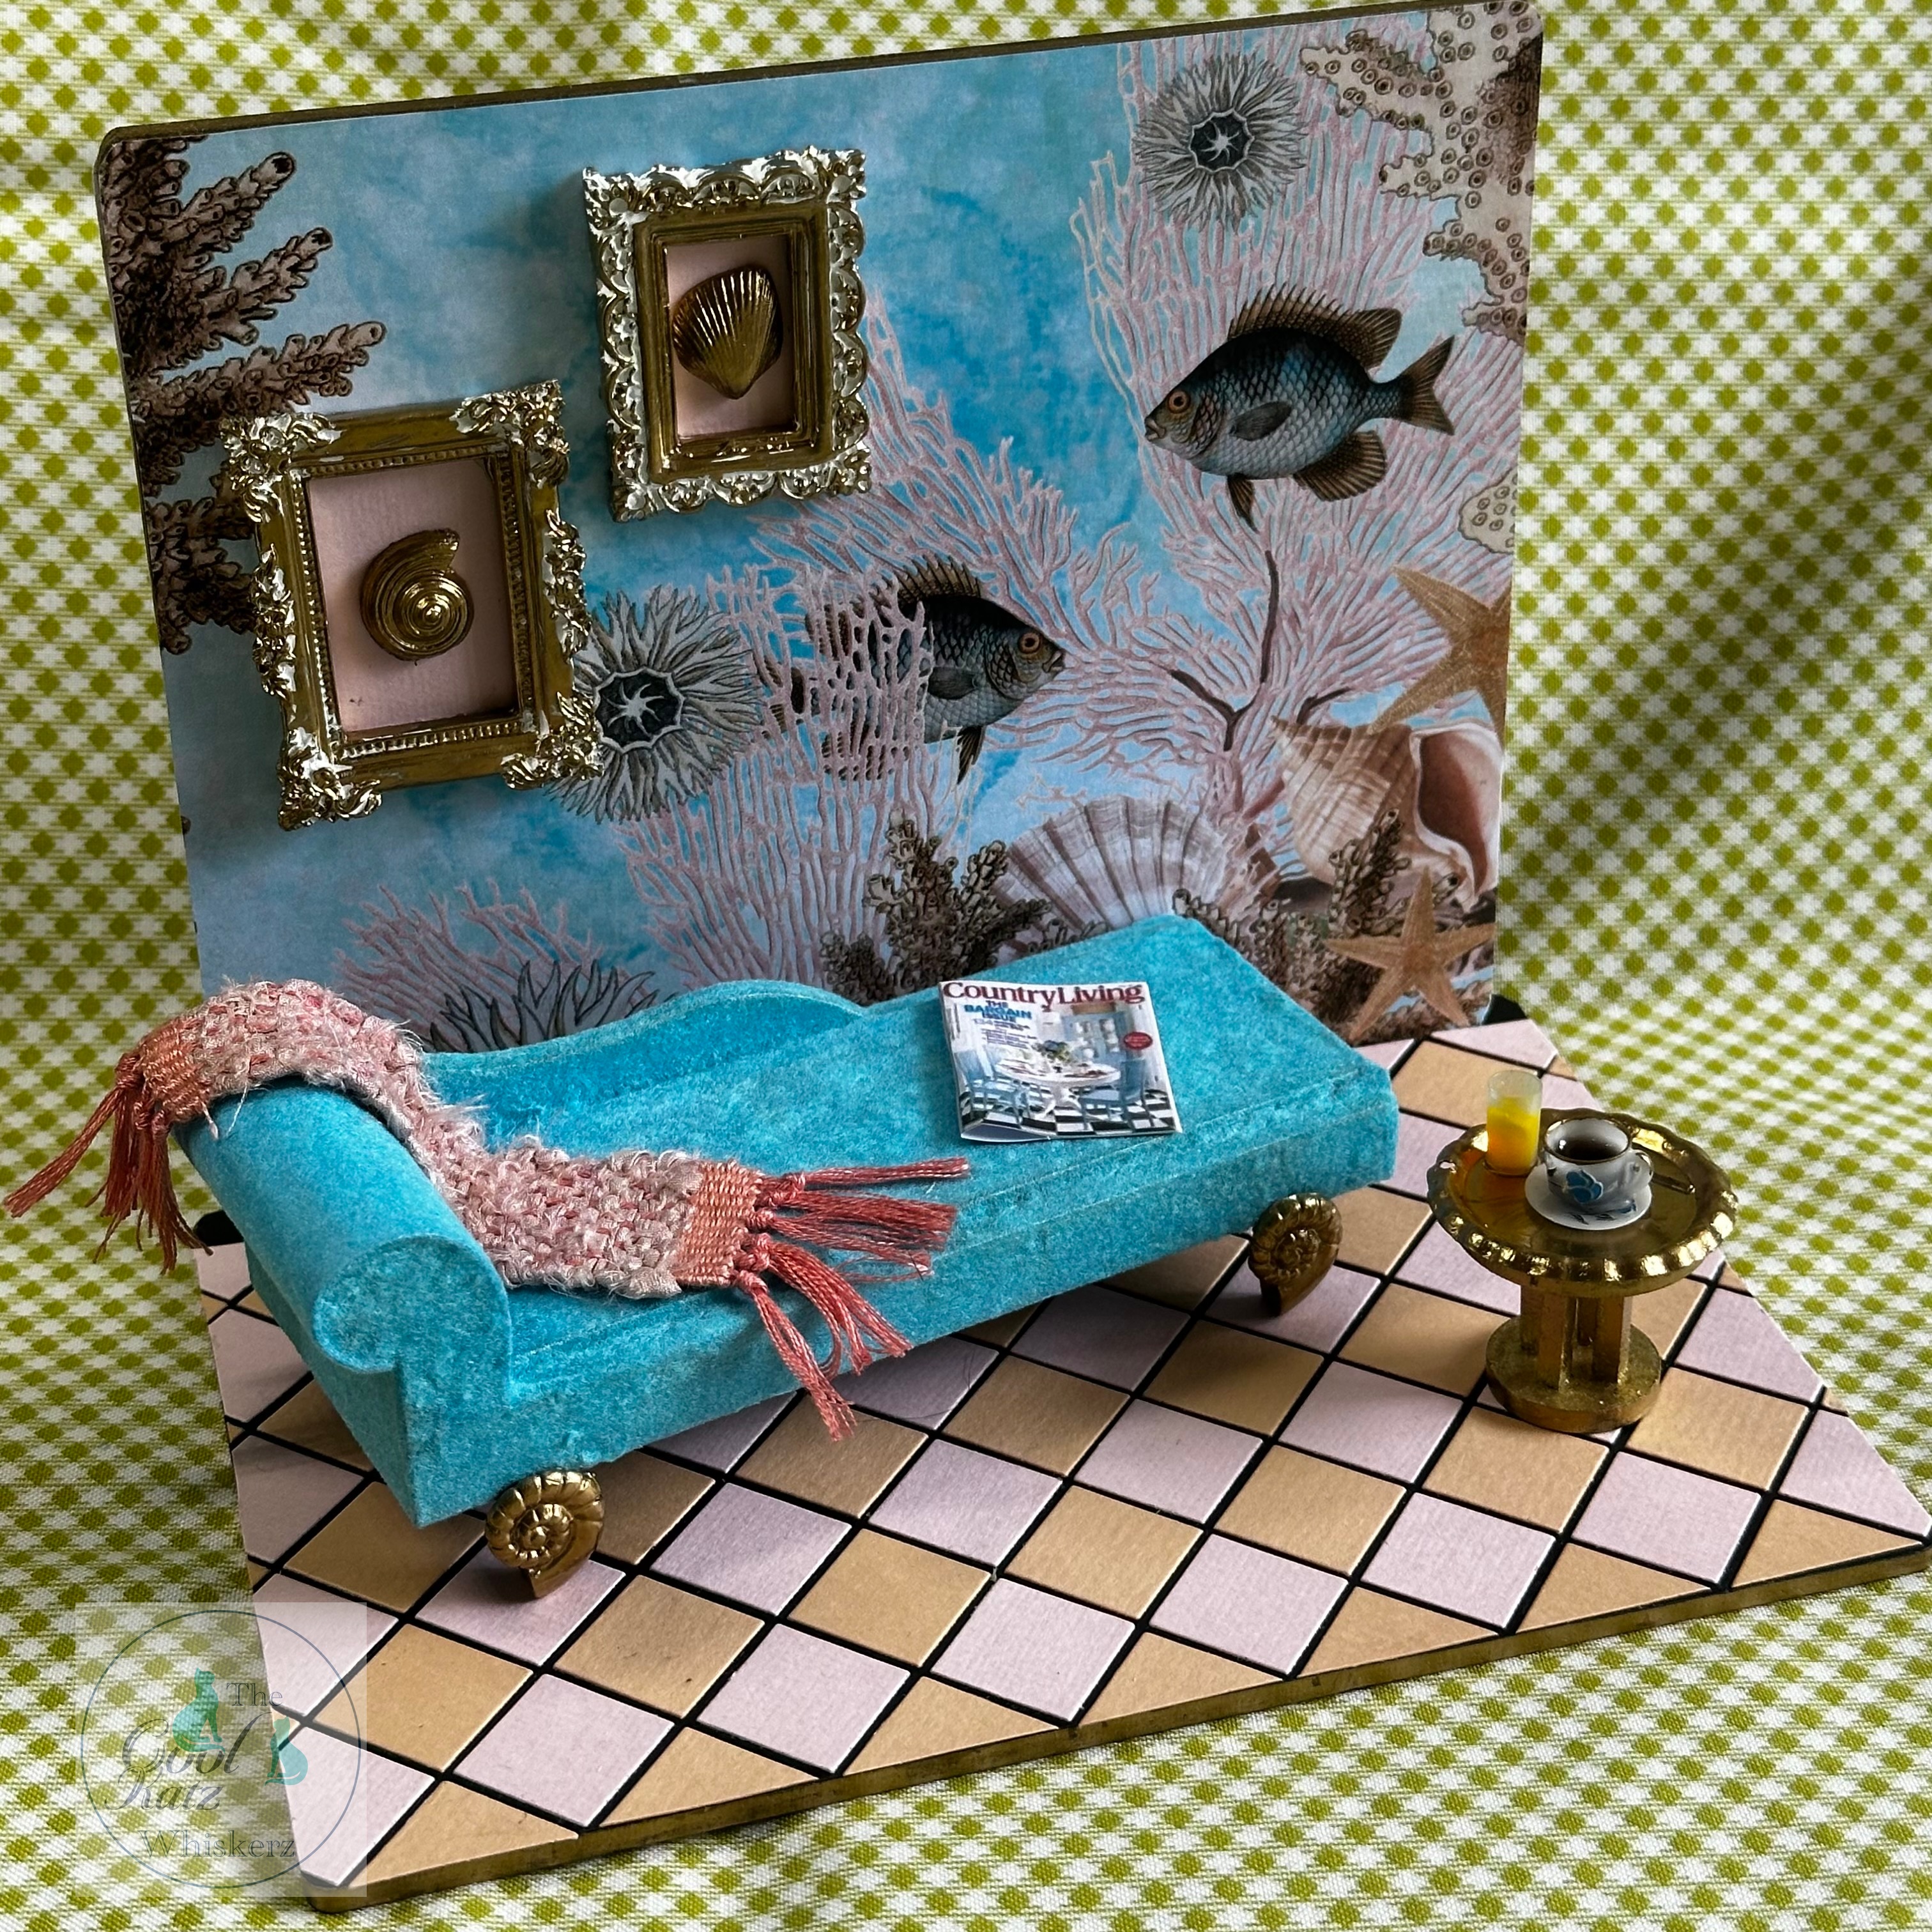
I had an idea to create a lavish Sea themed Parlour think “10,000 Leagues Under the Sea”.
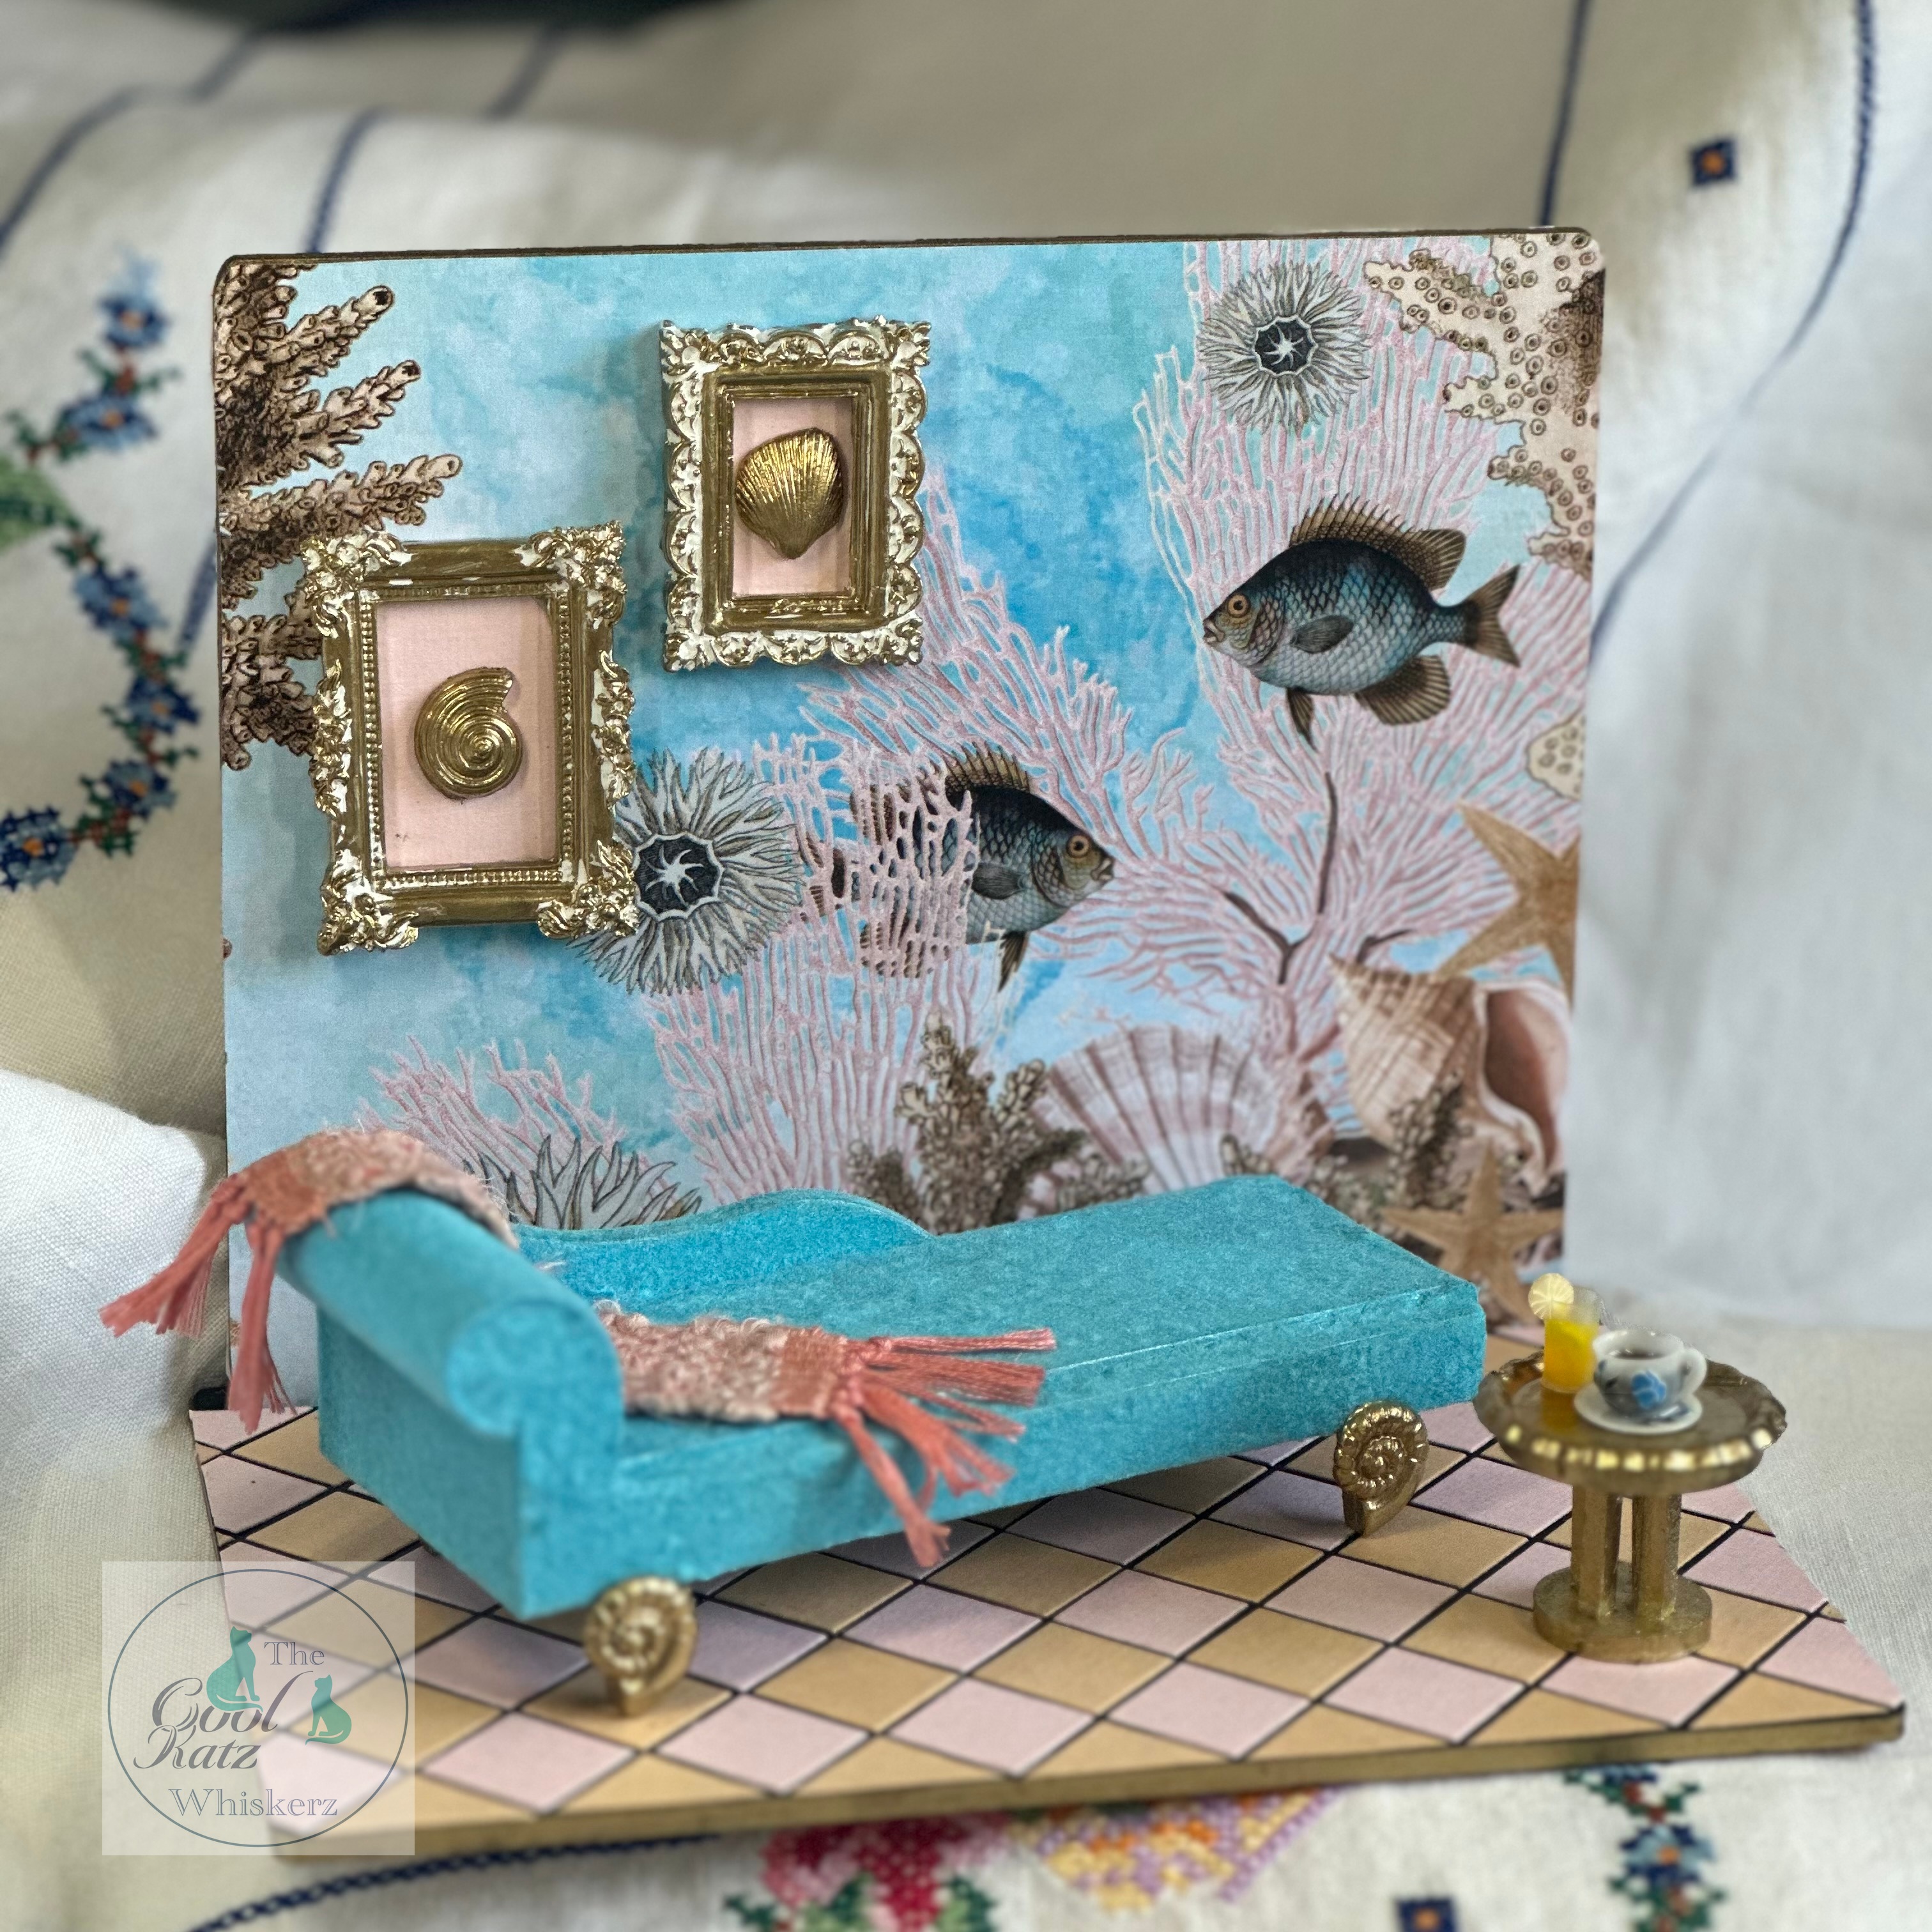
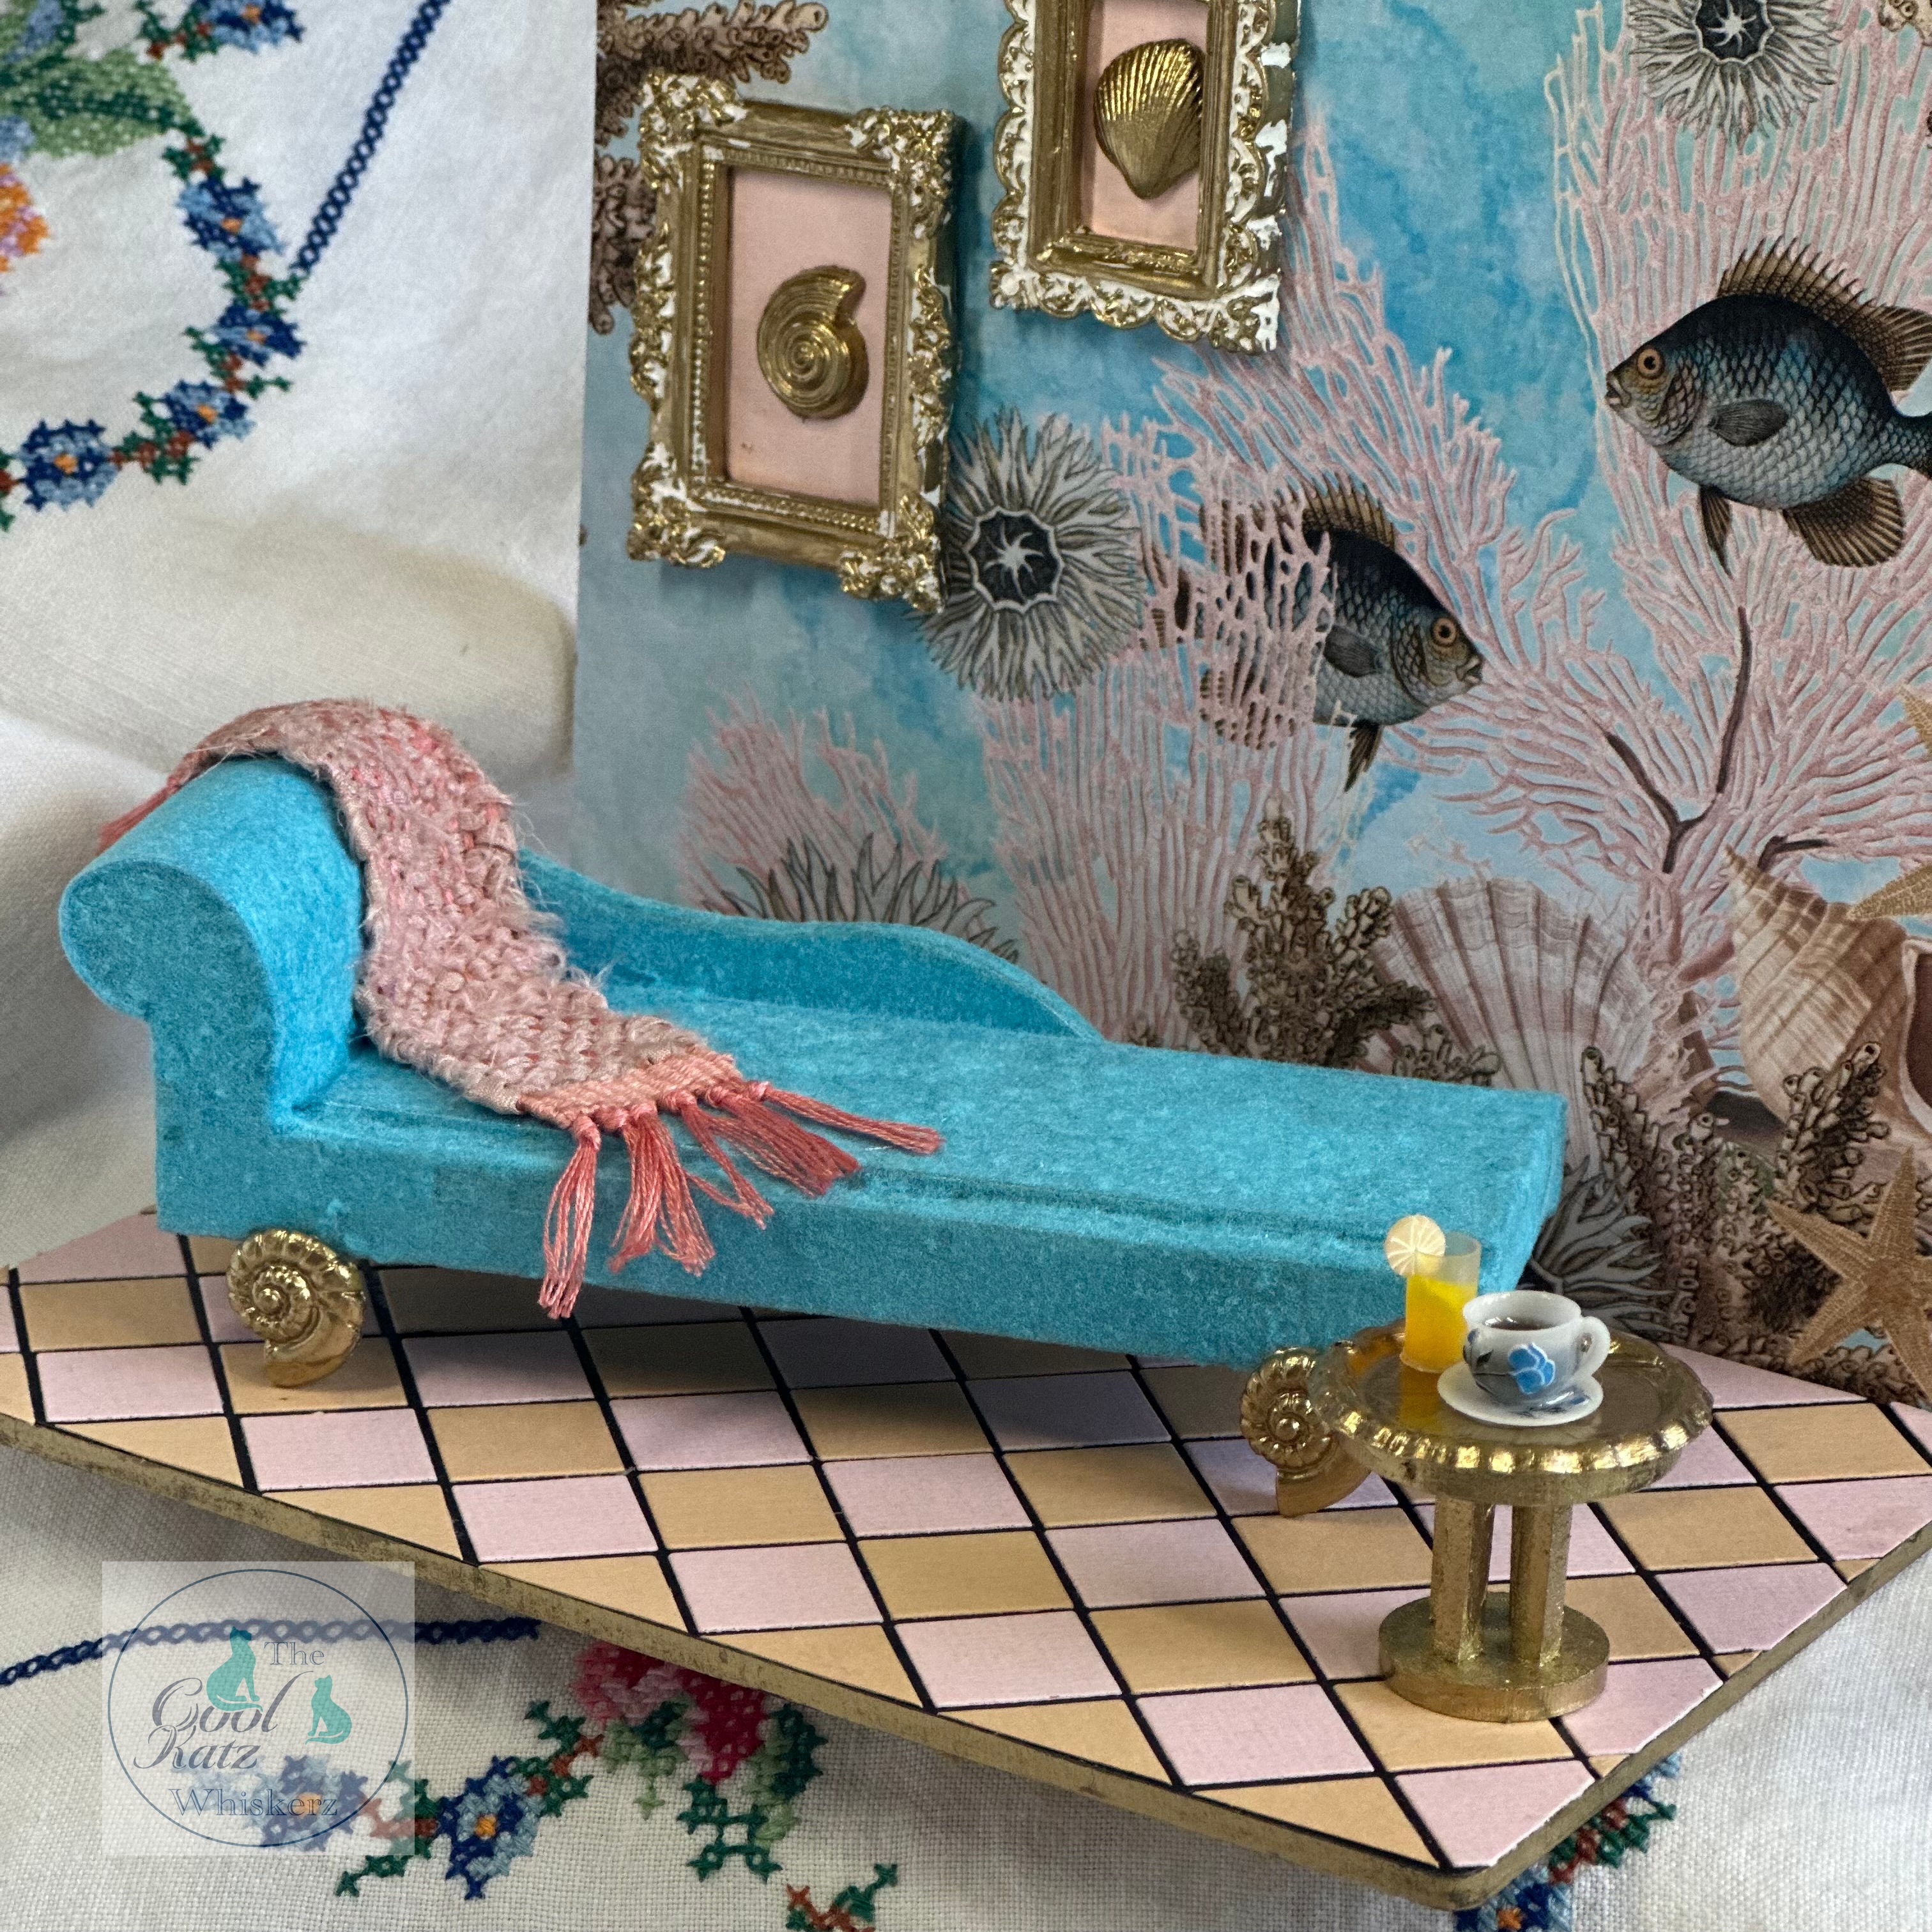
In my stash I have lots of left over resin pieces and decided to use a few of these in my project. There were a couple of frames and as luck would have it quite a few sea shells in there.
I painted both the picture frames and shells with a coat of white gesso and set aside to dry whilst I planned out exactly how I would use them.
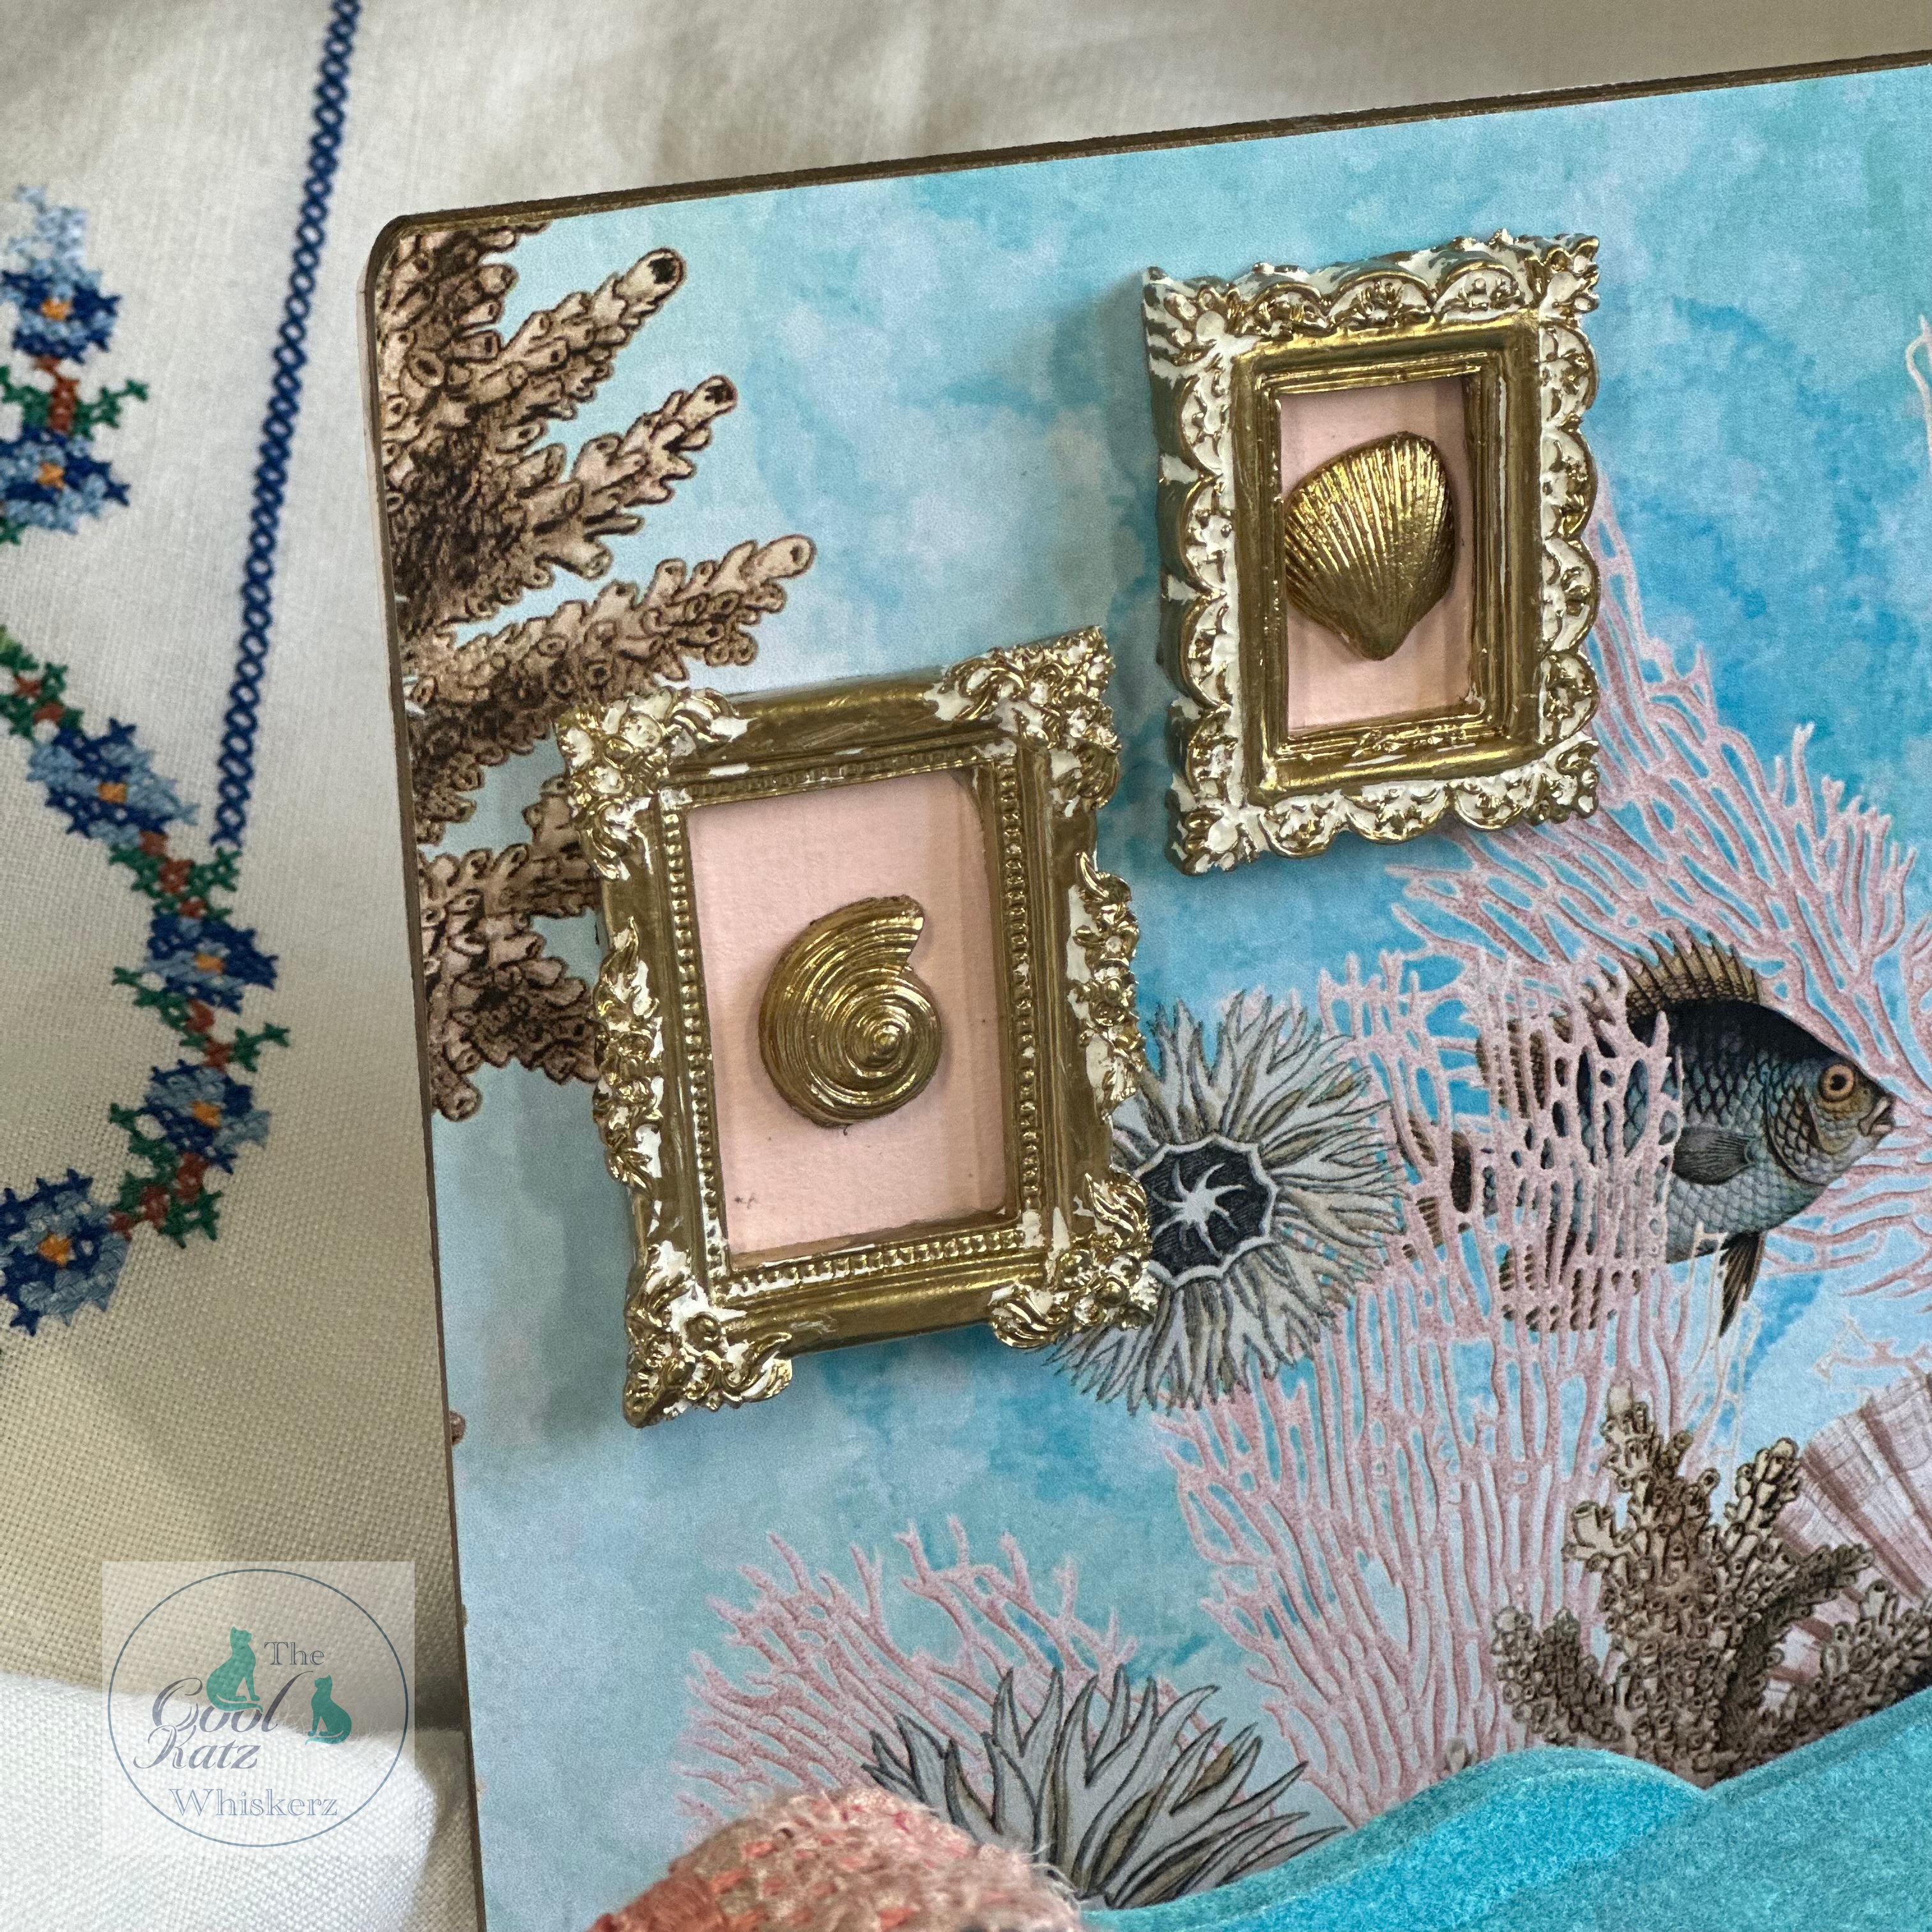
I added gold pen to the frames leaving areas of white to create a shabby finish. Once dry I stuck them to a piece of pale pink card and left them to dry.
I decided to add shell inside the frames so again the gold pen came out to change the colour.
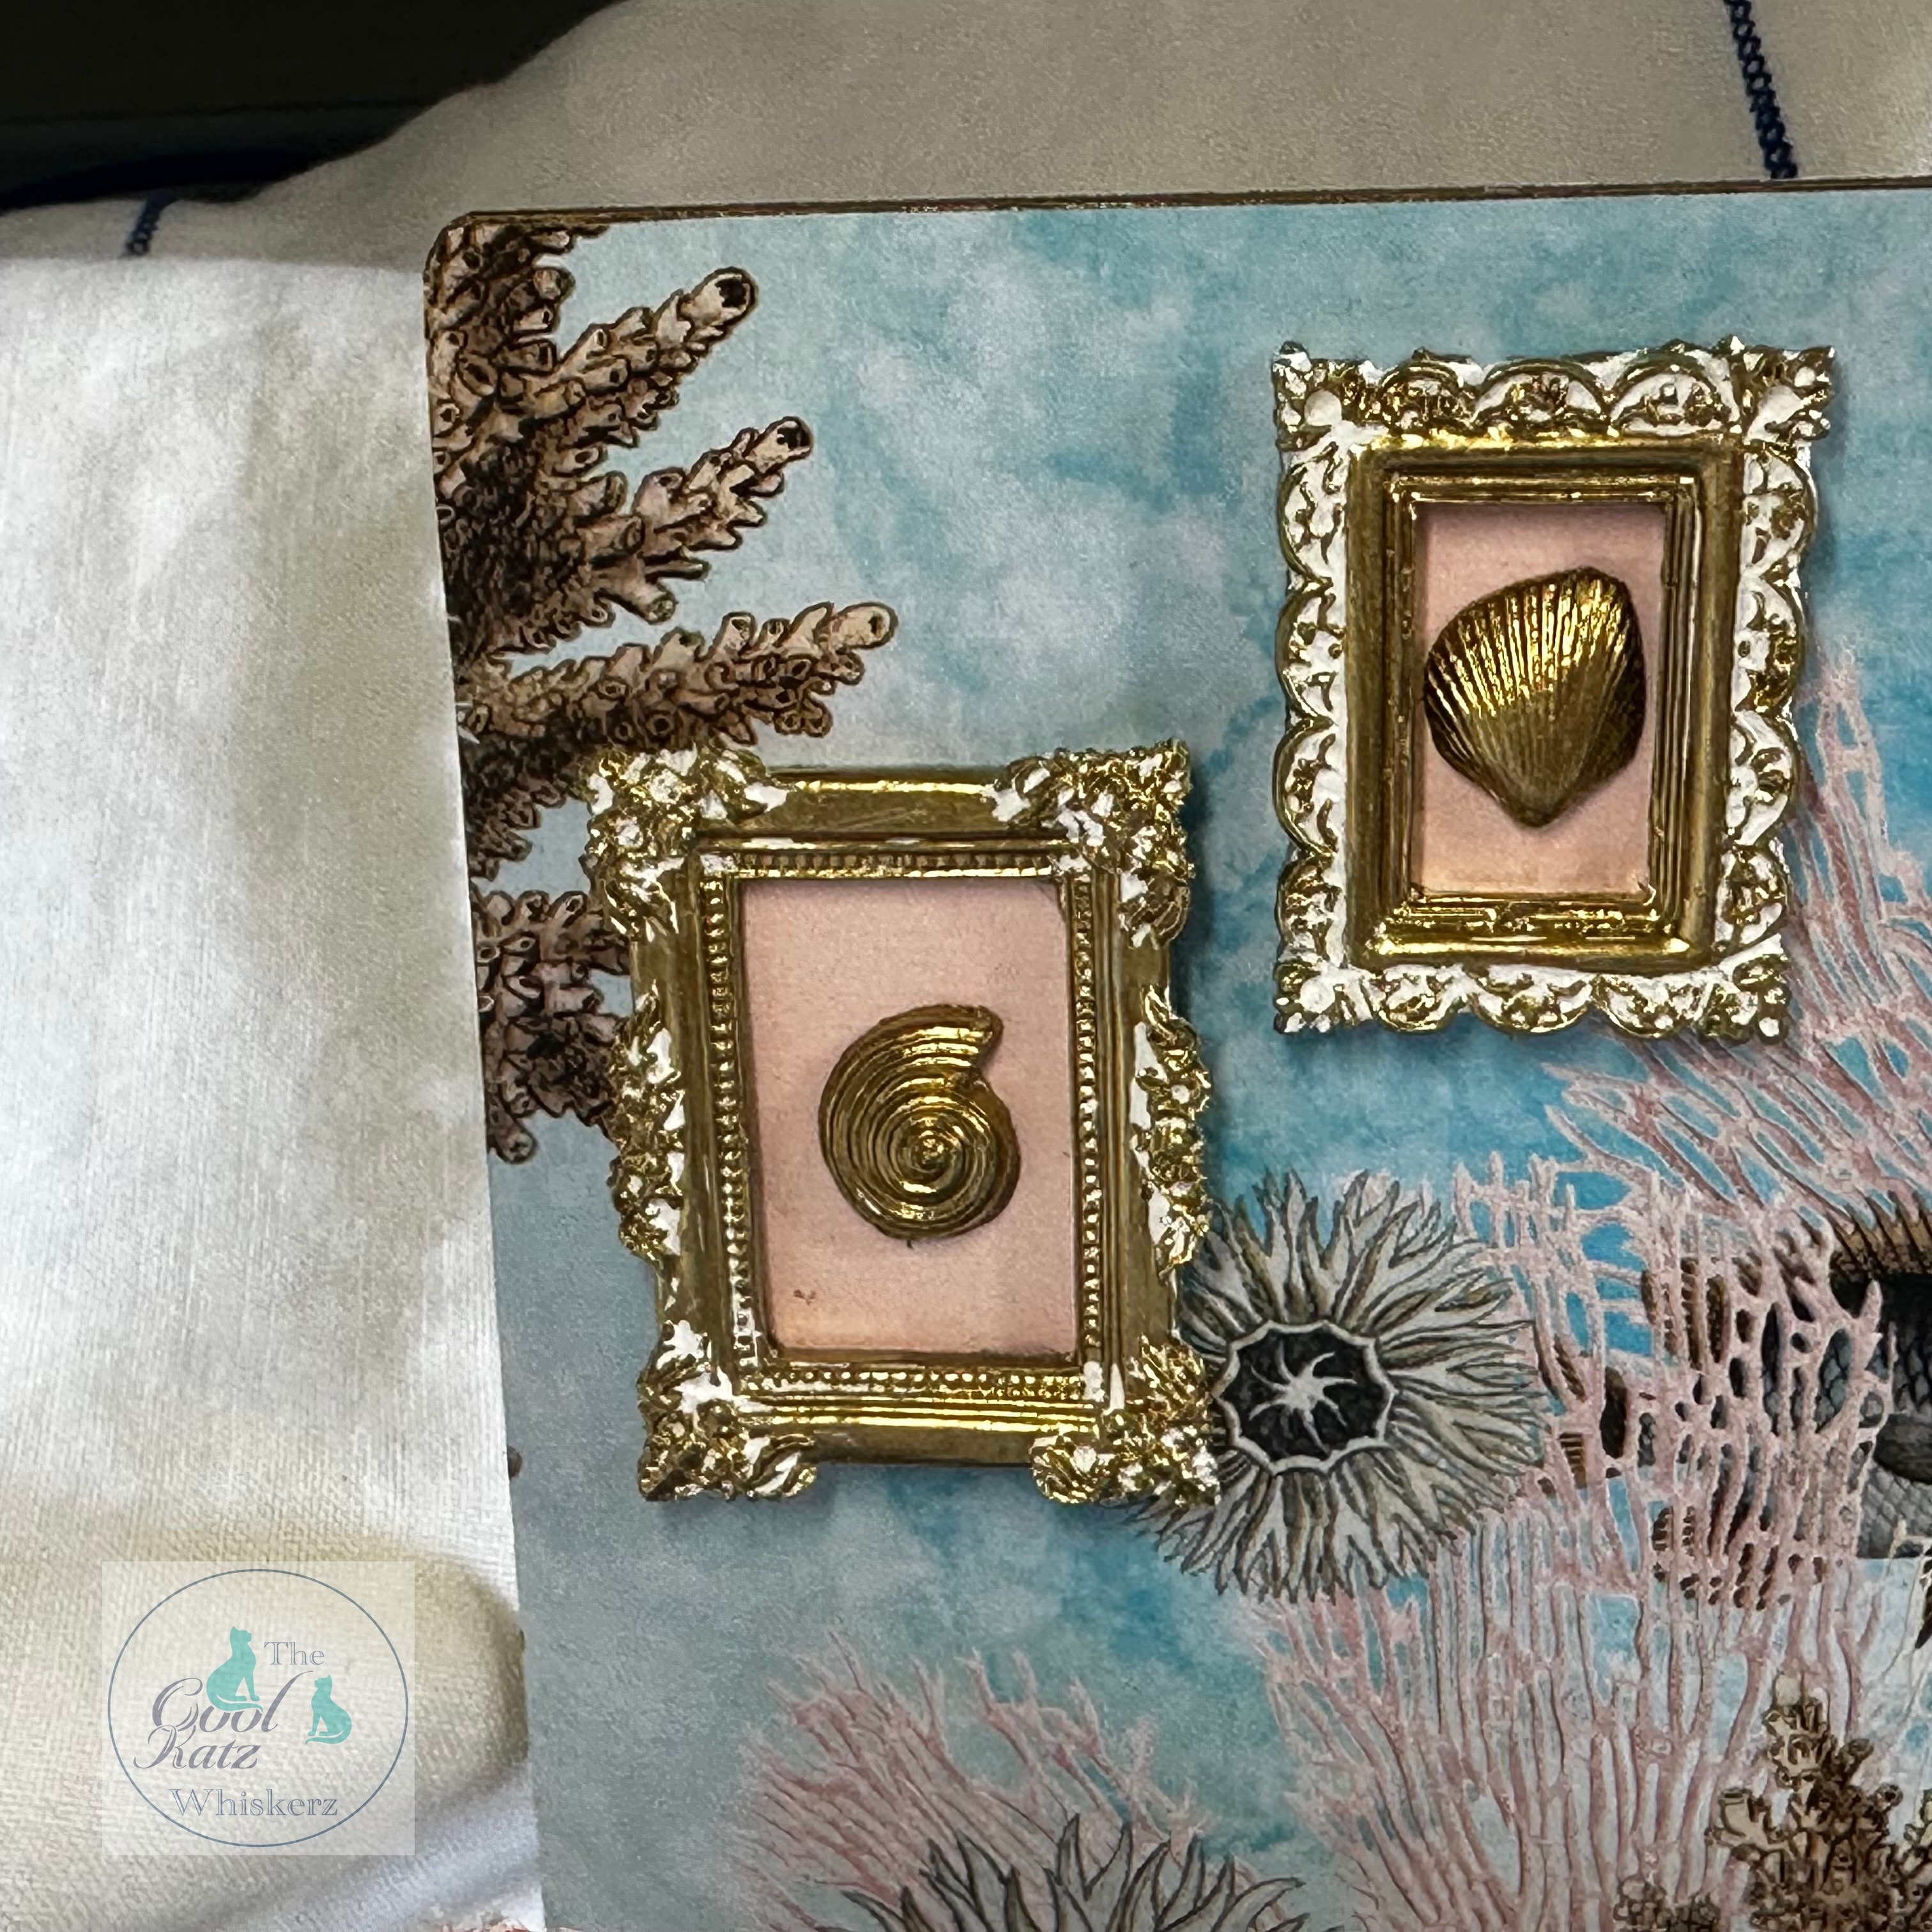
I am really quite pleased with that finished effect and I think they look very high end boutique on the wall.
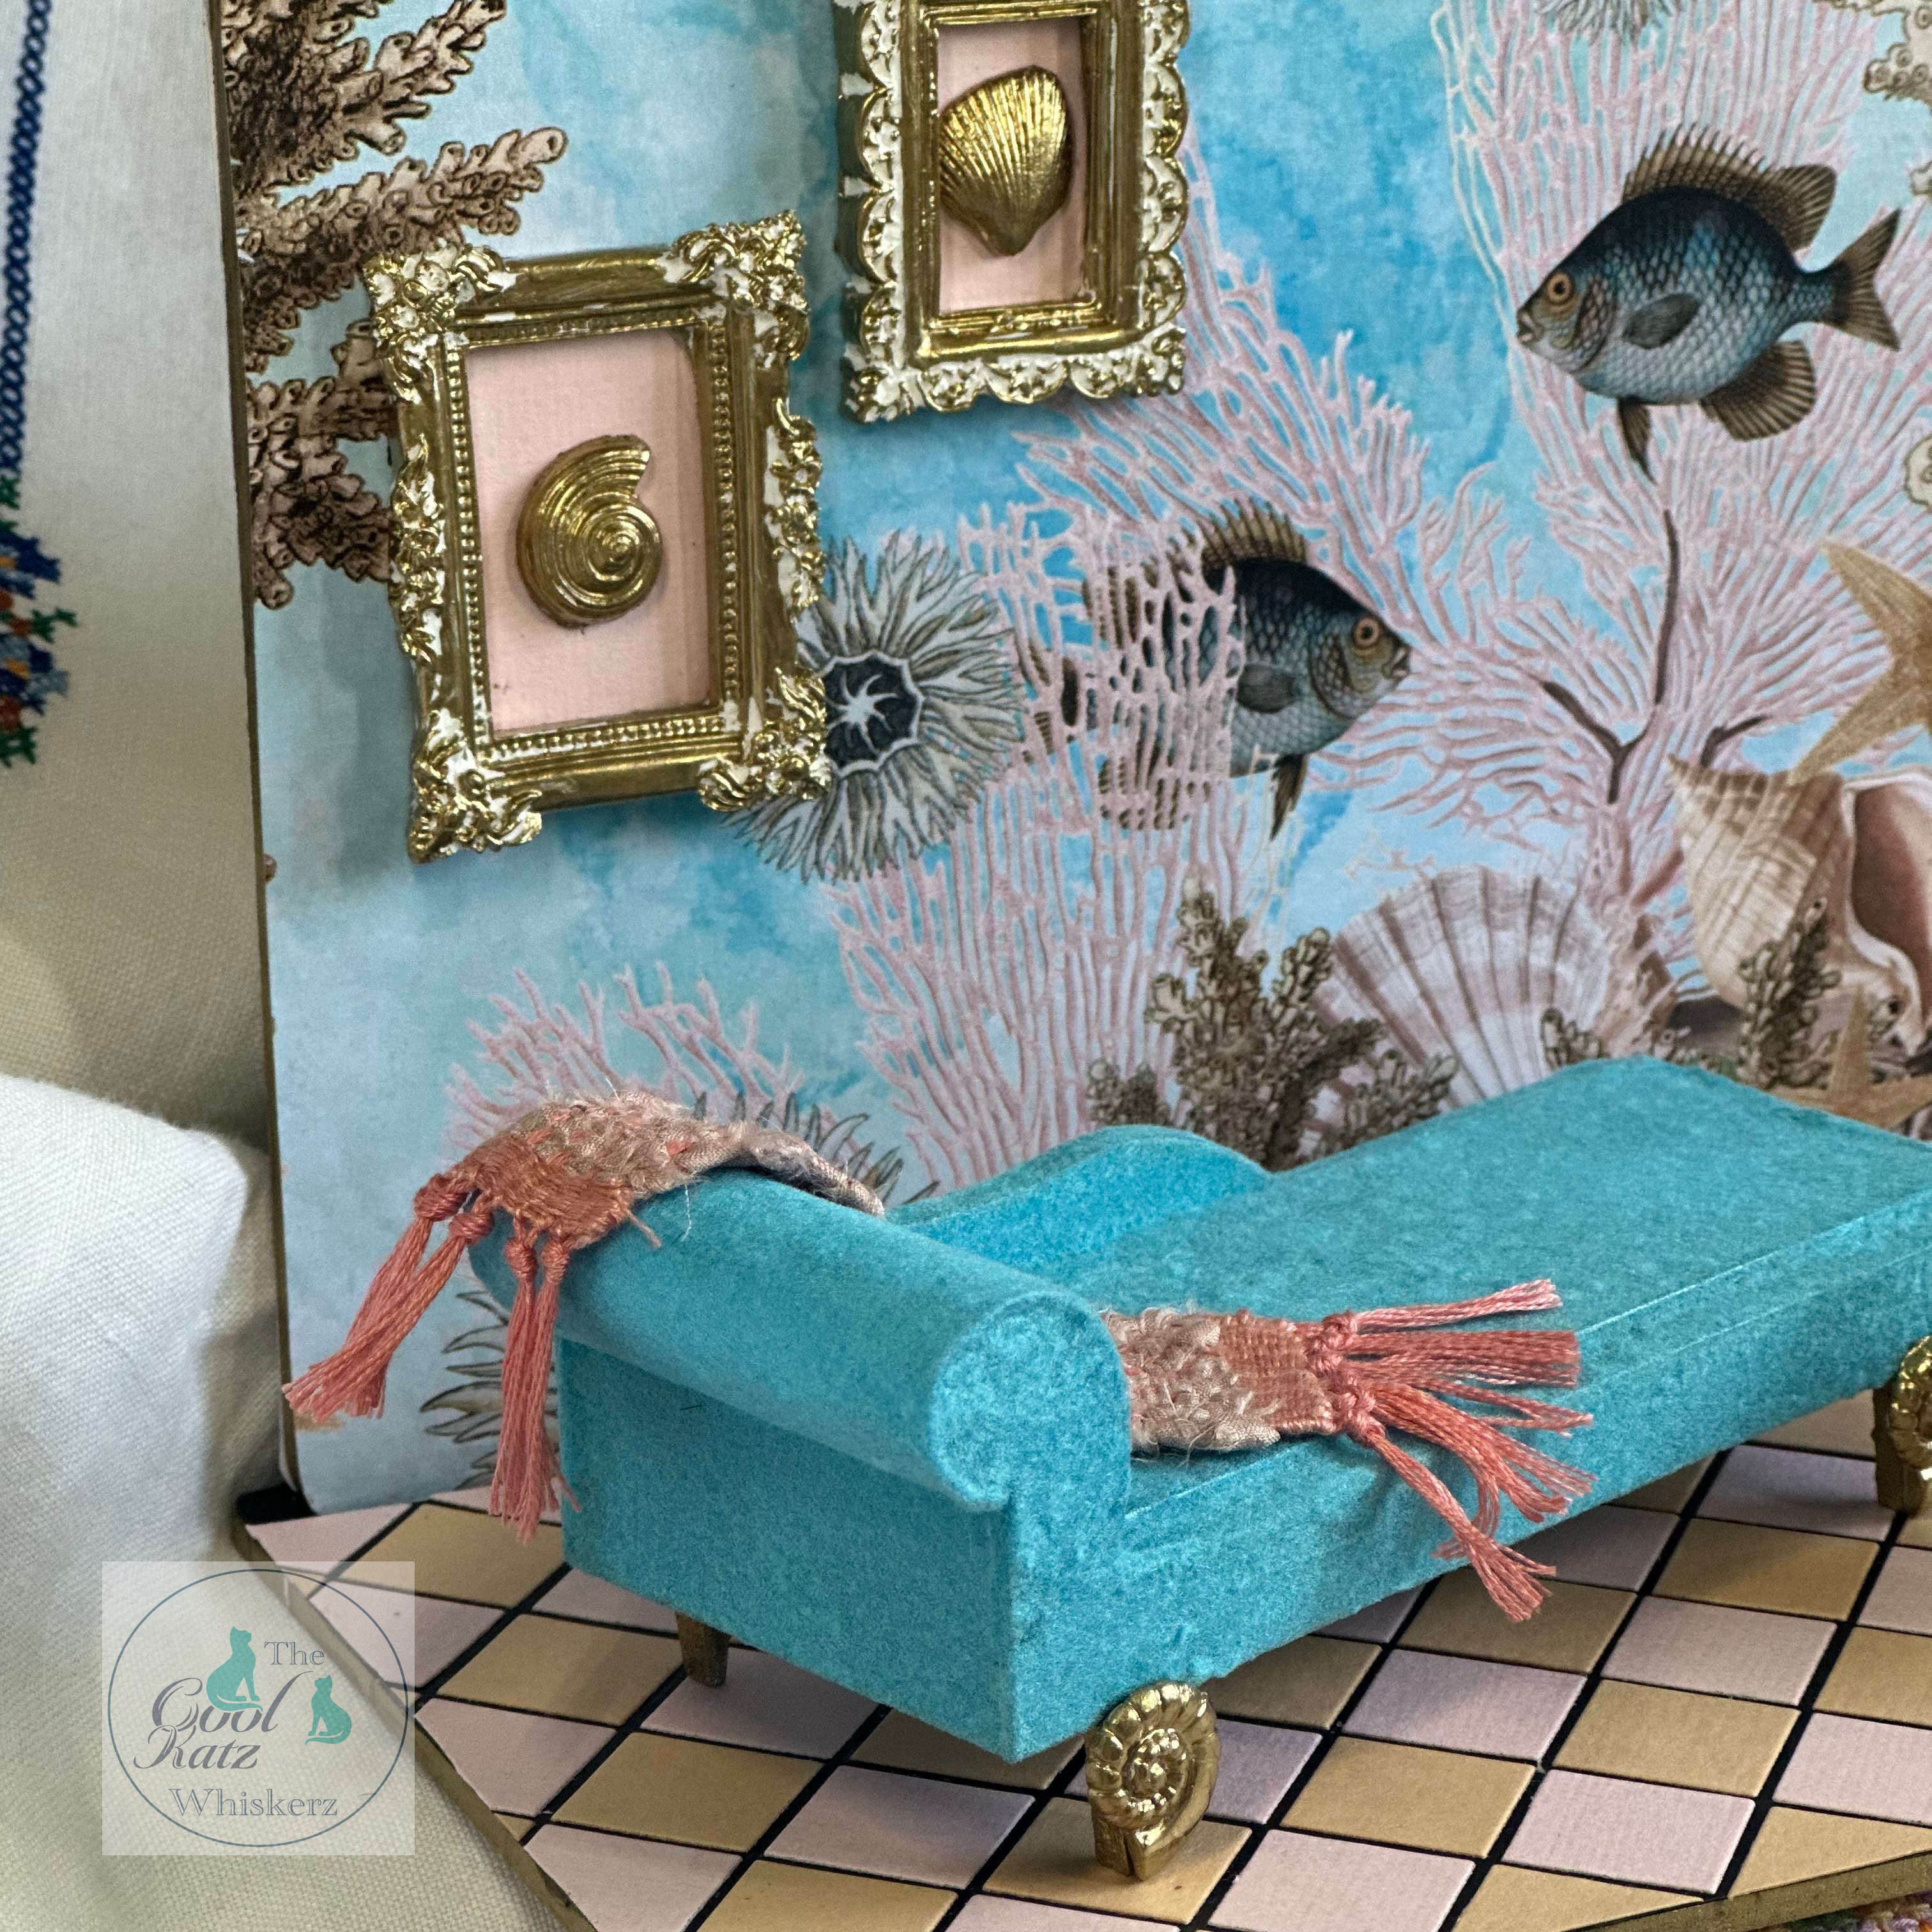
The flocked Chaise Longue has two new feet created again with shells painted with, yes, you guessed it, gold pen and added to the front of the existing leg for extra glamour.

This totally changes the look of the Chaise Longue and gives it an almost Boudoir feel.
Draped across the Chaise Longue you will find a hand woven stole really to be wrapped around the shoulders on a cool evening. This was a little fiddly to make, but well worth the effort.

The table was painted in gold acrylic paint and a metal embellishment (sort of a flattened bottle top) was adhered to the top. That too was given a coat of the gold acrylic paint.
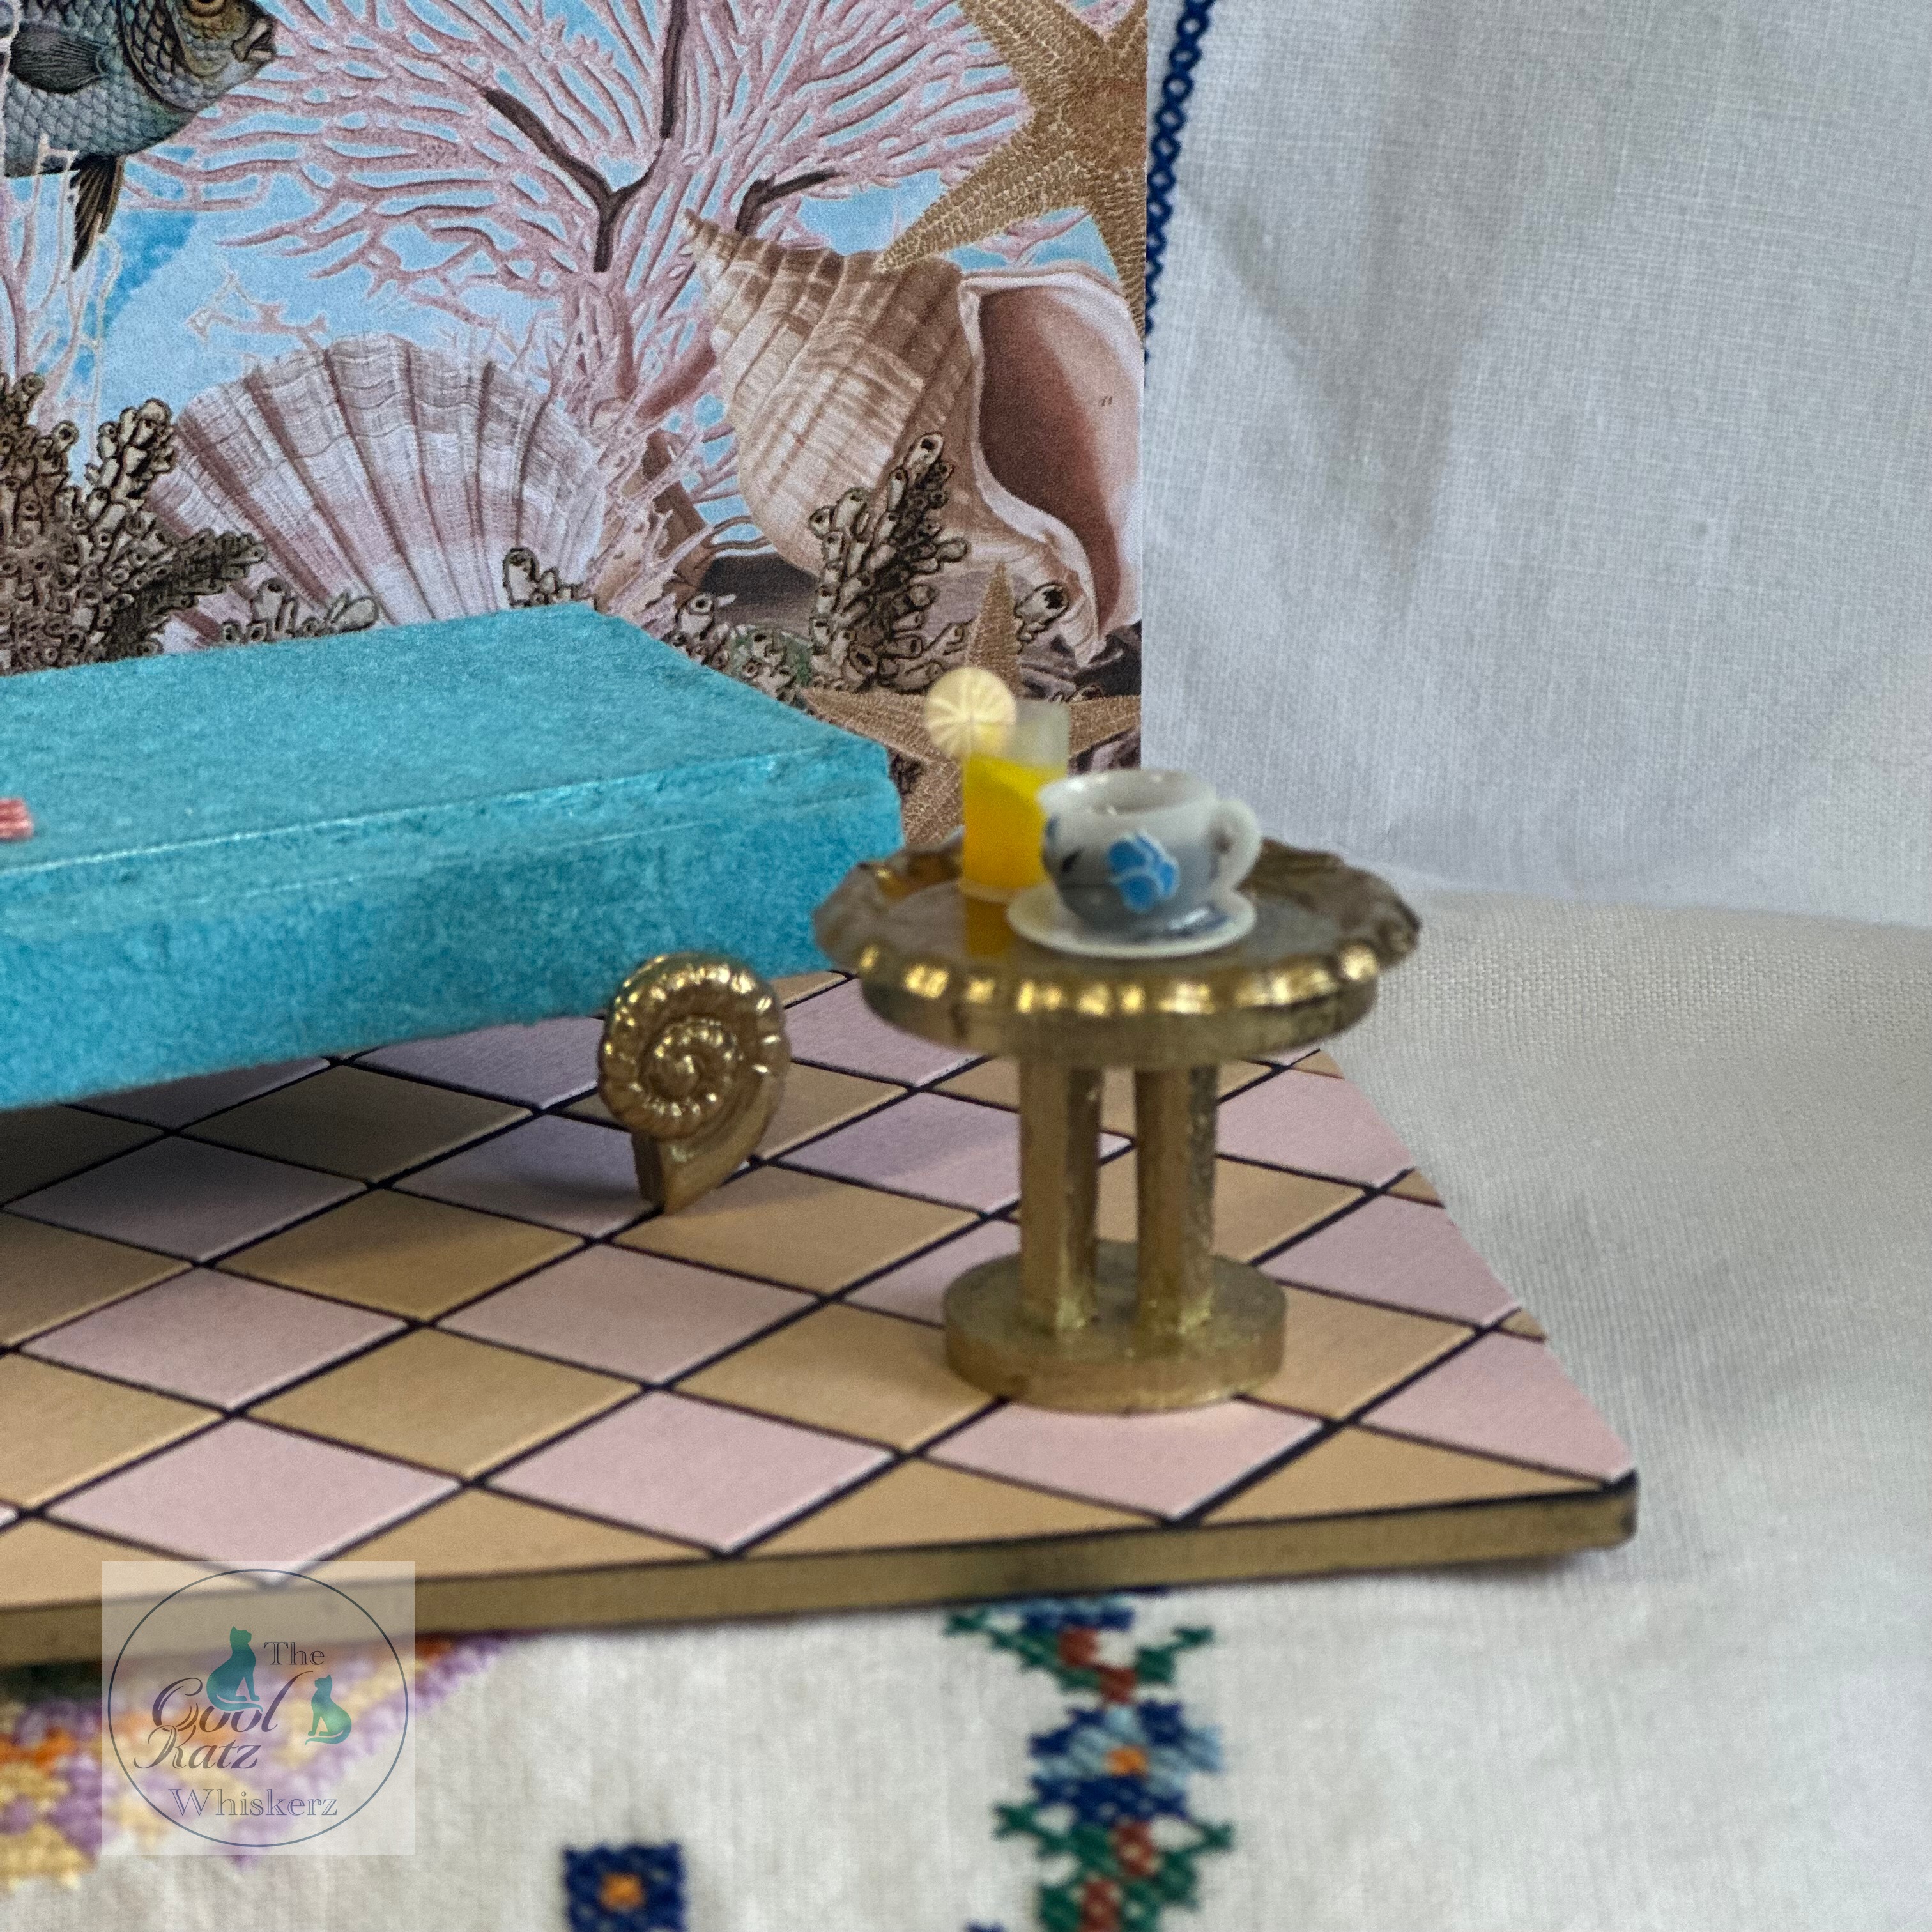
The acrylic paint is a great base layer to add the gold pen over, why the double layer, well the pen adds a much higher shine and looks a little more luxurious.
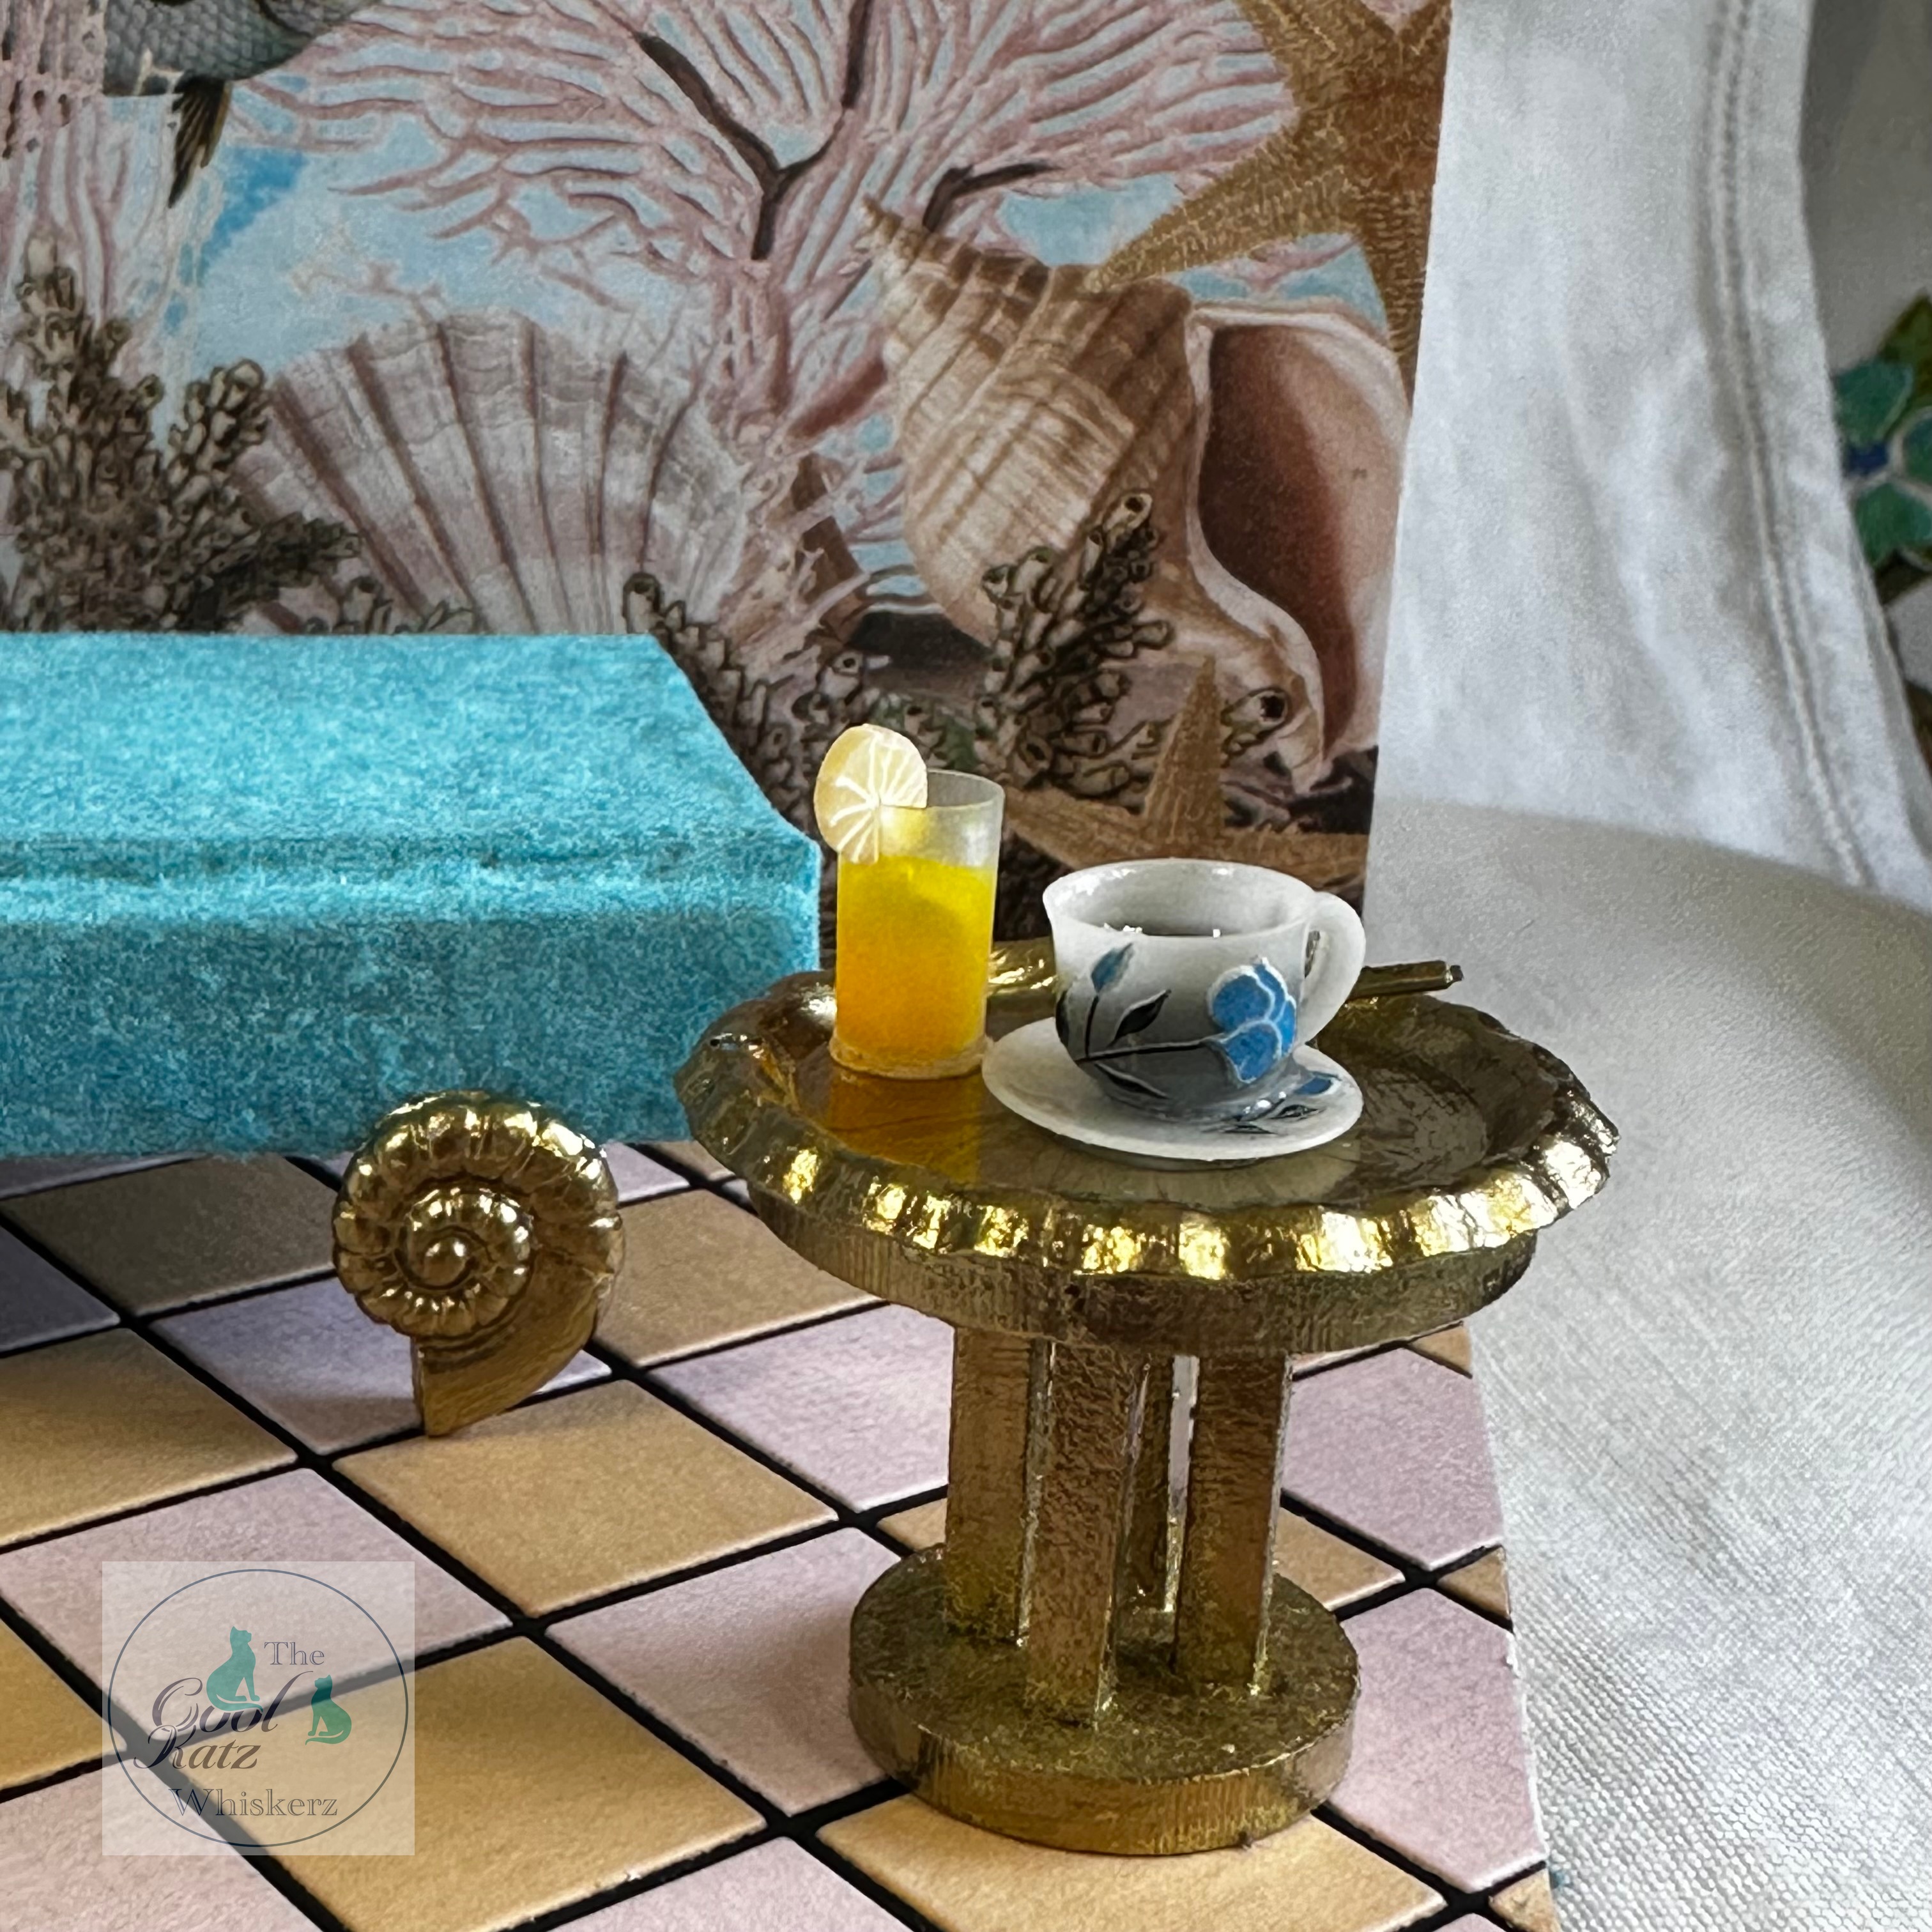
There's a cup of black coffee resting on a saucer with a gold spoon balancing to one side. The decoration was created with a nail decal with resin brushed over the top to seal it; whilst the coffee was created by tinting resin and adding it to the cup. A quick stint under the UV lamp to cure everything and it was ready to go on the golden table along with a glass of orange juice created again by tinting resin with an orange dye.
With a little checker board floor the scene is complete.
I had so much fun decorating this scene that I didn't want it to end. If you spot it on display at a CoolKatz event it may well have a little more decoration added!
Have fun and don't forget to share your CoolKatz projects with us over on the CoolKatz Facebook Group page.
You will find lots of inspiration there, as well as over on our YouTube Channel. All the links are below.
Happy Crafting
The CoolKatz Team x
https://www.coolkatzcraft.com/
https://www.youtube.com/channel/UCHVLrneEbdNJp3EIhJoH4BA
https://www.facebook.com/groups/CoolKatzCraft
https://www.coolkatzcraft.com/the-tiny-world-of-coolkatz-complete-mini-scene-series-1-12-scale-chaise-longue
https://www.coolkatzcraft.com/3d-clear-resin-miniature-glassware