
free UK postage
over £40.00
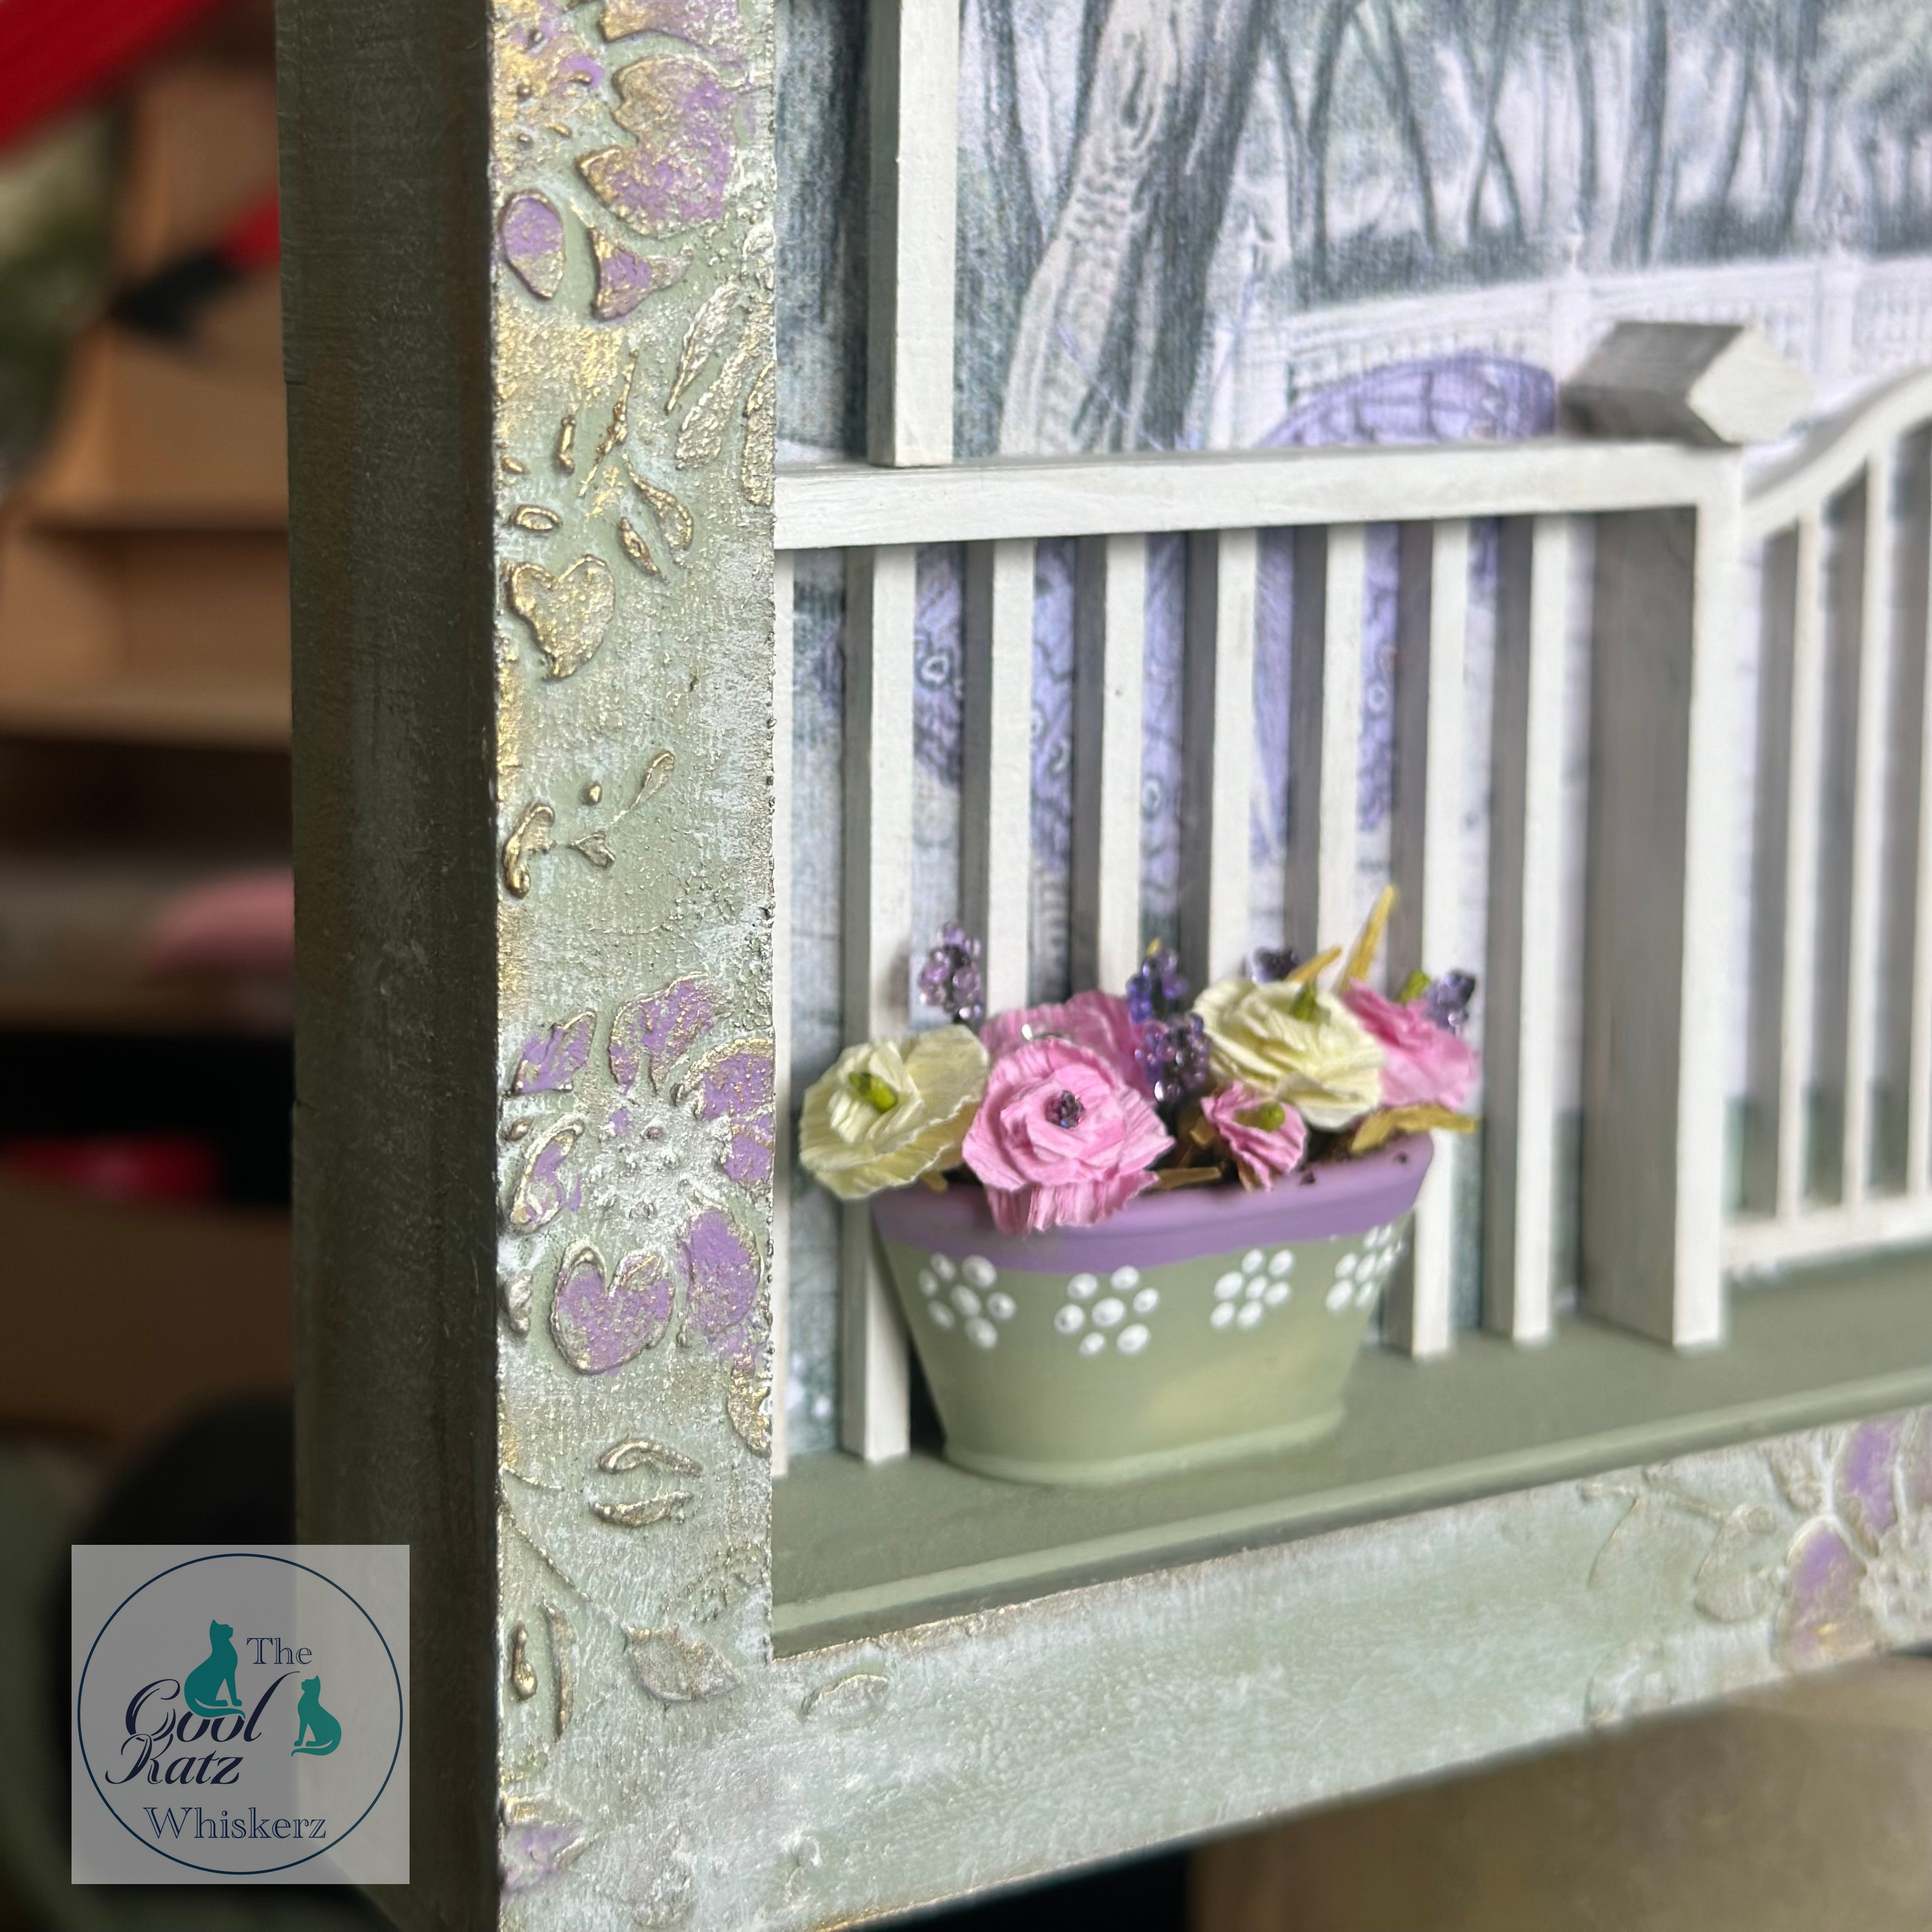
I decided that I wanted texture on the outer frame and found the perfect mini floral stencil in my stash. I used texture paste, let it dry and painted the entire frame sage green.
I made up the background frame as per the instructions, which as always were super easy to follow, then painted the inner frame with the sage paint.
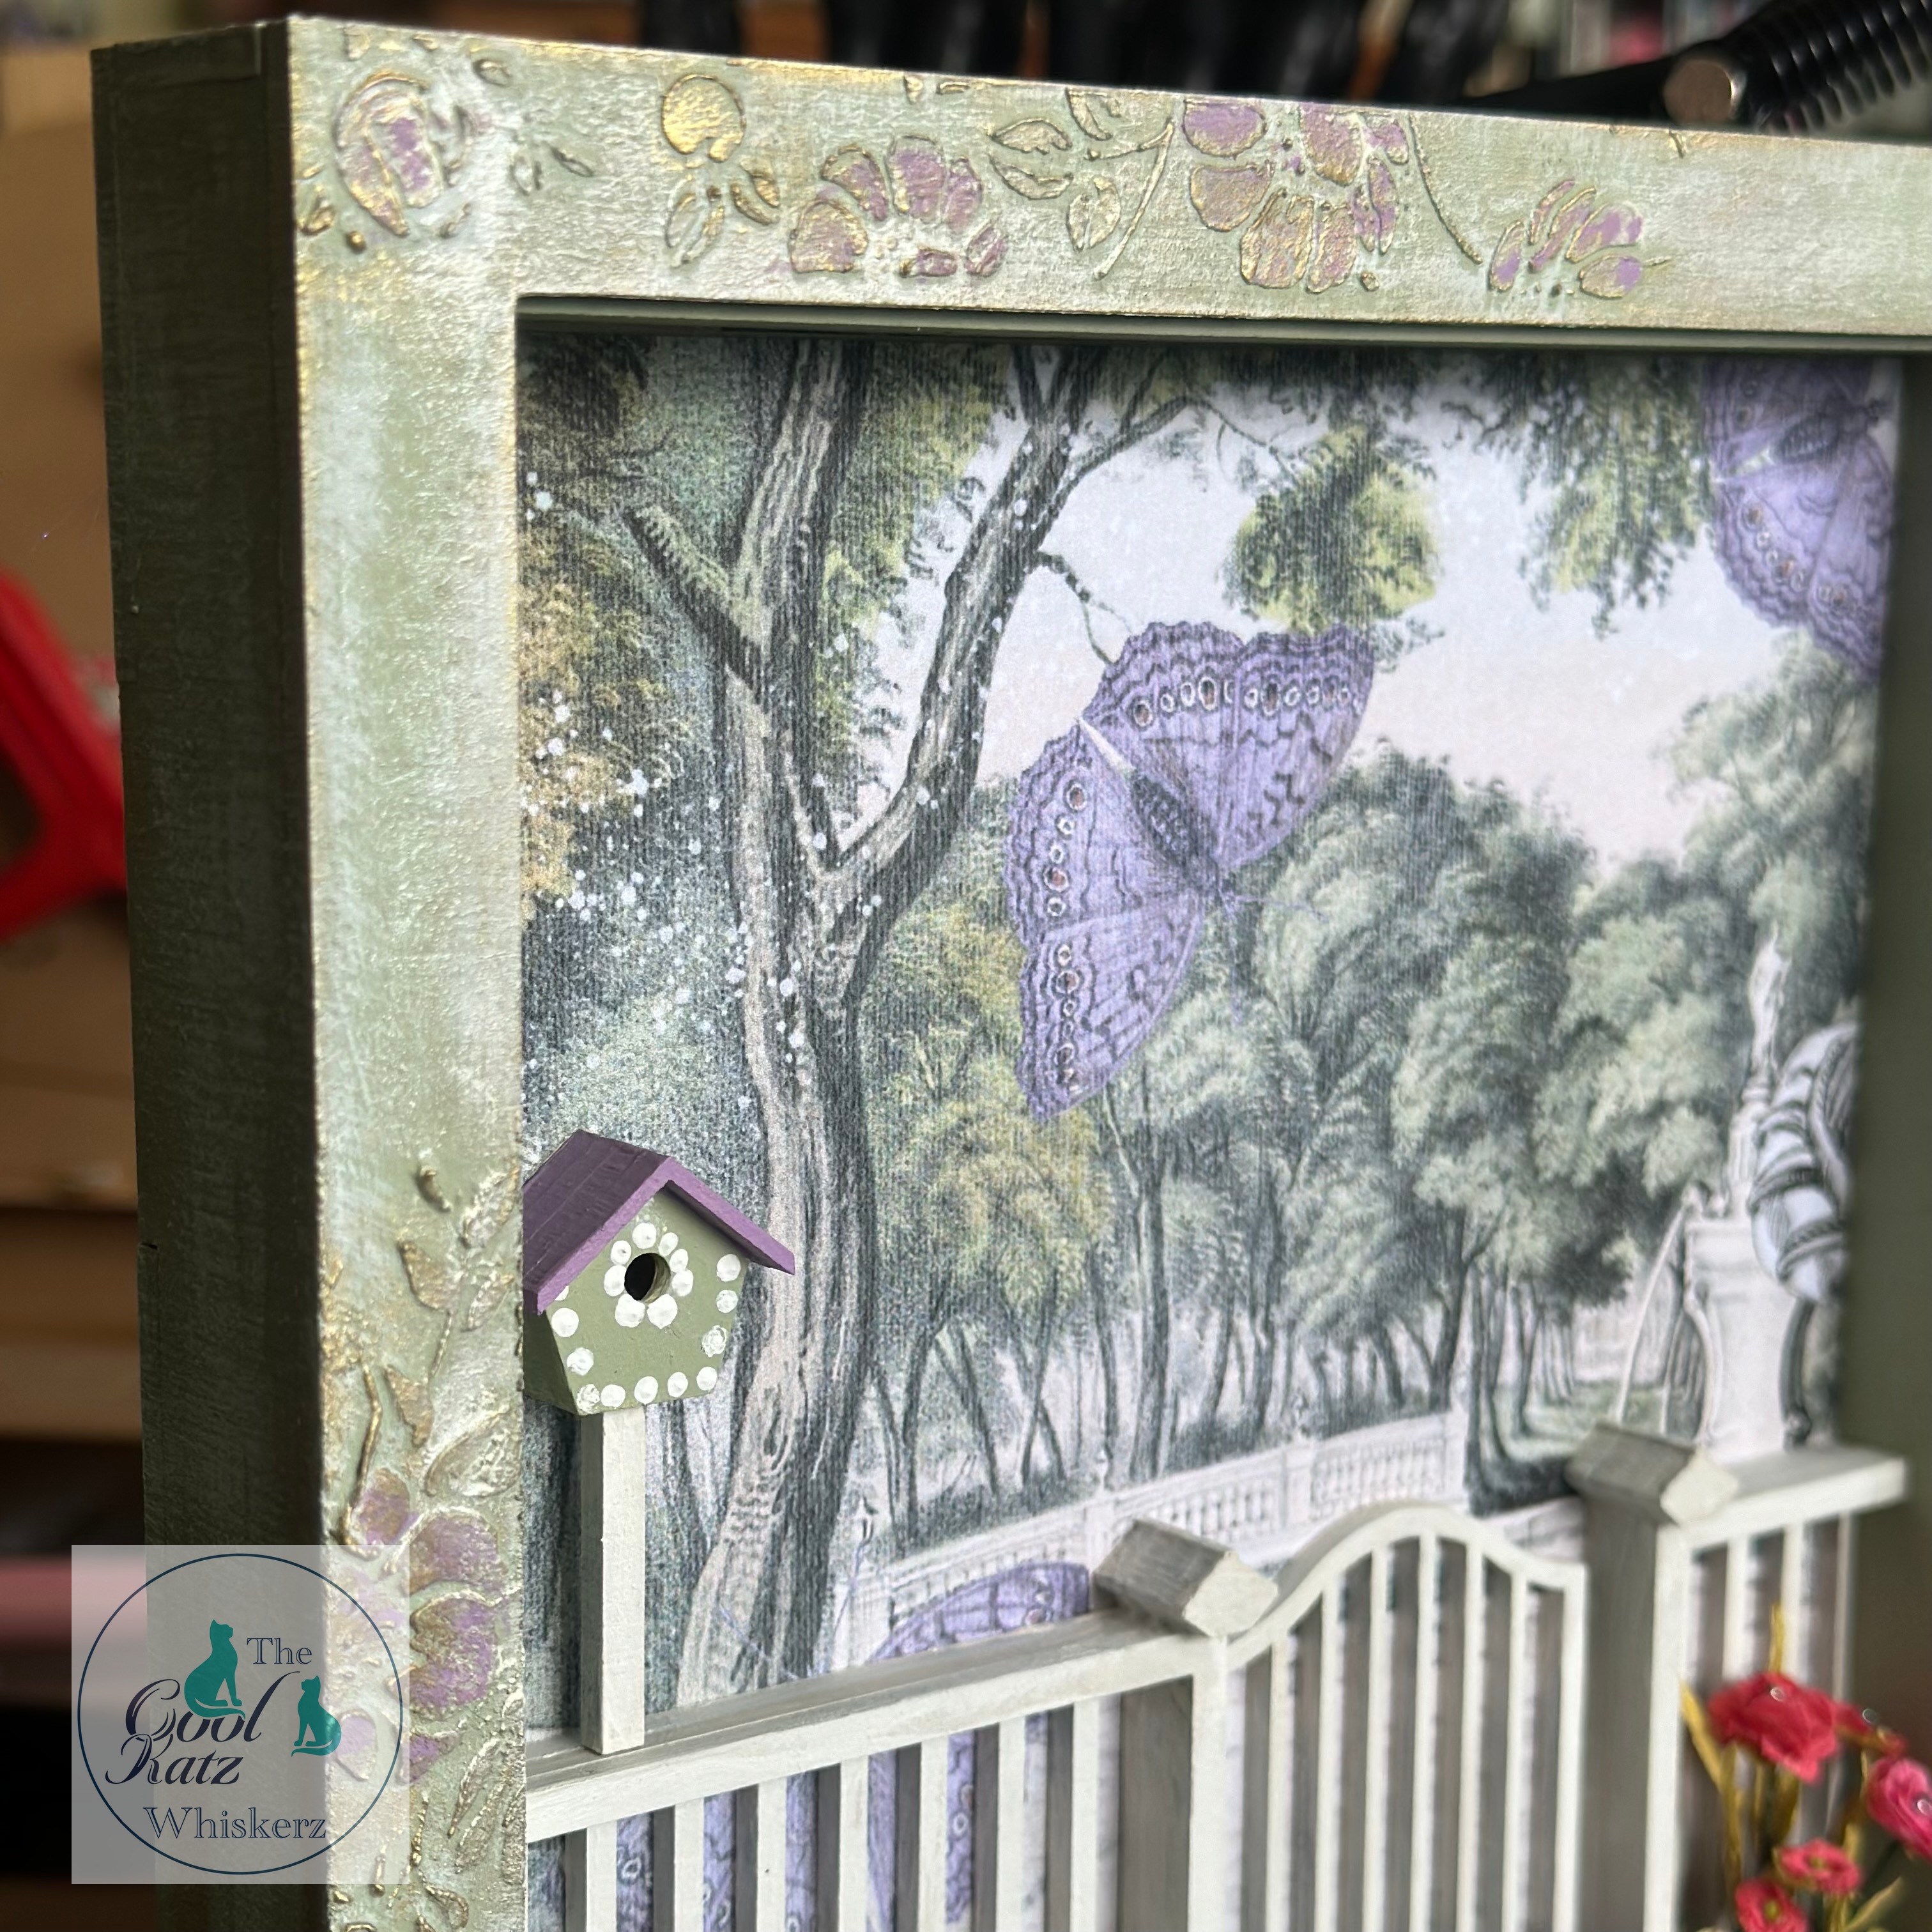
After measuring and cutting the background paper to size, adhered it into the frame. The design is a view of parkland with trees, butterflies and an ornamental garden, and it's one of my own designs which can be found over on Etsy in my shop "A Printers daughter".....CKC comment "We love these papers"!!
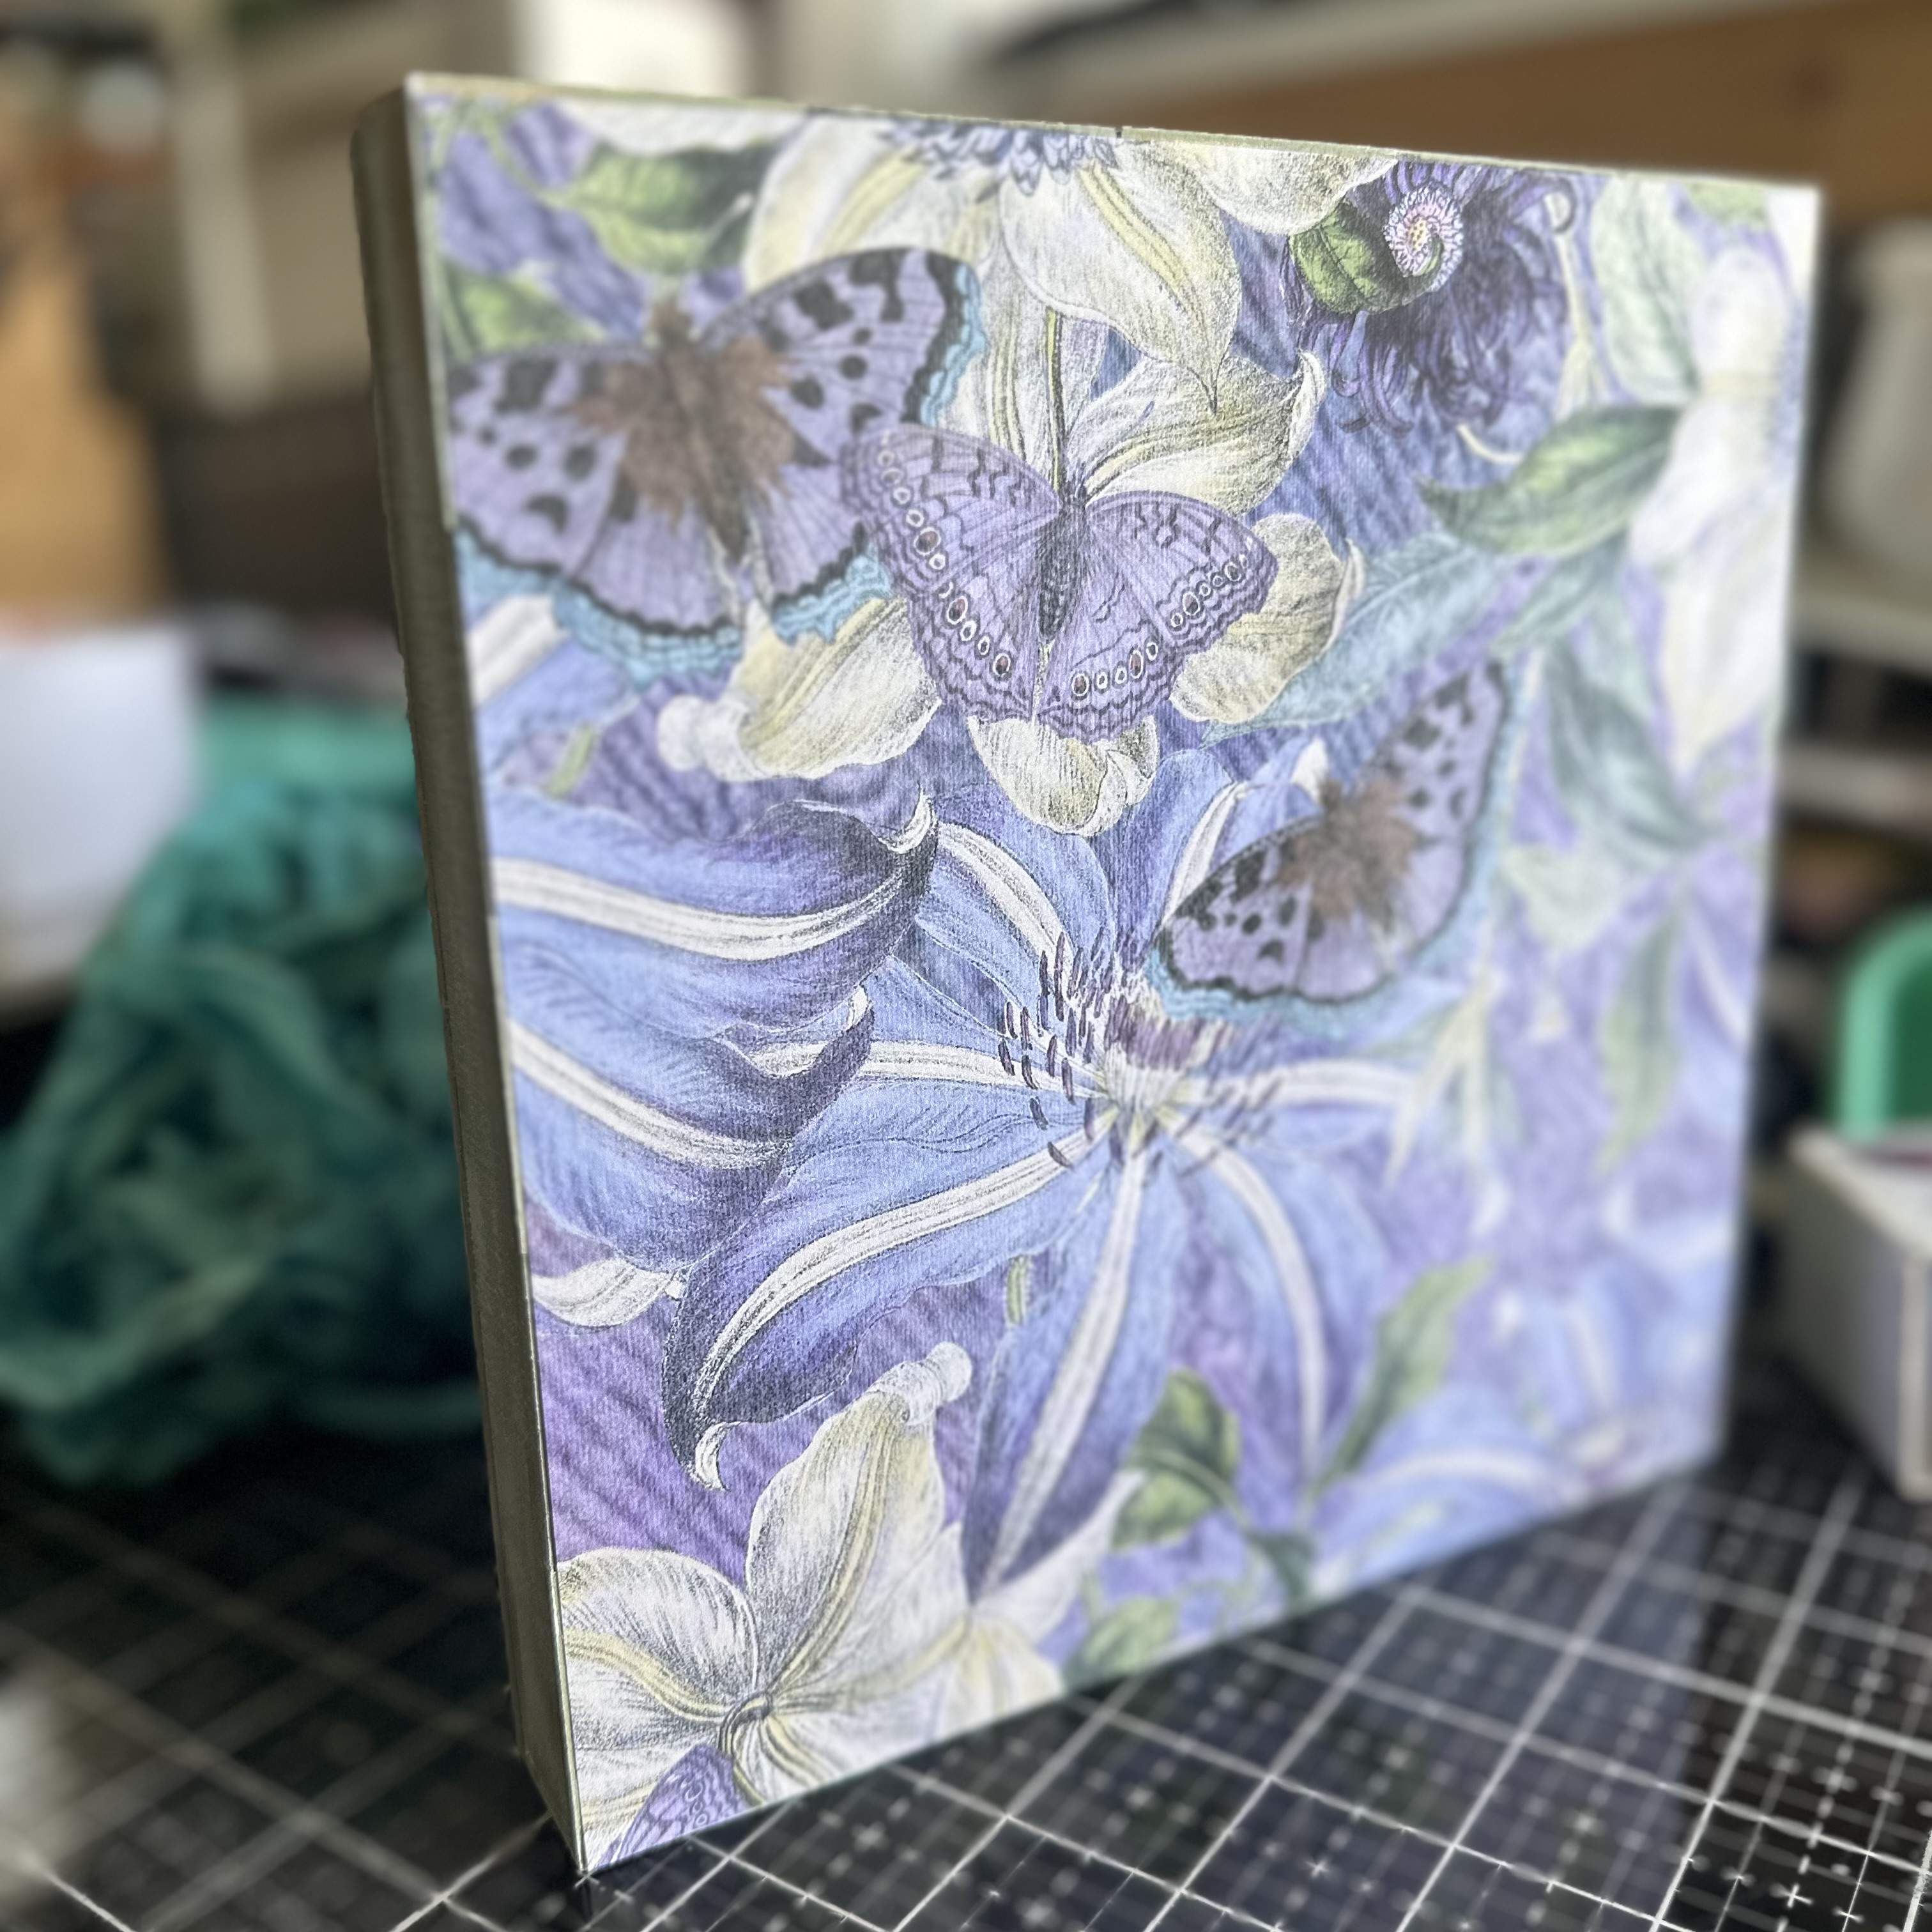
I also cut the paper to stick on the back of the frame, so it could be used as a standalone piece if not hung on a wall.
Once both parts of the frame were dry, I attached the front of the frame using a strong PVA glue and let that dry thoroughly before adding another coat of paint to the frame.
Once the paint had dried I added lavender coloured paint to the flowers, and again let them dry before adding firstly gold wax followed by white wax to knock the colours back.
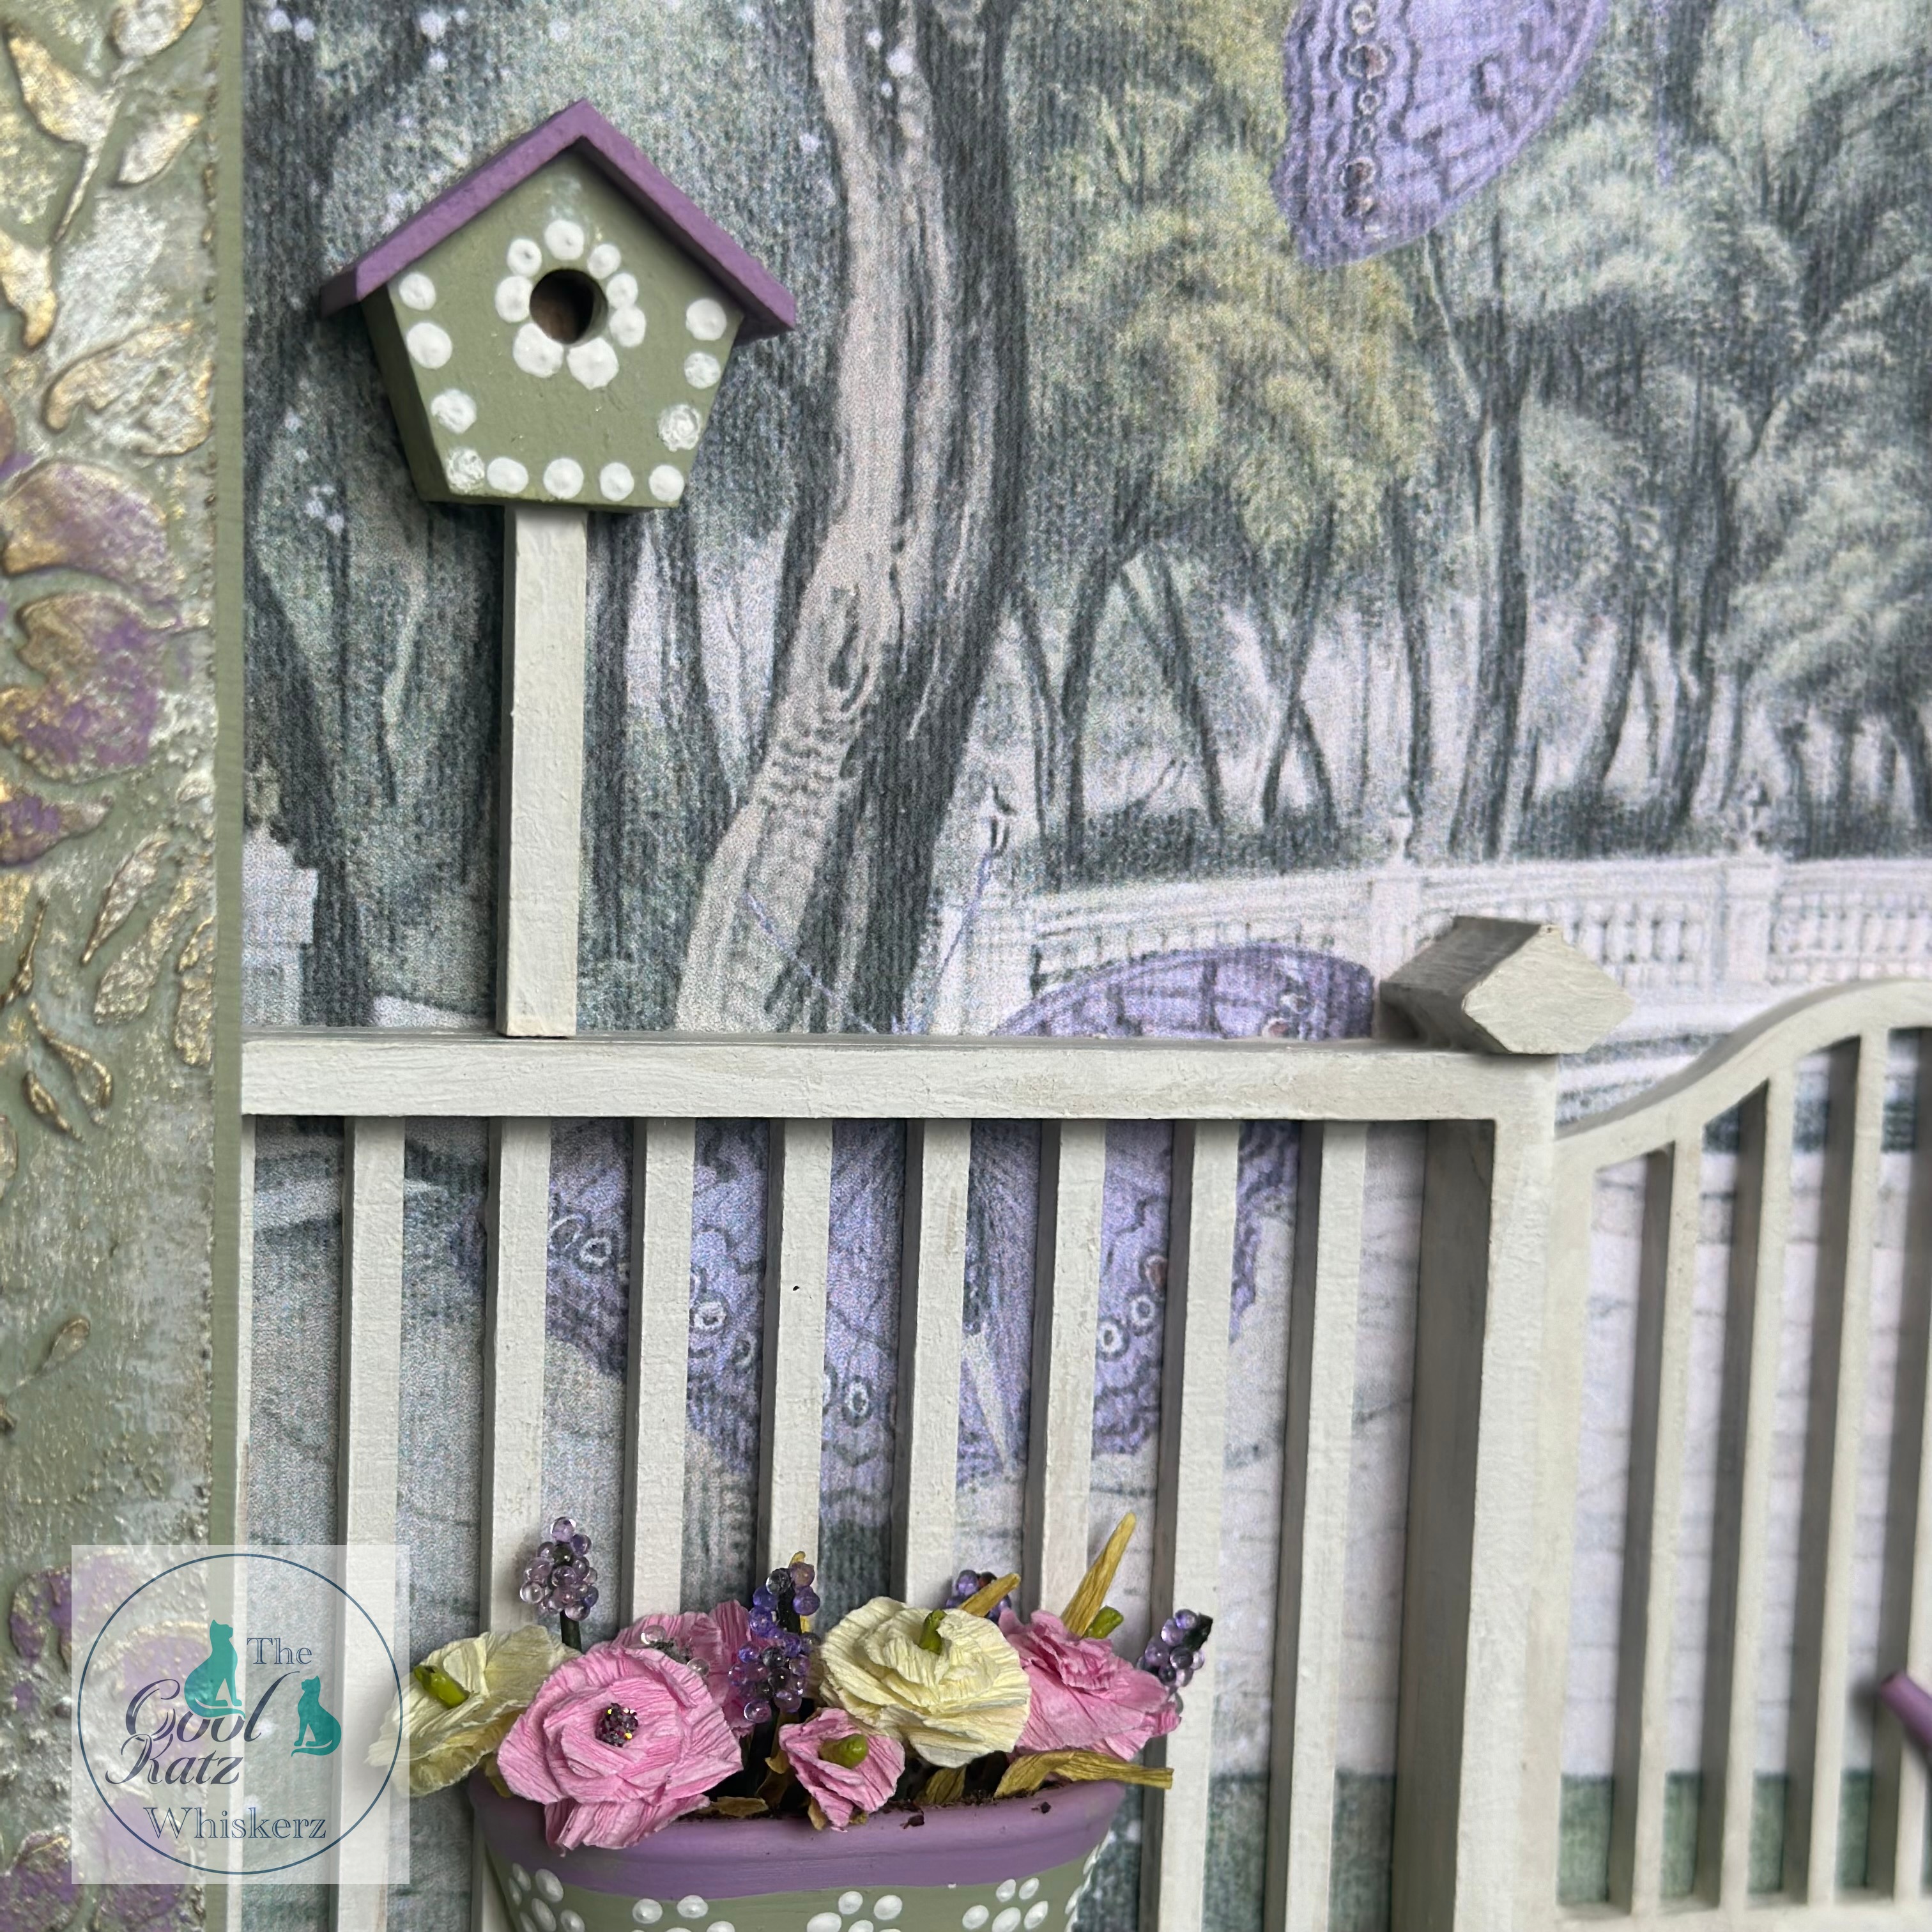
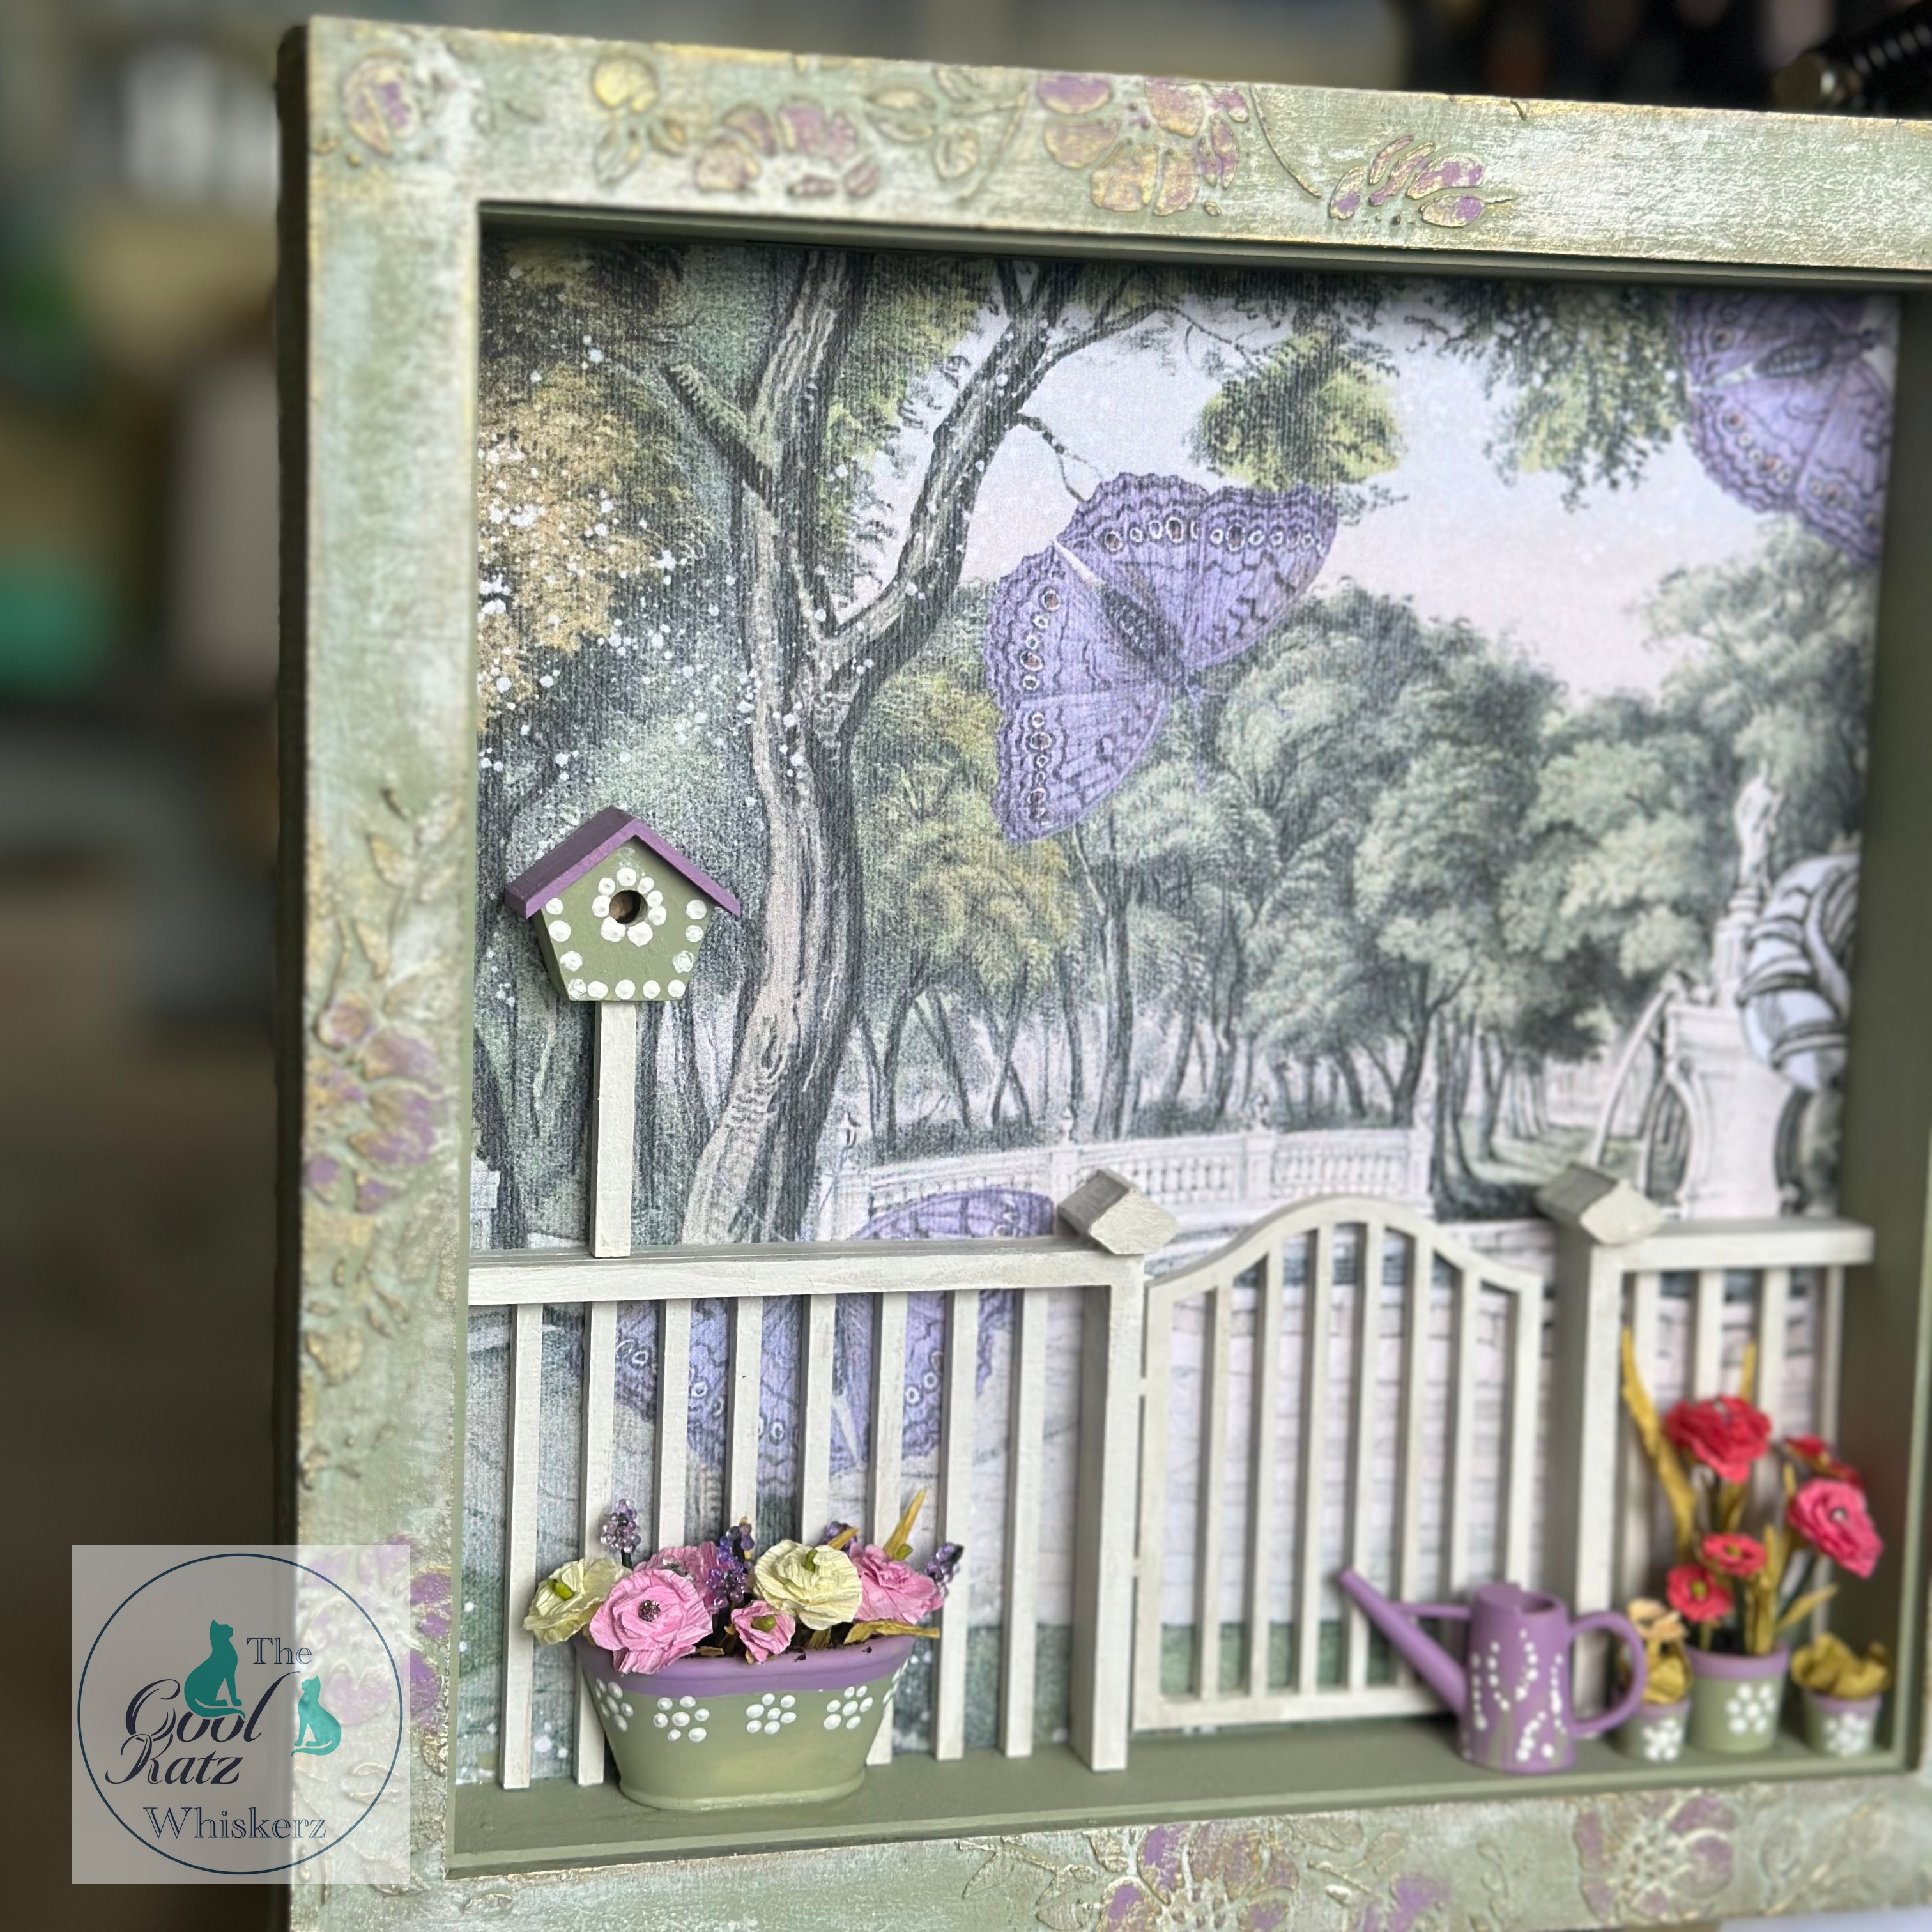
Then it was time to concentrate on the decoration inside the frame. After gluing all of the pieces together and letting them dry I painted the fence pieces and gate with white gesso, They had a couple of coats drying inbetween.
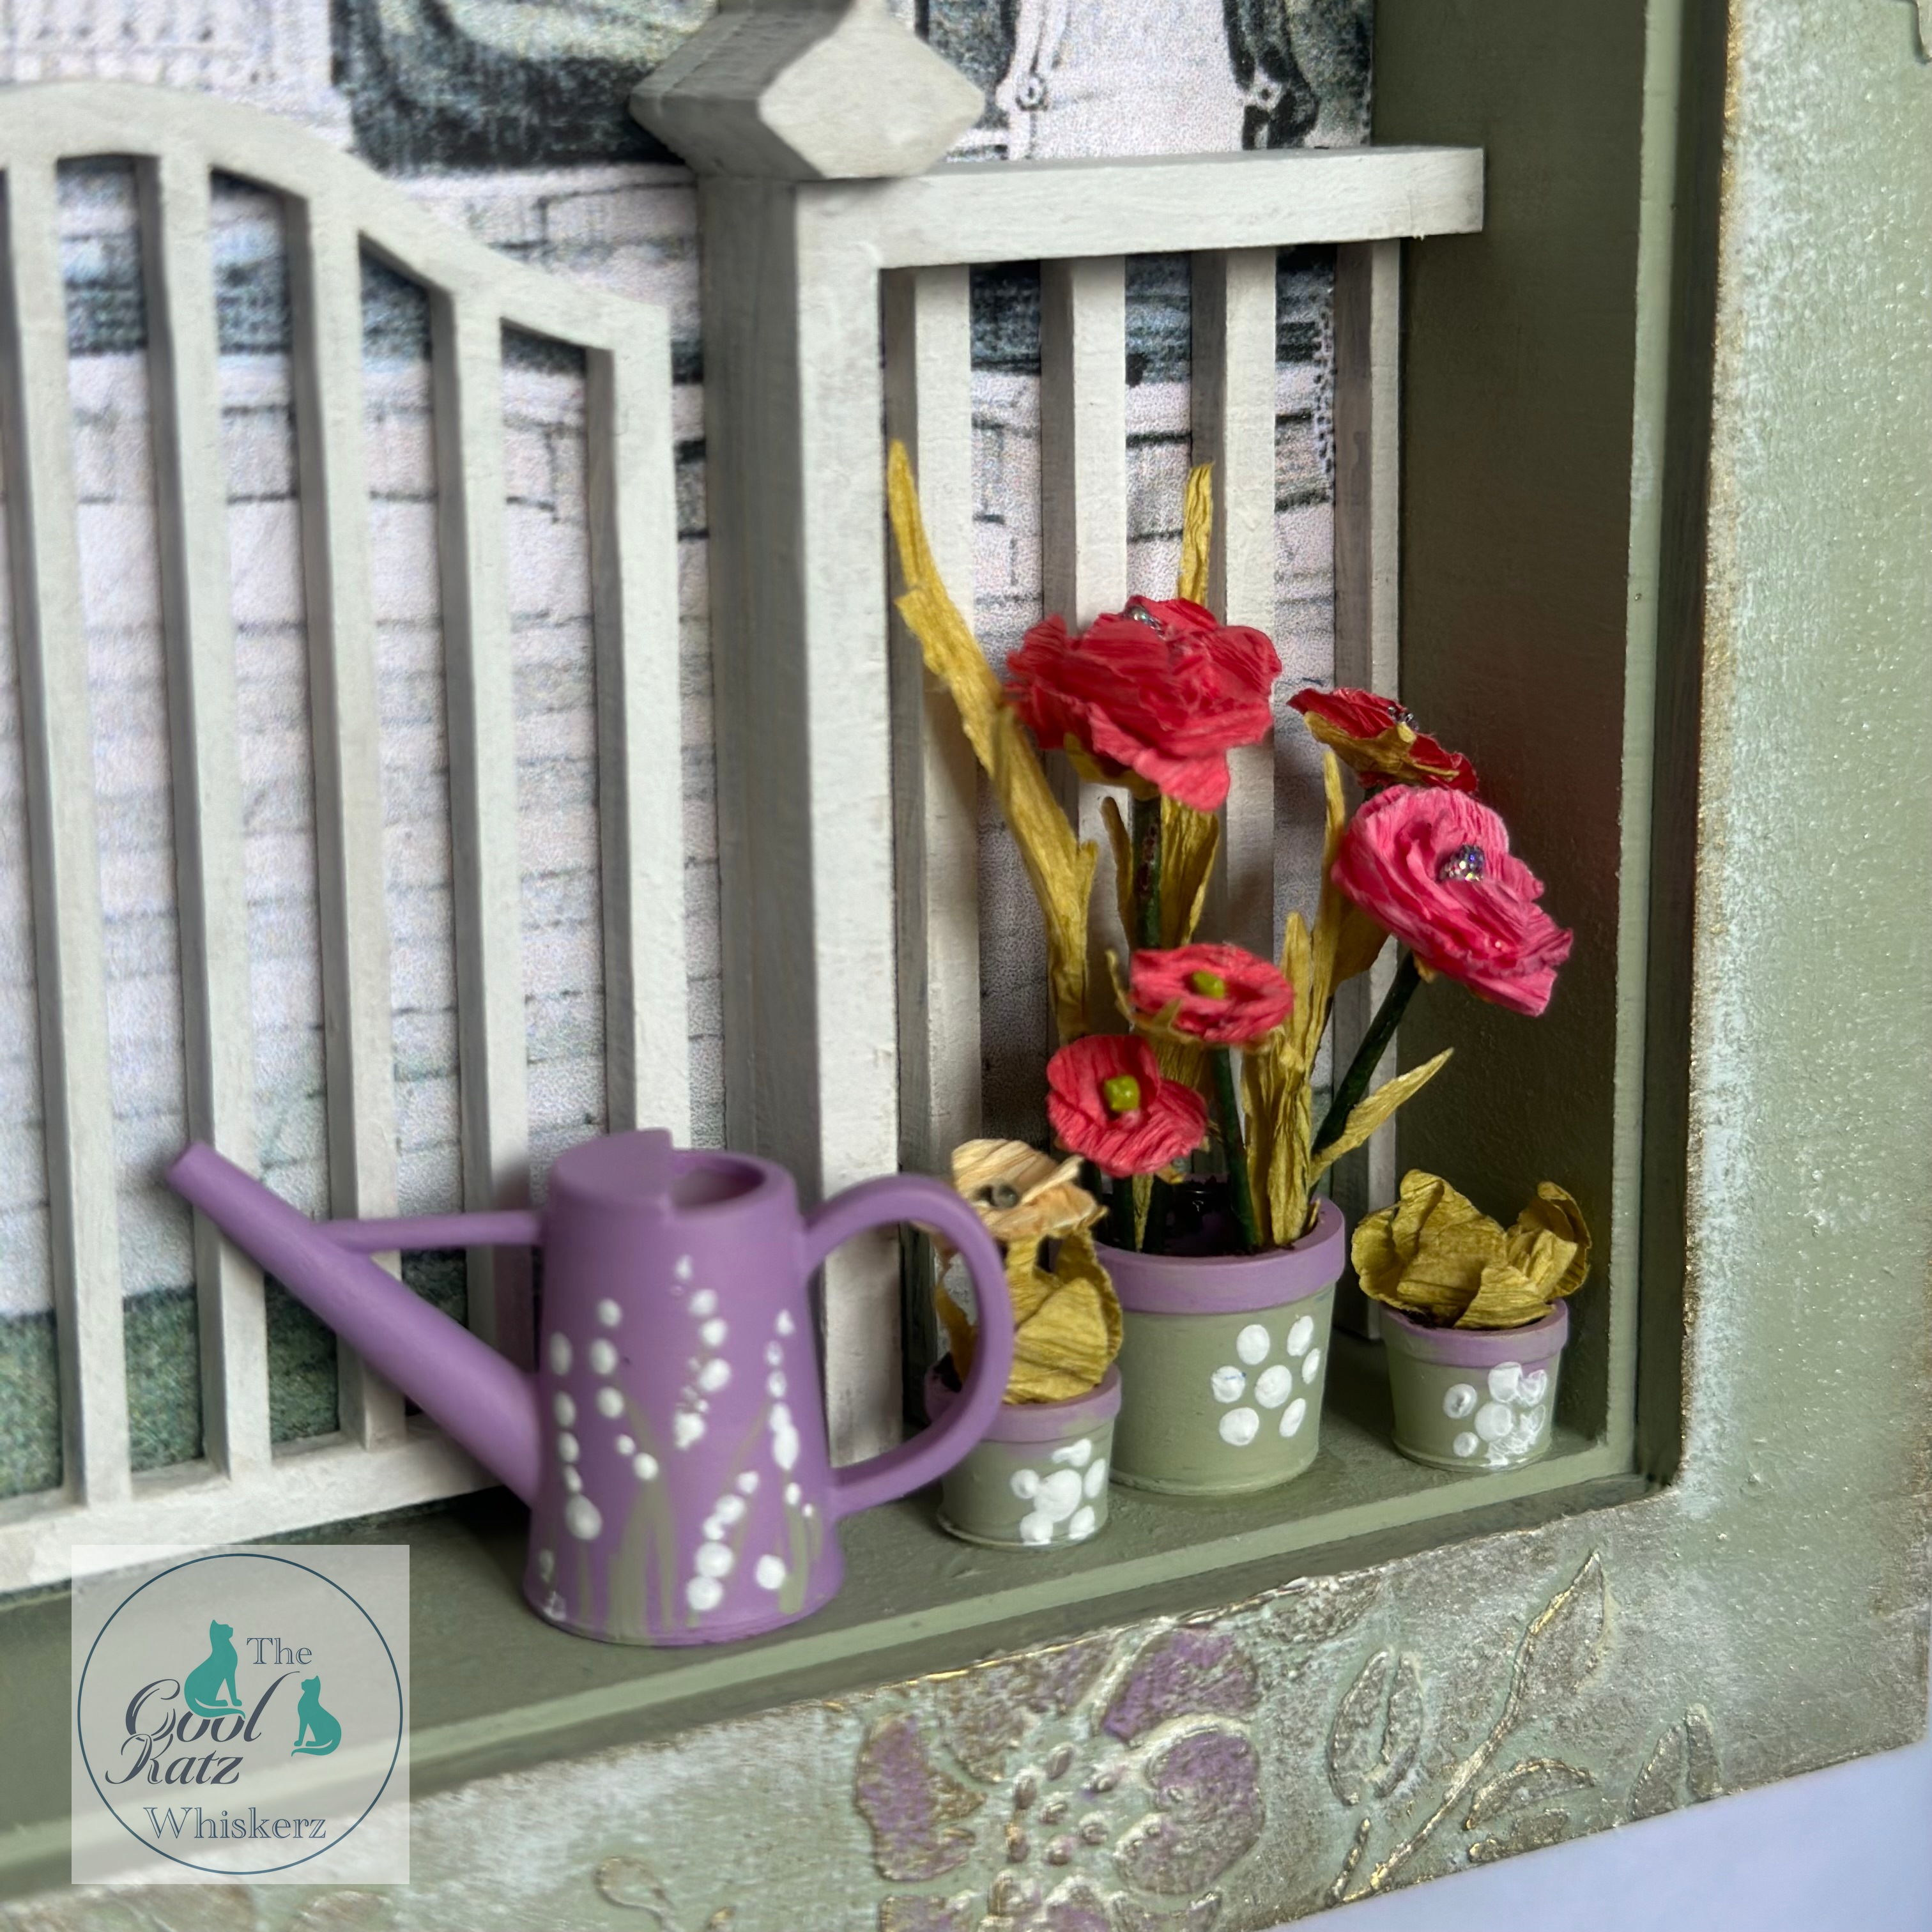
The pots and the wall planter were painted in the sage green with a lavender border around the pot. Tiny dots of white gesso were applied using a ball tool to create the look of painted flowers.
The watering can was painted using the same lavender paint and this time I added the sage green paint in sweeping stroked up from the base of the can to give the illusion of leaves. Again I added white flowers using a ball tool and gesso. This is such an easy effect to create and the dots get neater the more you practice.
The wall planter and pots were filled with a little scrunched tissue paper before adding glue and loose tea leaves to create compost, you can of course use coffee grounds for that trick too.
To finish off I die cut a selection of leaves and flowers from crepe paper, and added stems of floristry wire covered in green tape.

I've absolutely loved decorating this one, and have so many other idea's floating around my head for another.......................
So if you have been inspired to create your very own frame, you can find all the details you need below along with the links to our social media platforms where you will find YouTube tutorials, helpful information and of course we'd love you to share your CoolKatz projects in our Facebook Group.
Happy Crafting
The CoolKatz Team x
https://www.coolkatzcraft.com/garden-frame-kit
https://www.coolkatzcraft.com/foliage-and-flower-die-bundle
https://www.coolkatzcraft.com/coolkatz-bookbinding-glue-150ml
https://www.youtube.com/channel/UCHVLrneEbdNJp3EIhJoH4BA
https://www.facebook.com/groups/CoolKatzCraft