free UK postage
over £30.00
Search


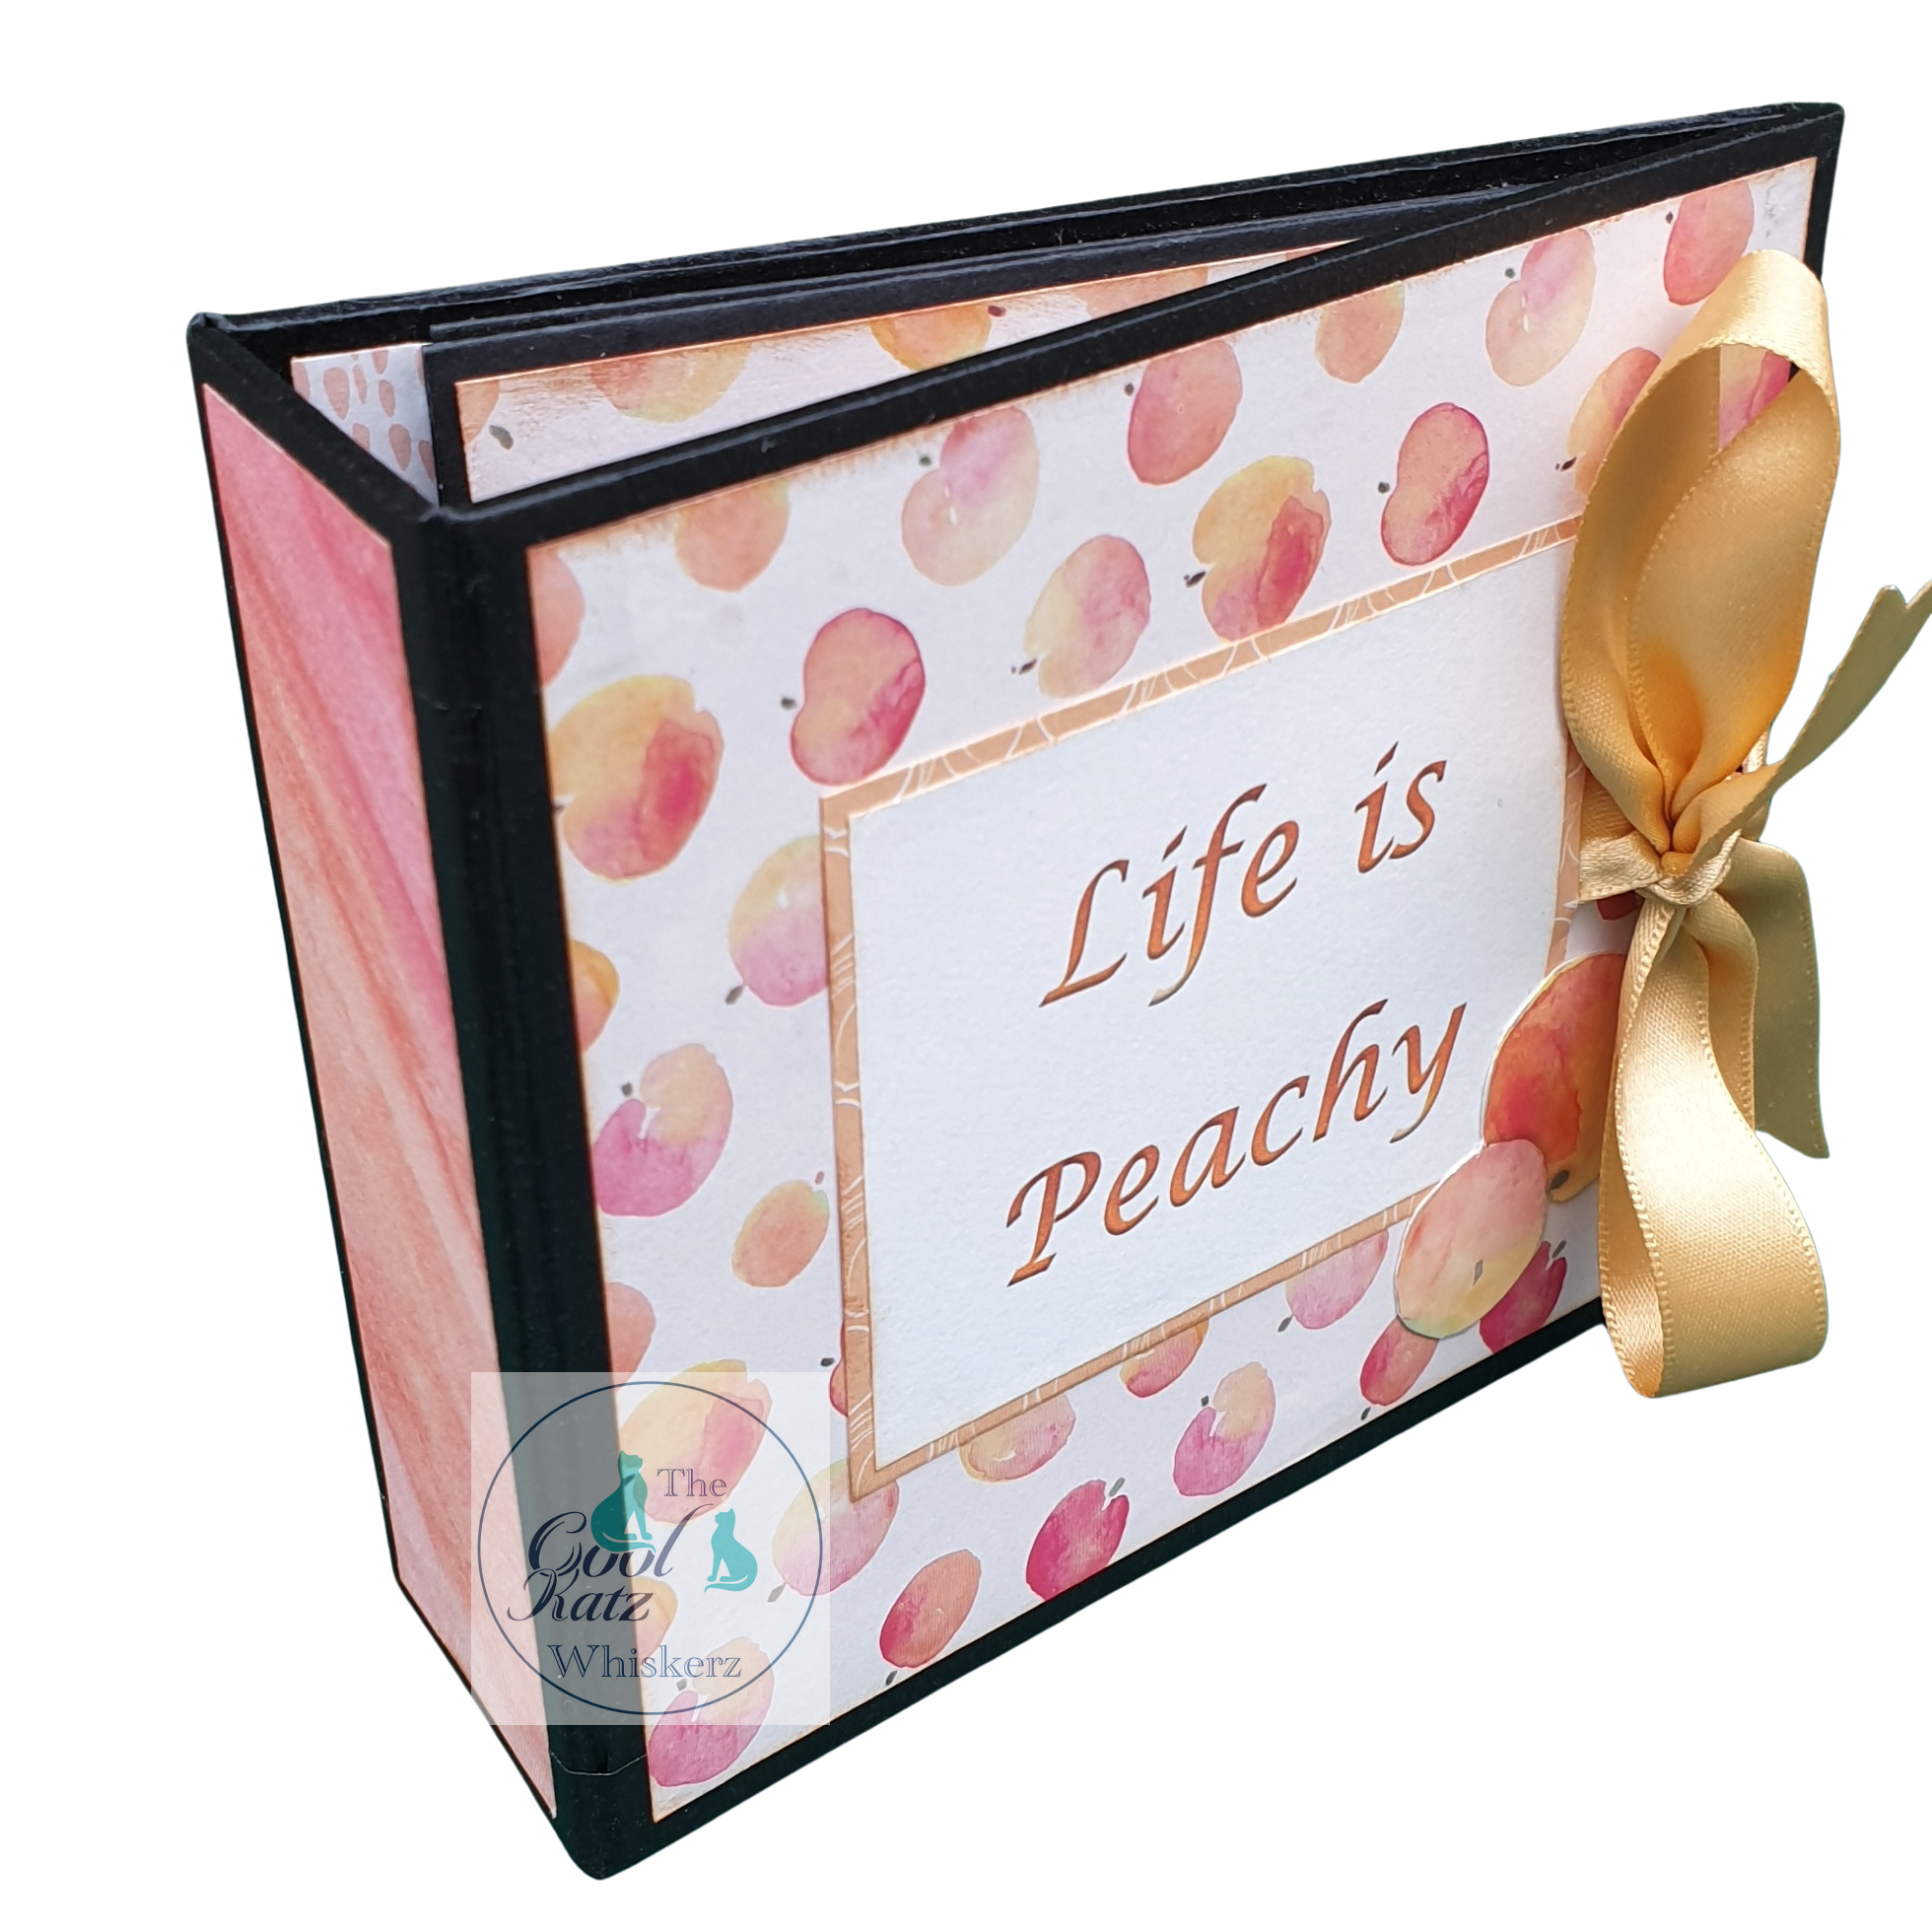
This was my first 'proper' Coolkatz album and pulled together all the
knowledge, hints and tips from attending their workshops, watching them on
TV and guidance from the Coolkatz family.
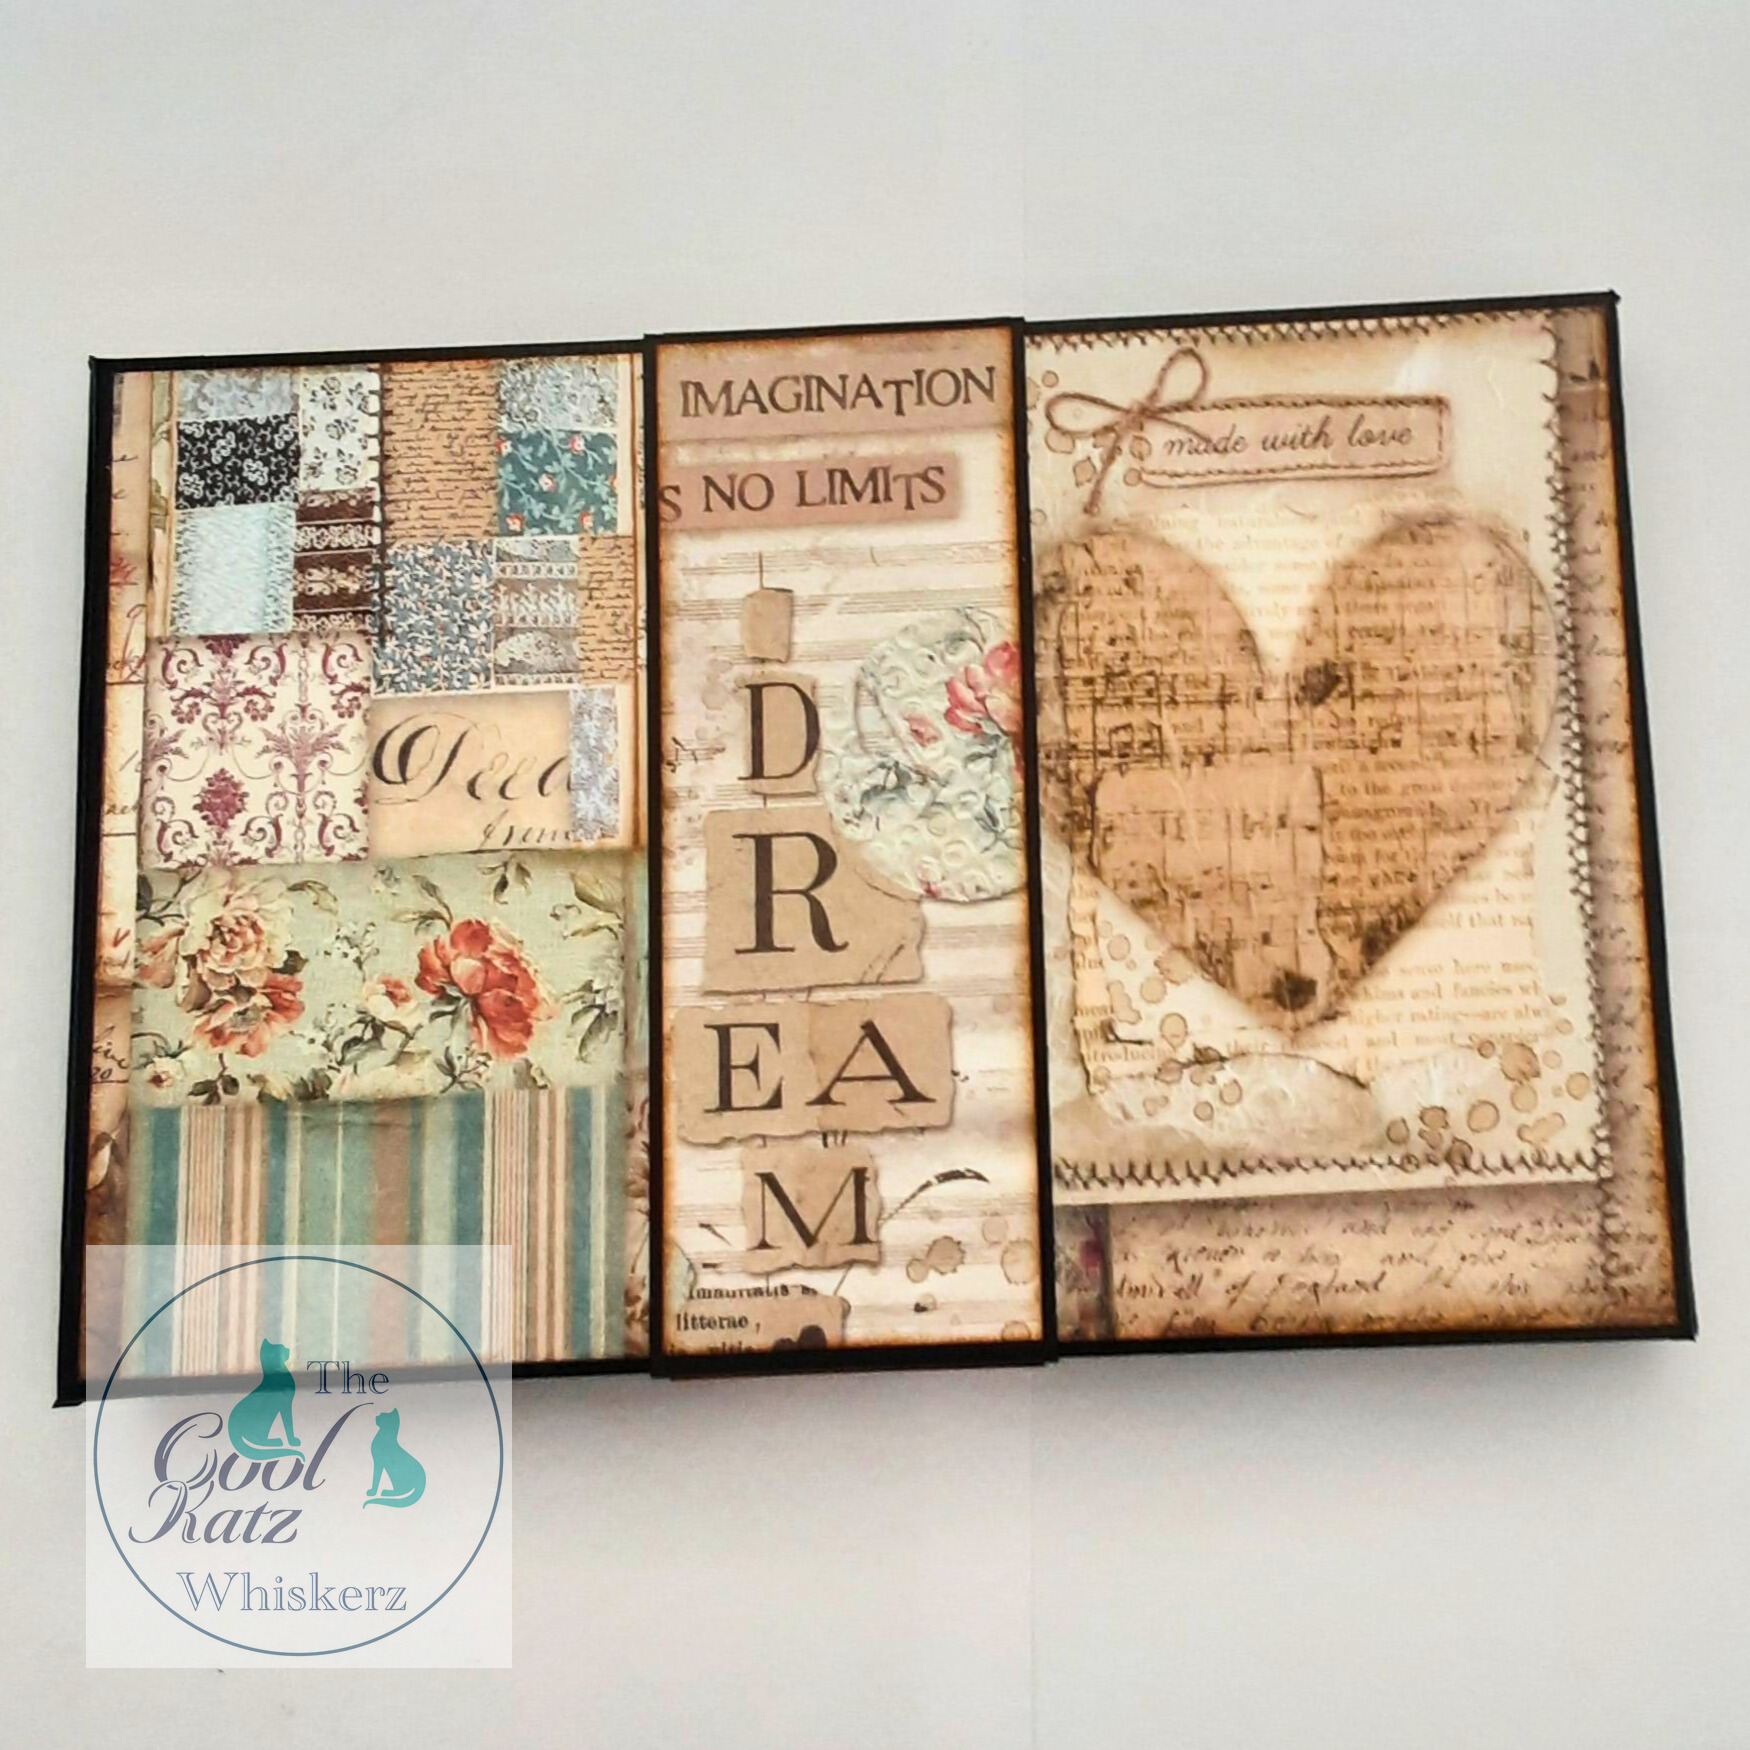
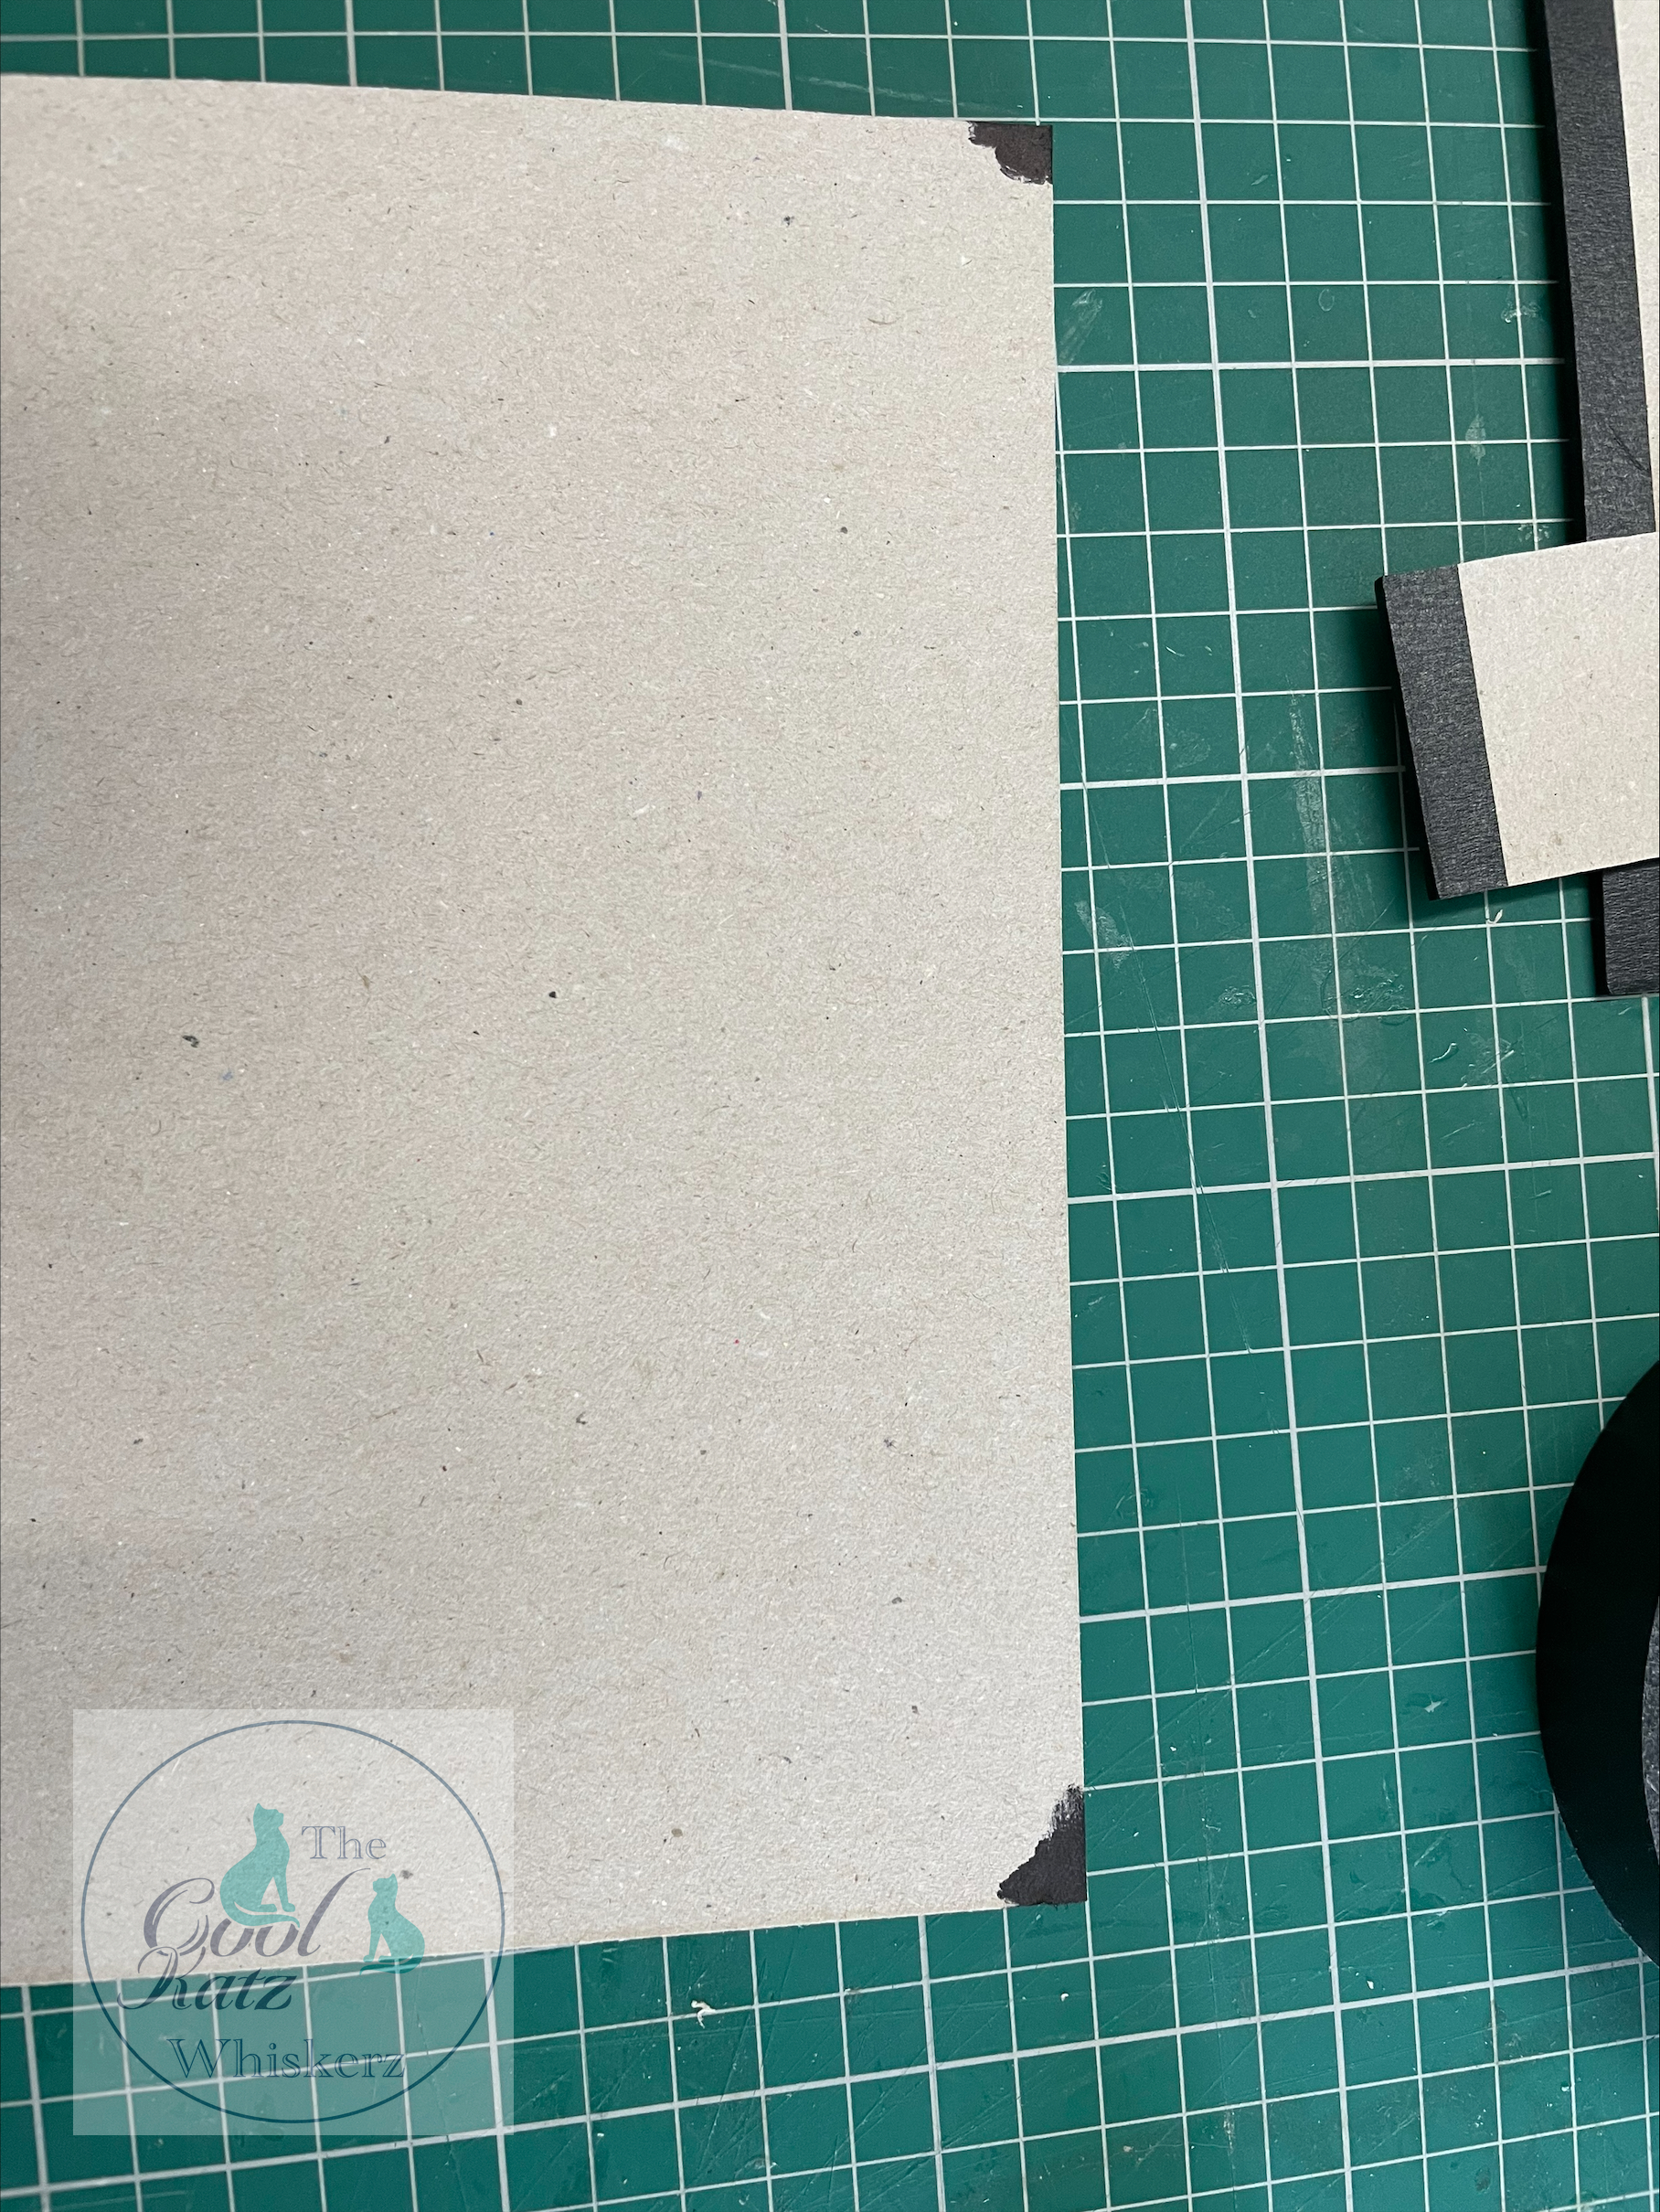
When putting the album together I went over the grey board corners with
black pen. I am not always accurate when cutting the black tape in the
corners. Being accurate is less important If you black the corners
because the bare grey board cannot be seen.
The next bit of advice I did not follow but soon wished I had - doing a
scrap dry run. If you are unsure, use scrap paper to cut the flaps and
pages to check they are correct. It will stop you wasting valuable black
card. I made this mistake when scoring the pages. I did not realise
until I had scored all the paper, wasting lots of card.
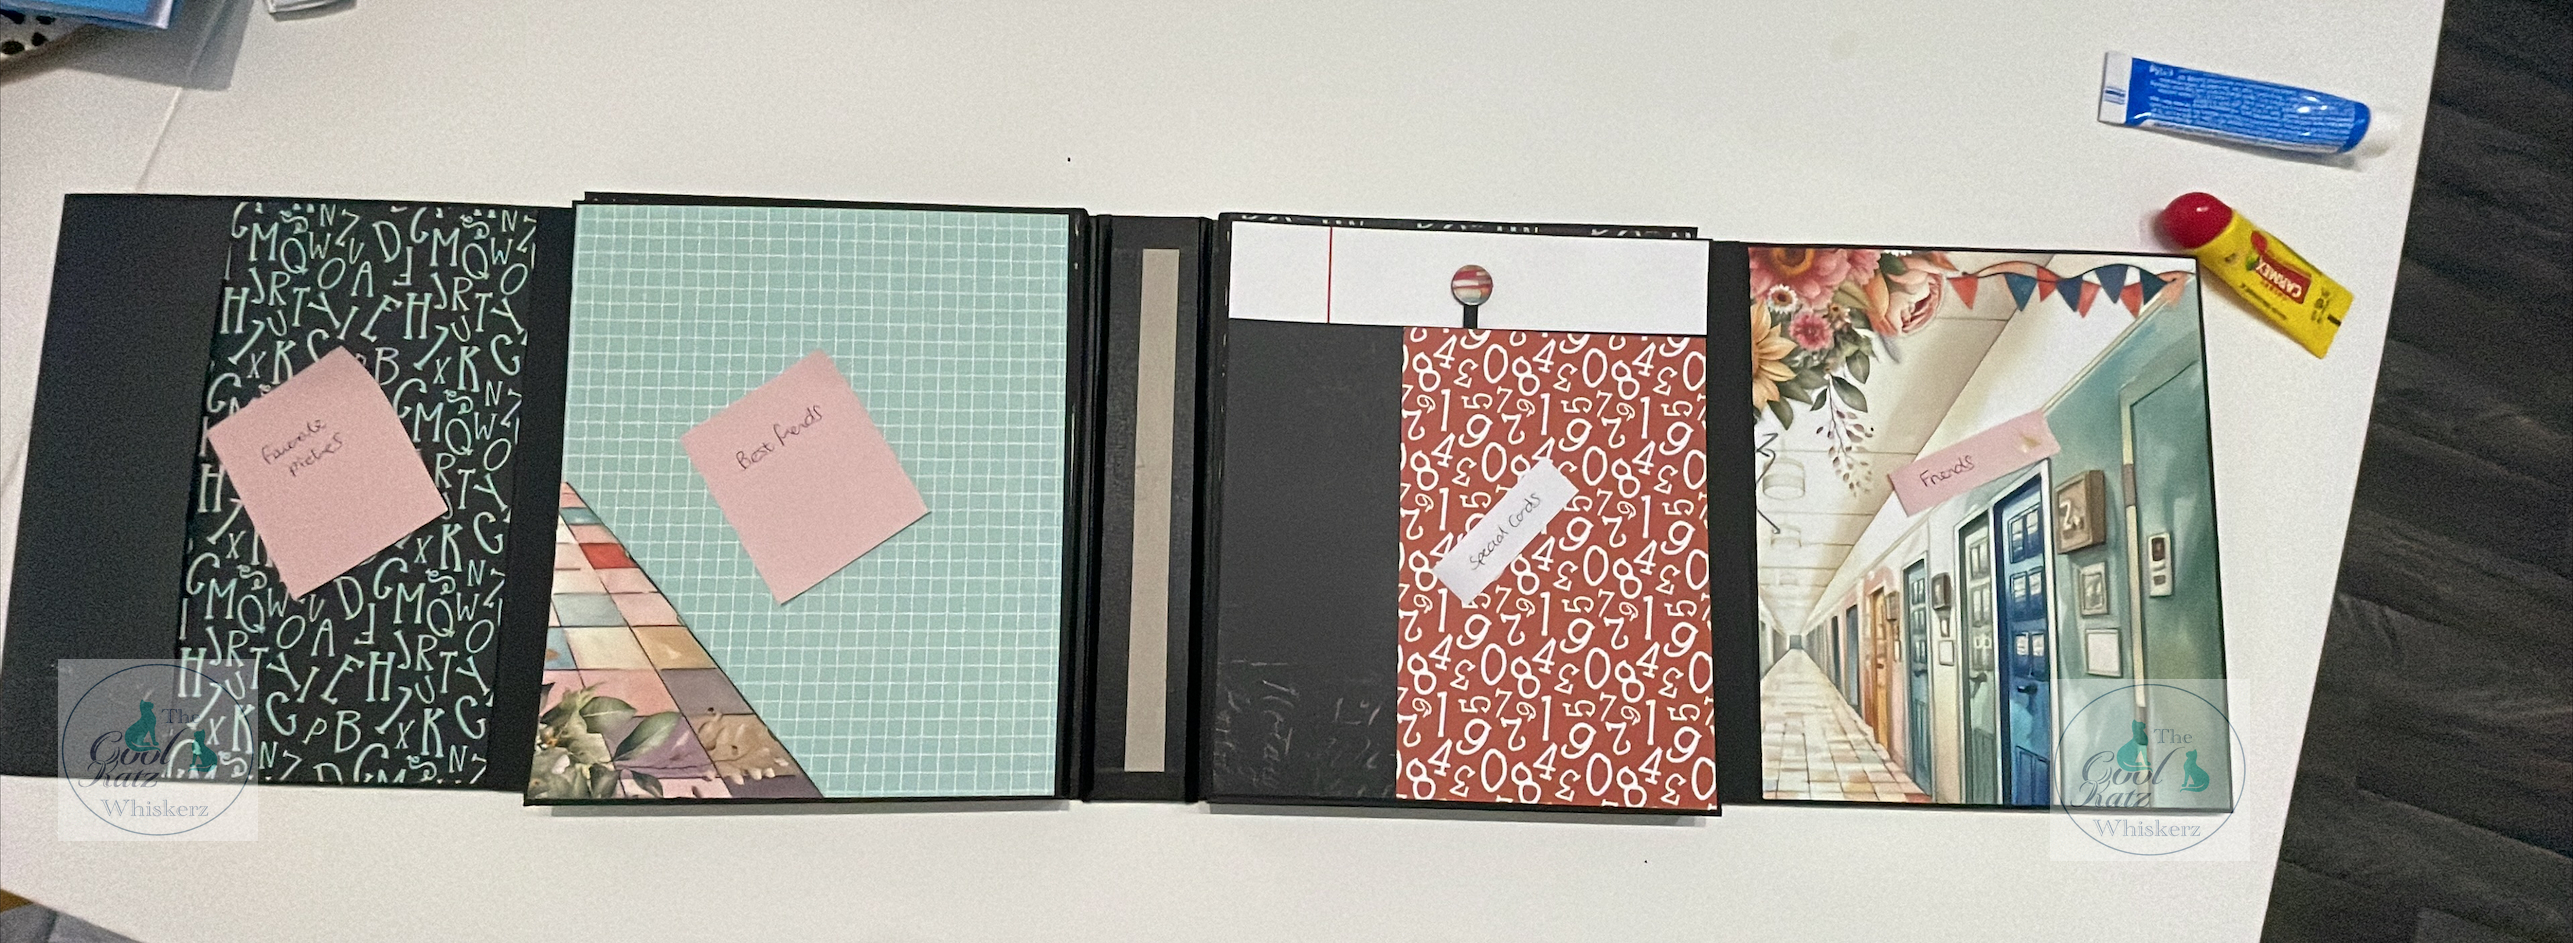
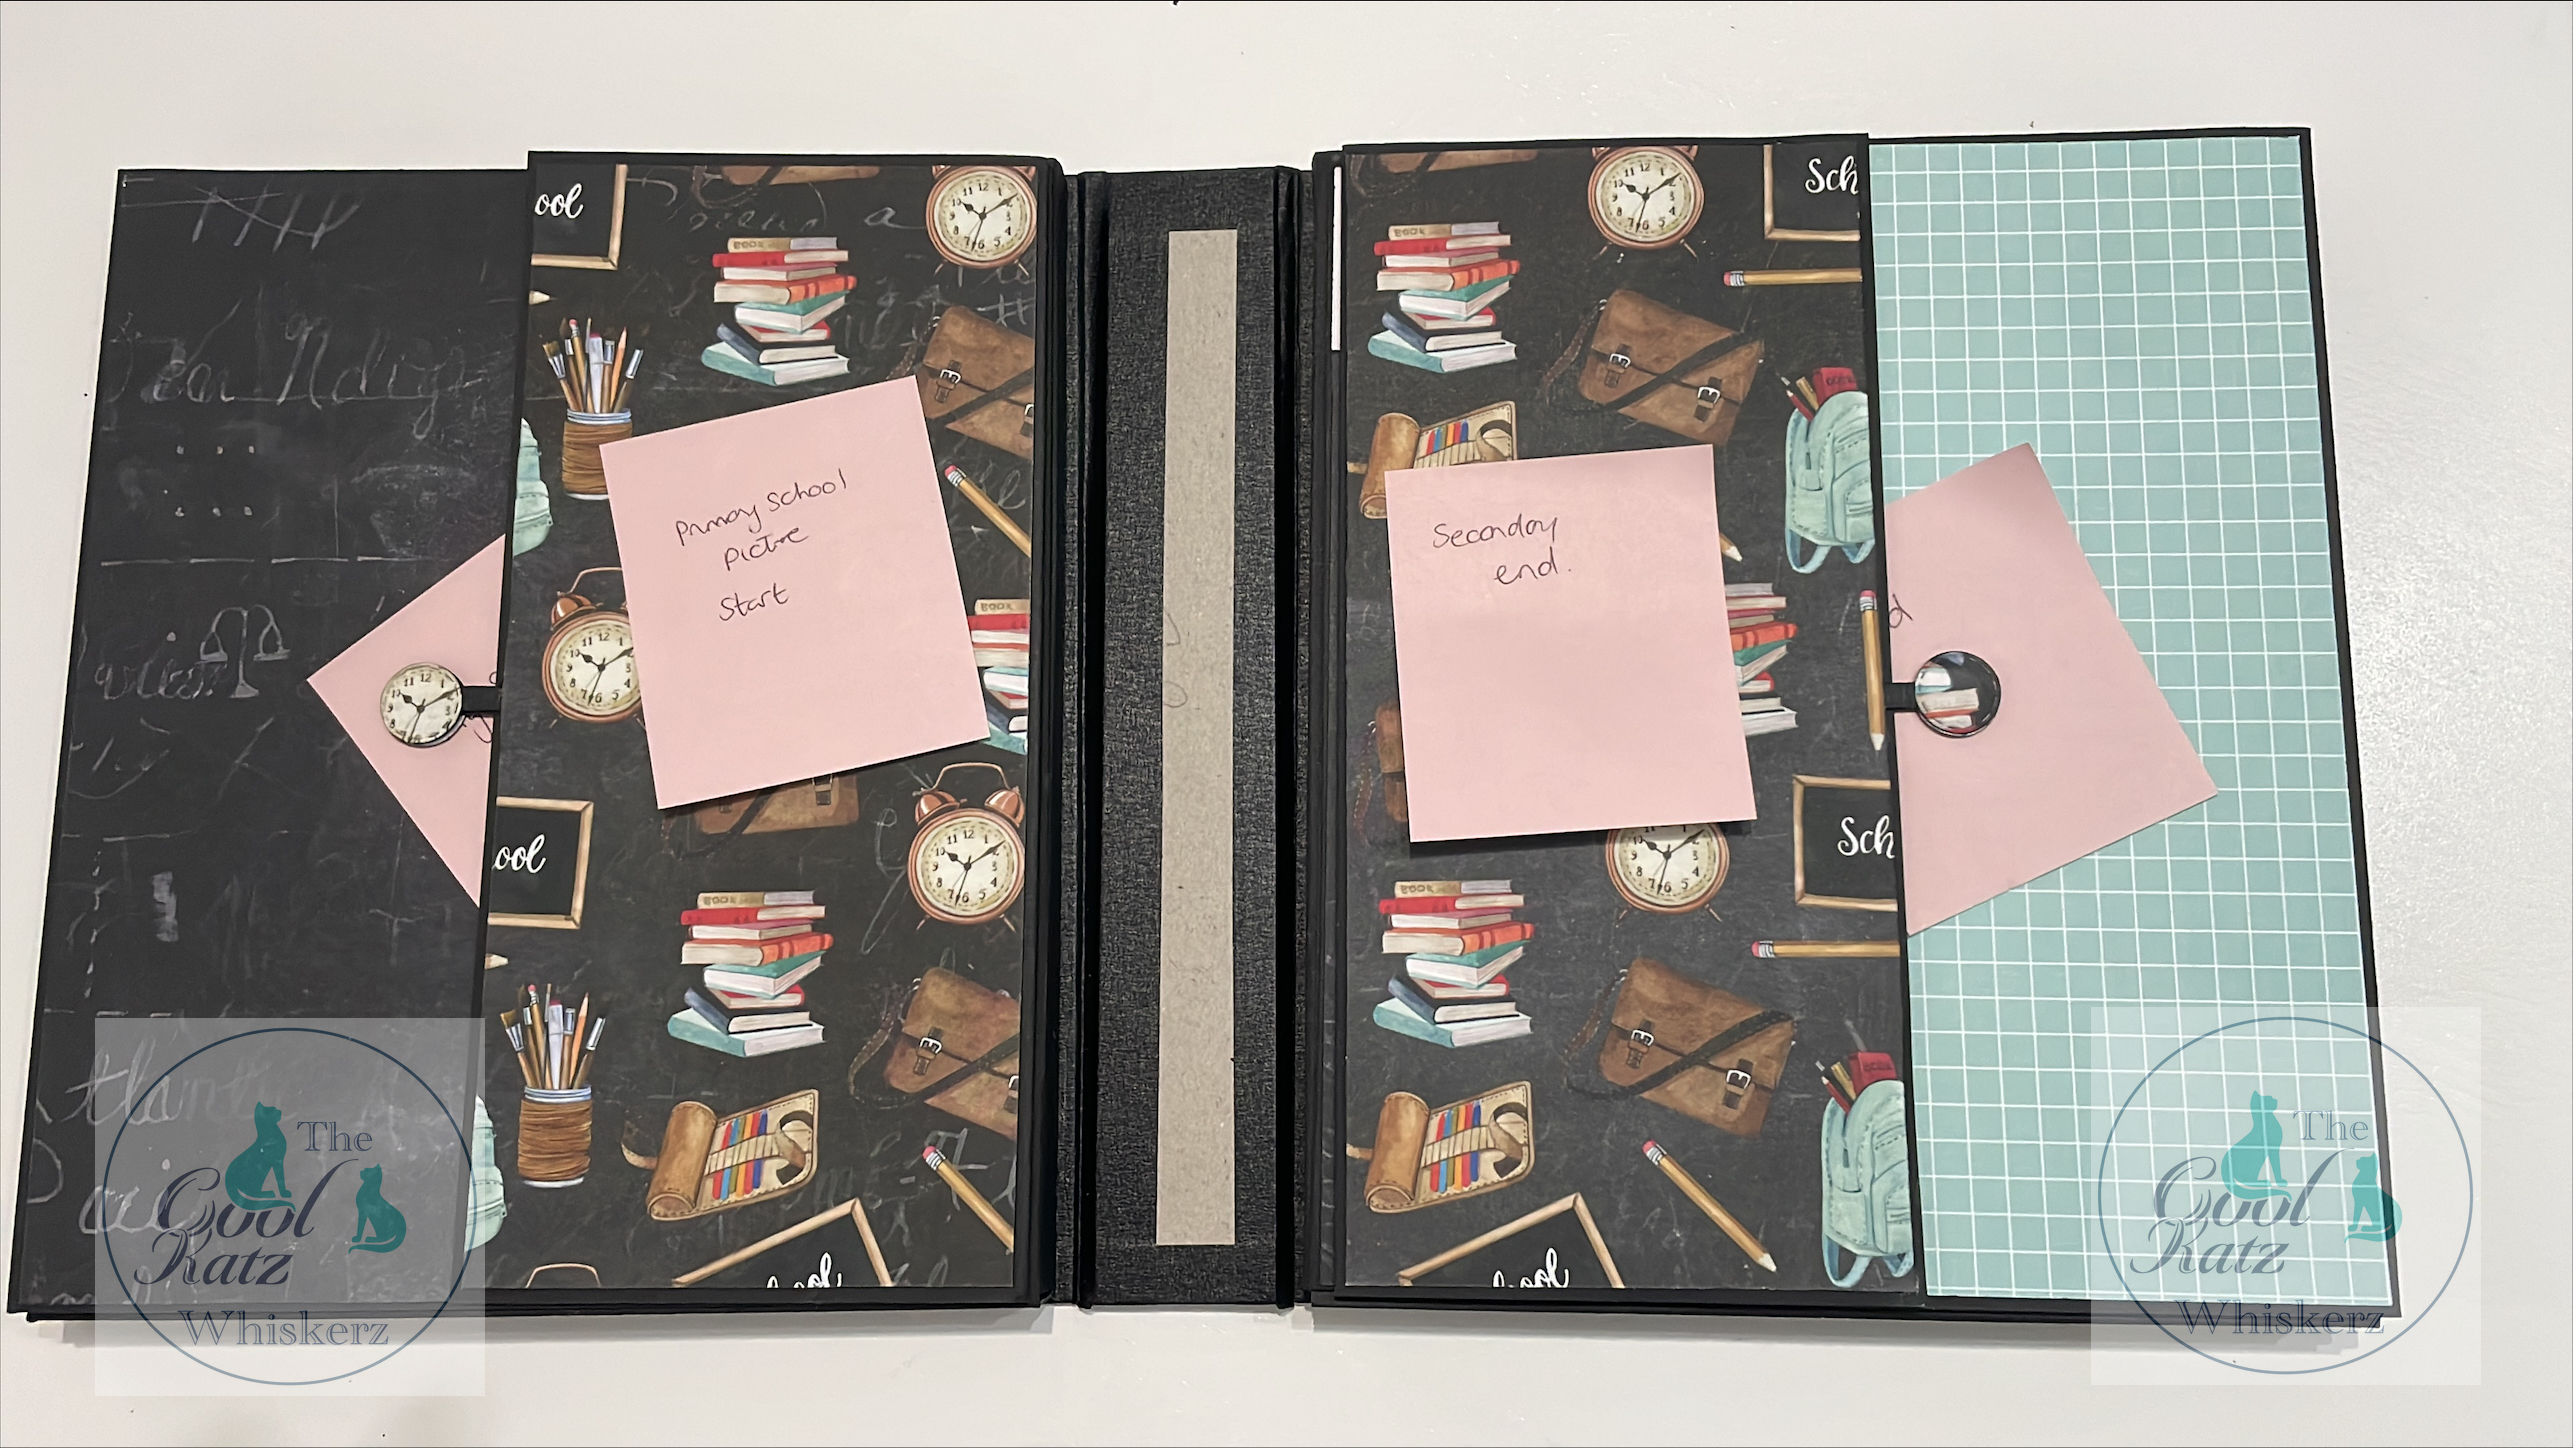
Once I had covered the pages with background papers, I used post it
notes to plan what I wanted and where. Using post it notes mean you can
easy change and move ideas around without making permanent marks.
It also helped when printing and cutting the photos as I could easily seewhat frames would fit where.
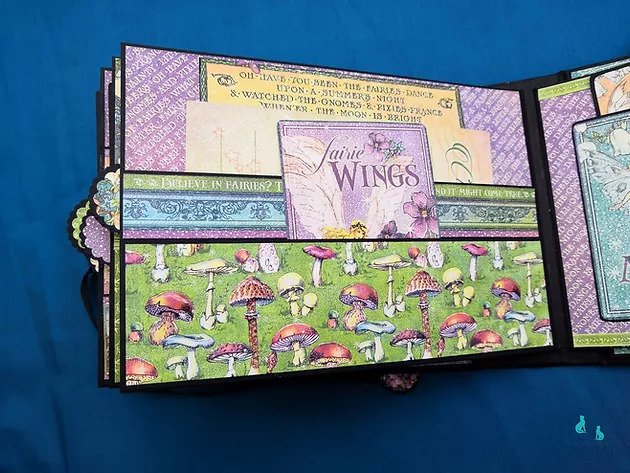
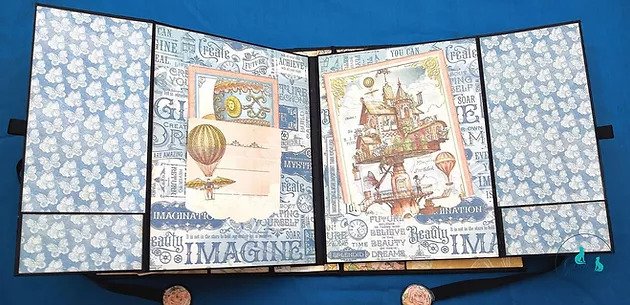
Next, I moved on to cutting the photos and frames using the Coolkatz double cut frames die set. When using the larger frames, it leaves rectangle bits, which mat purrfectly onto the photo mats in the other die sets; curved photo slots set 1 & 2) but I used these along with the smaller frame to create thicker frames from what would be waste.
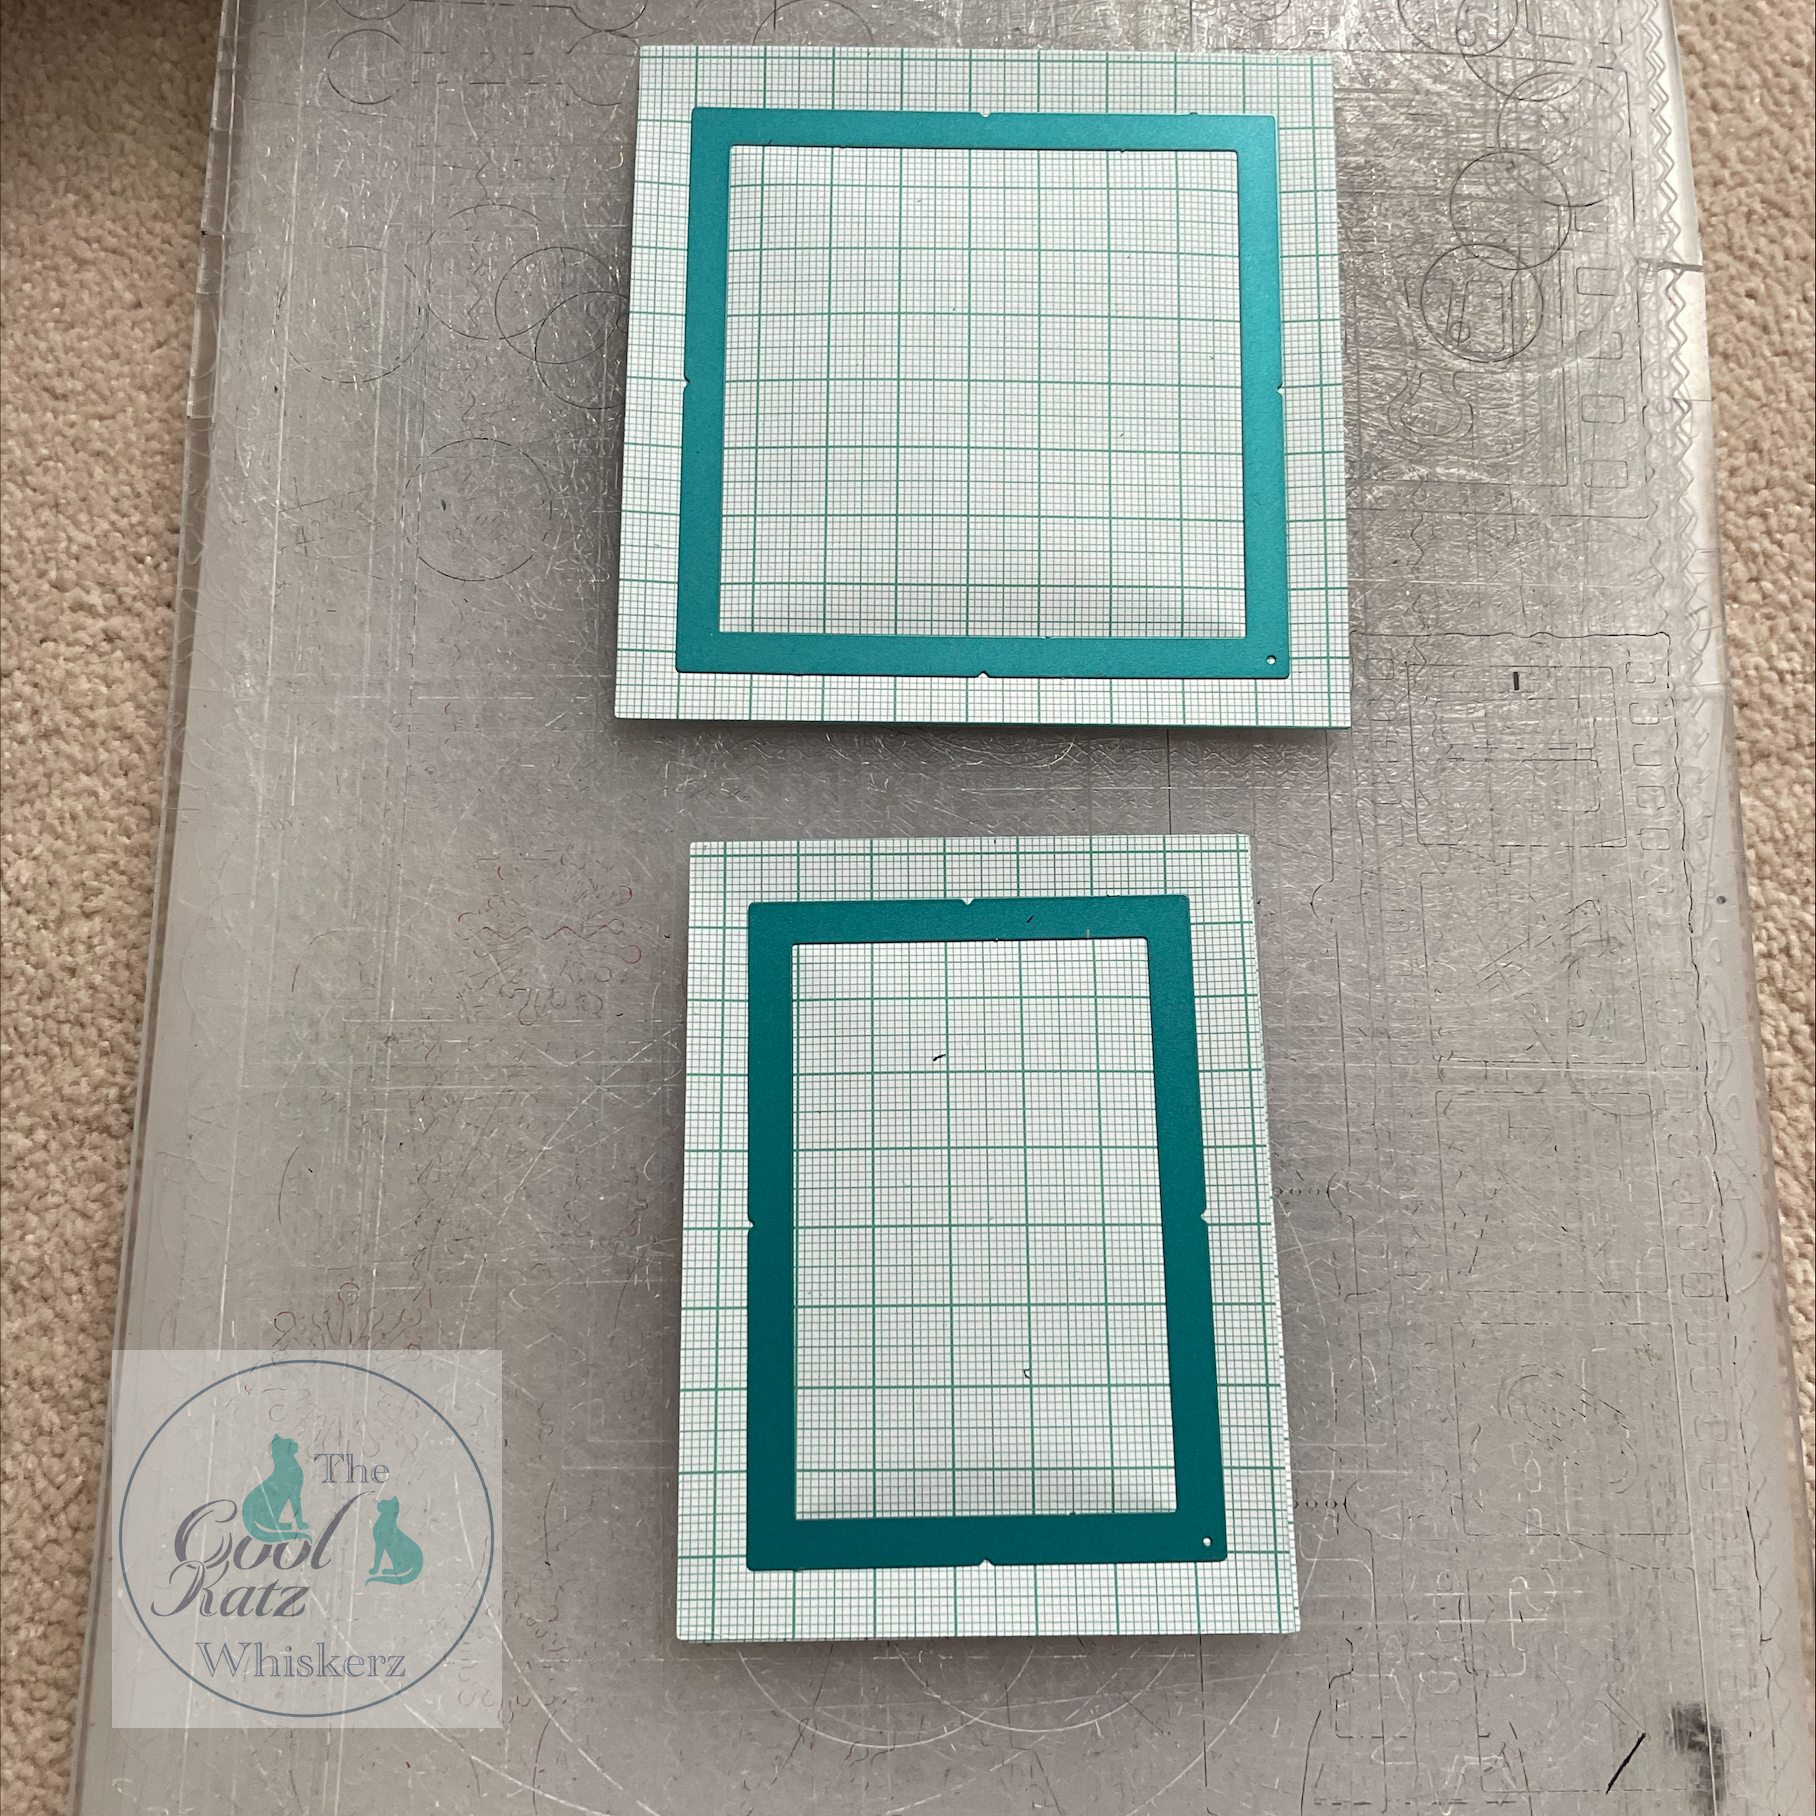
I decided to use graph paper for my frames (which was quite thin). When
putting the frames on the photos, I turned the two pieces over and used
double sided tape to hold them together before sticking down.
At the time, I didn't have the Coolkatz fantastic stamp text tool so I
used a miniature circle plastic tub. It was easy for me to line up on
the small cut speech bubbles.
I used an old black pen to ink the paper edges to help it blend into the
black card. I didn't do this with the speech bubbles or frames because I
wanted them to stand out.
The most important thing when album making is to have fun and
experiment. As Karen once said, “if you don't like it take it out...
It's only a piece of paper”. If you do get stuck, just ask. I did and was
helped by a fantastic Coolkatz member.
I don't think this will be the last we see of Fay's Album making, she is off
to a great start with this one.
And if Fay has inspired you to have a try at Album making there are a
few links below to help you find products that will help you, along with
all of our Social Media links.
Don't forget to pop by the CoolKatz Facebook page and share all of your
CoolKatz projects with us, we love to see your makes!
Happy Crafting
The CoolKatz Team x
https://www.coolkatzcraft.com/acid-free-black-25mm-x-50m-frame-tape-and-pebeo-oil-based-paint-pen-black-15mm
https://www.coolkatzcraft.com/coolkatzcutz-large-curved-photo-slots-set-2
https://www.coolkatzcraft.com/coolkatzcutz-curved-photo-slots
https://www.coolkatzcraft.com/ergonomic-stamp-text-tool
A great Album kit to start with is :-
https://www.coolkatzcraft.com/9-x-81-2-album-cover-portrait-style-and-spine-greyboard
https://www.youtube.com/channel/UCHVLrneEbdNJp3EIhJoH4BA
https://www.coolkatzcraft.com/home
https://www.facebook.com/groups/CoolKatzCraft