
free UK postage
over £40.00
‘In The Library’ Book Nook Intrigue® - Decorating Tips
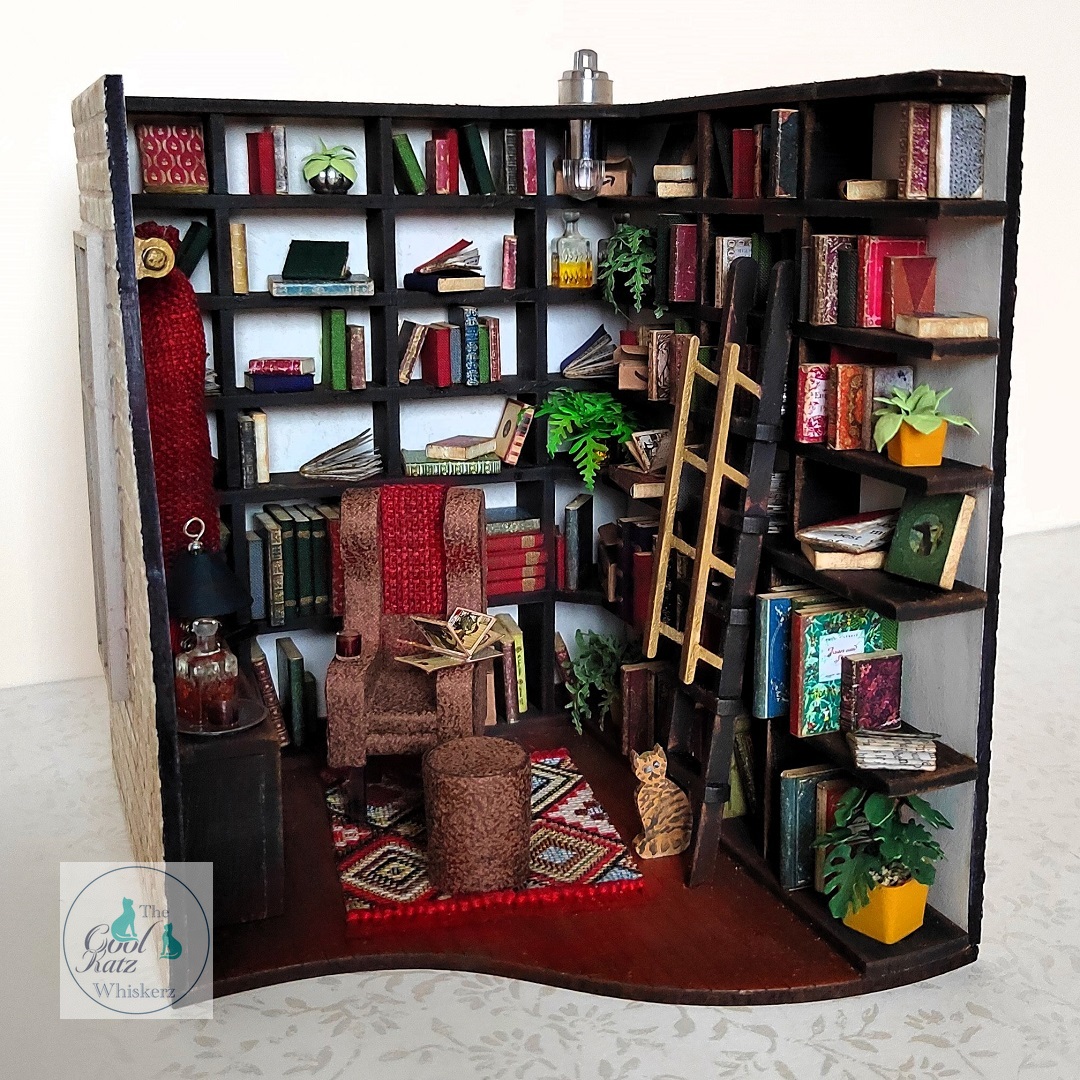
There is nothing nicer than snuggling up with a good book and the new ‘In The Library’ Book Nook Intrigue® gives you the opportunity to capture that feeling in miniature. When your complete kit arrives, you will find Kay and Maggie have included full instructions for assembling it (there is even a video tutorial on the CoolKatzCraft YouTube channel!) Once assembled it is time to decorate and today, I will be sharing some hints and tips to help with this.
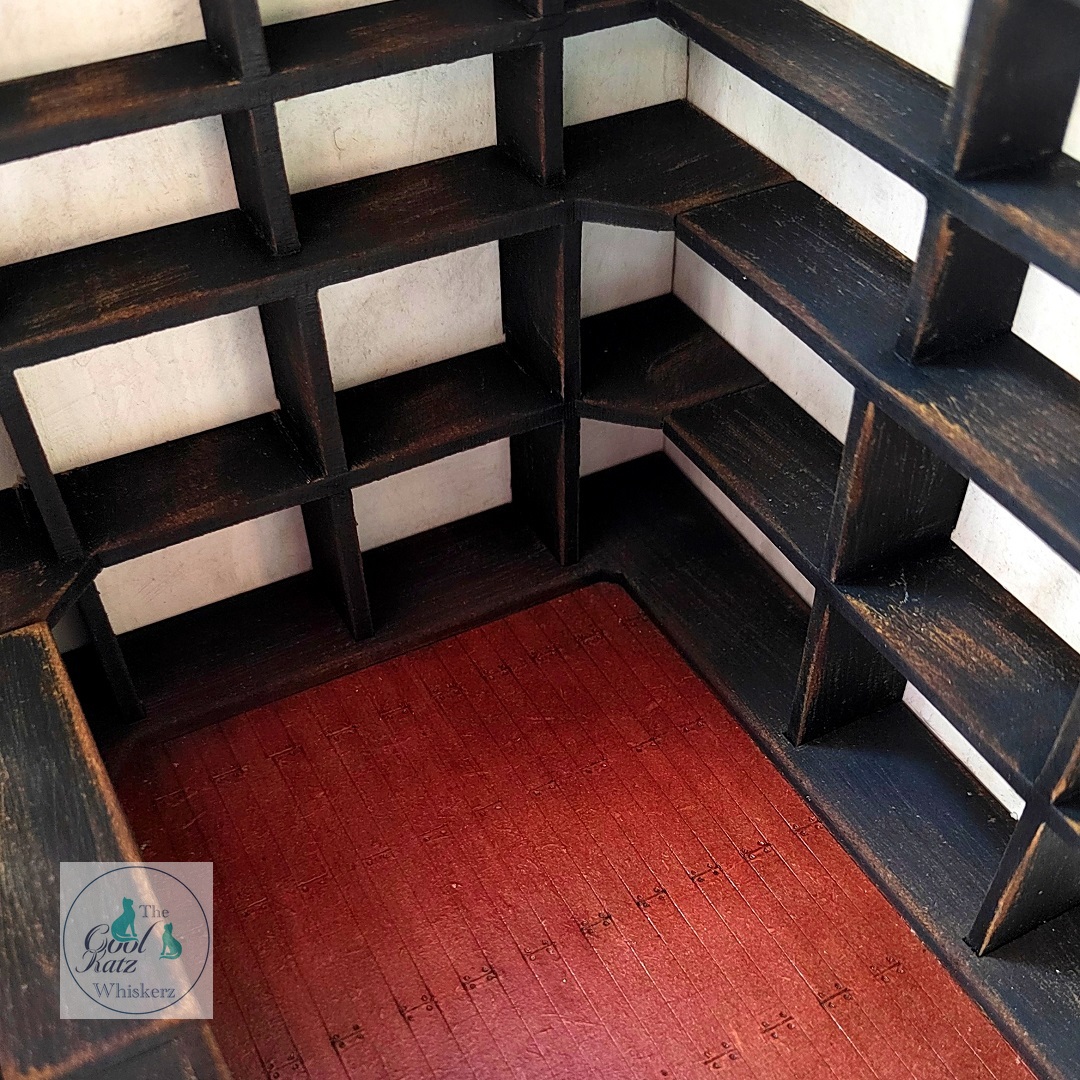
I found it easier to paint the walls before adding the decorated shelving. To get that aged dark wood look cover the shelves with black or dark brown paint, sand back in places, then blend brown ink over the sanded parts.
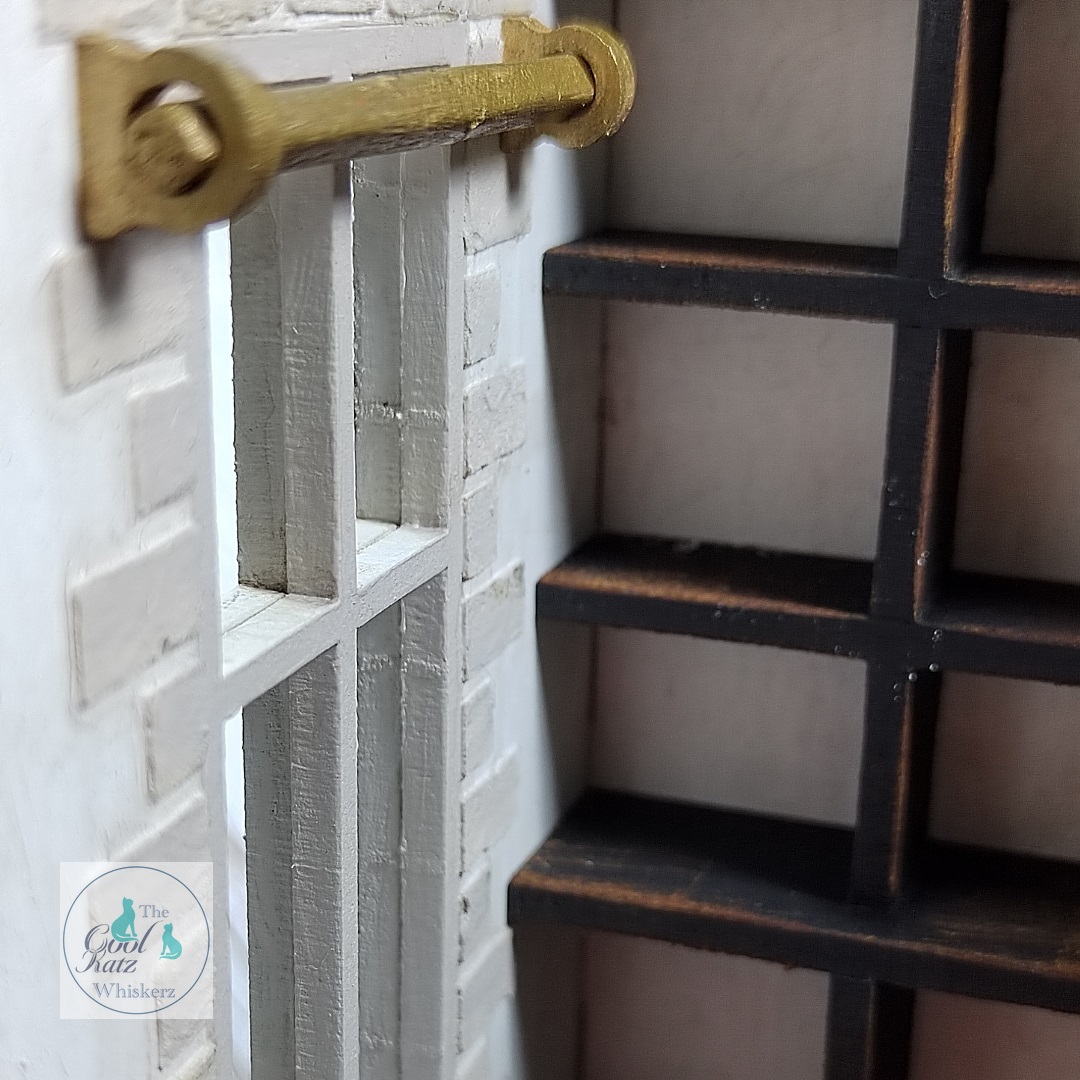
Apply a thin layer of moulding paste through the Masonry Edges stencils (these are included in the CoolKatz Brick Wall with Masonry Edges Stencil Set) to add the stonework element around the inside of the window. You can use the same stencil set to decorate the outside of your library too. To create a curtain pole I rounded off a thin piece of MDF waste and trimmed to size but it would be easier to use a thick wooden skewer.
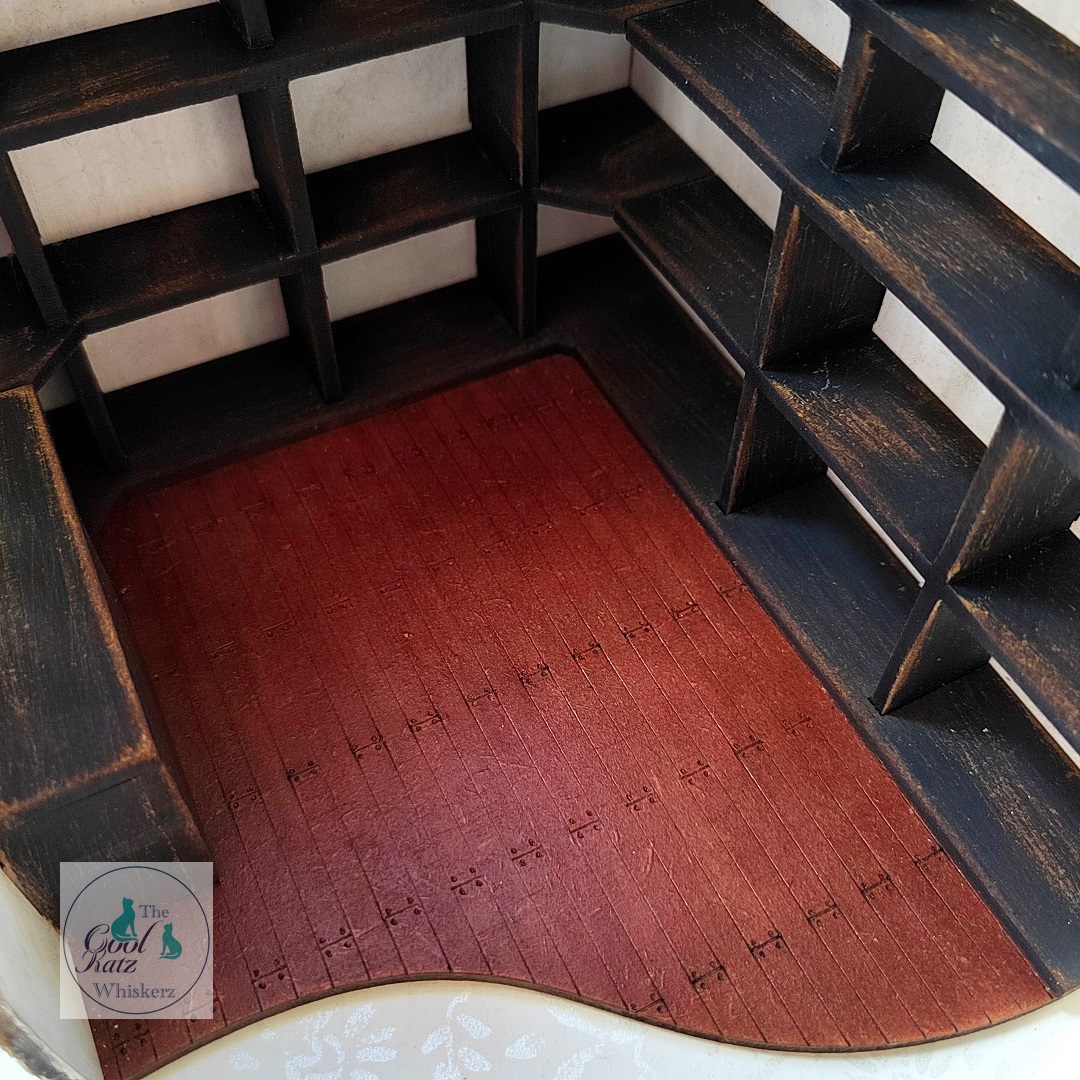
To colour the floorboards, I highly recommend using a brown ink, wood stain or even furniture polish to help ensure that the intricately etched design remains visible. A coat of clear varnish will also give it that realistic look.
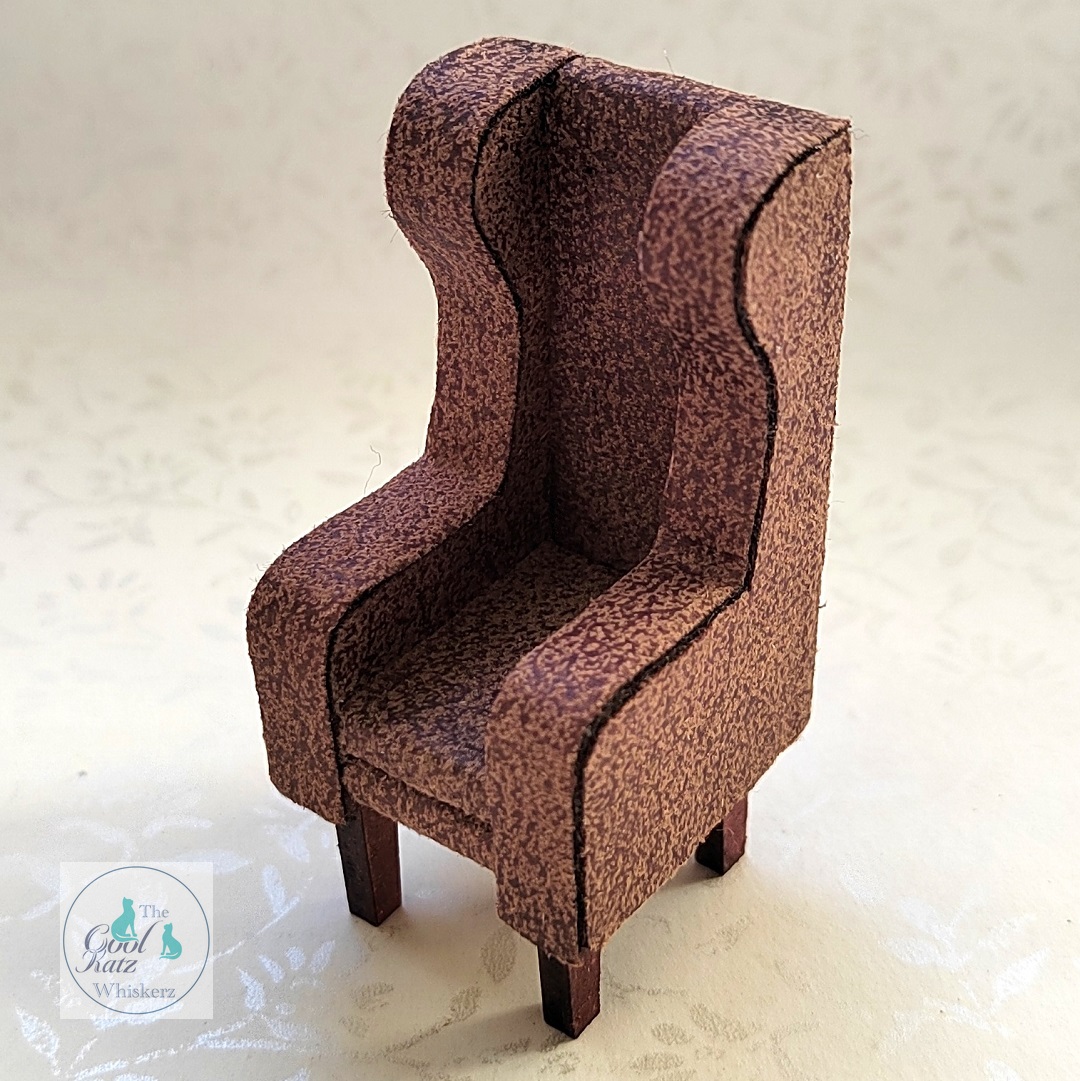
Before assembling the armchair use the pieces as templates for accurately cutting pieces of fabric to upholster it. If your chosen fabric is prone to fraying run a small bead of dries clear glue around the edges before sticking the cut pieces onto the chair. You can also make a matching footstool with the Round Box Die Set, covering your box with the same fabric.
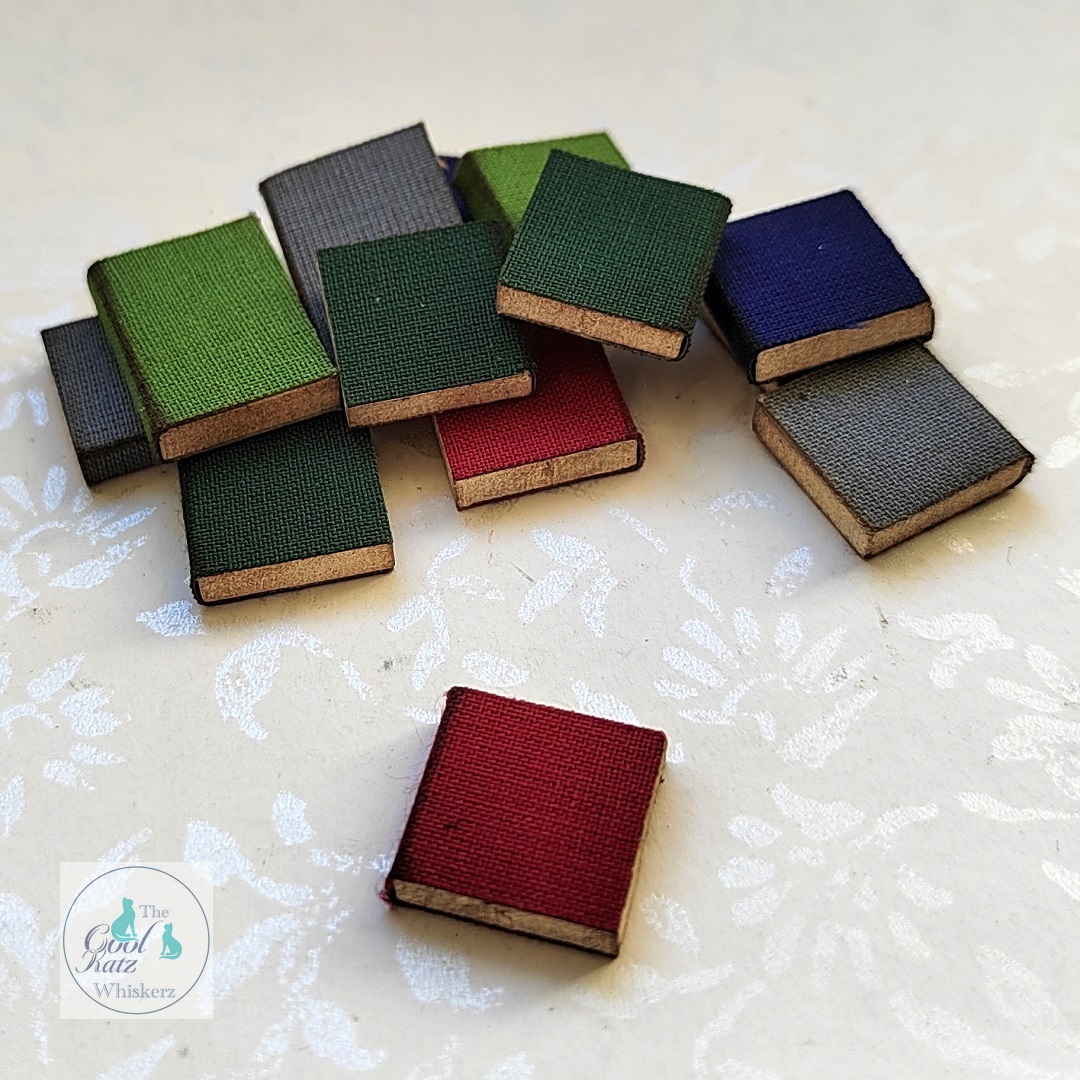
As part of the complete kit, you get little book-sized blocks, and now there is a separate MDF Mini Book Shapes Kit available on the website. A quick way to decorate them is to cover three edges with white paint/marker, stick coloured Architape® over the front, spine and back and finish with a little brown ink. To make them extra special use a metallic pen to add gold/silver stripes on the spines.
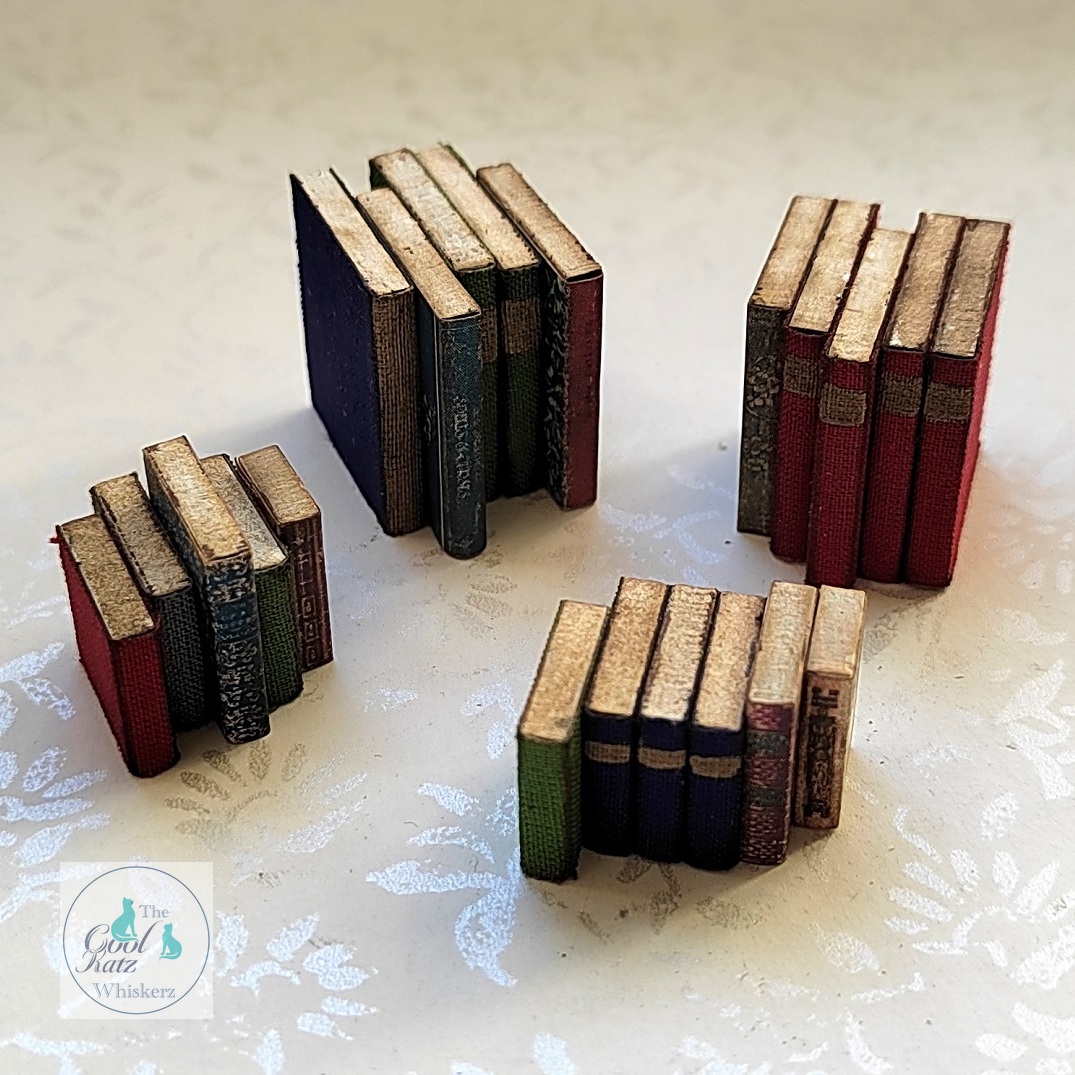
There are lots of online sources for downloadable book cover images. Make sure to check the sizes – if they are 1:12 scale print two sheets to a page to achieve the necessary 1:24 scale. When your books are decorated it is helpful to start grouping and gluing a few together in a staggered arrangement to create ‘book blocks.’ You will find placing these onto the shelves is much easier than adding individual books.
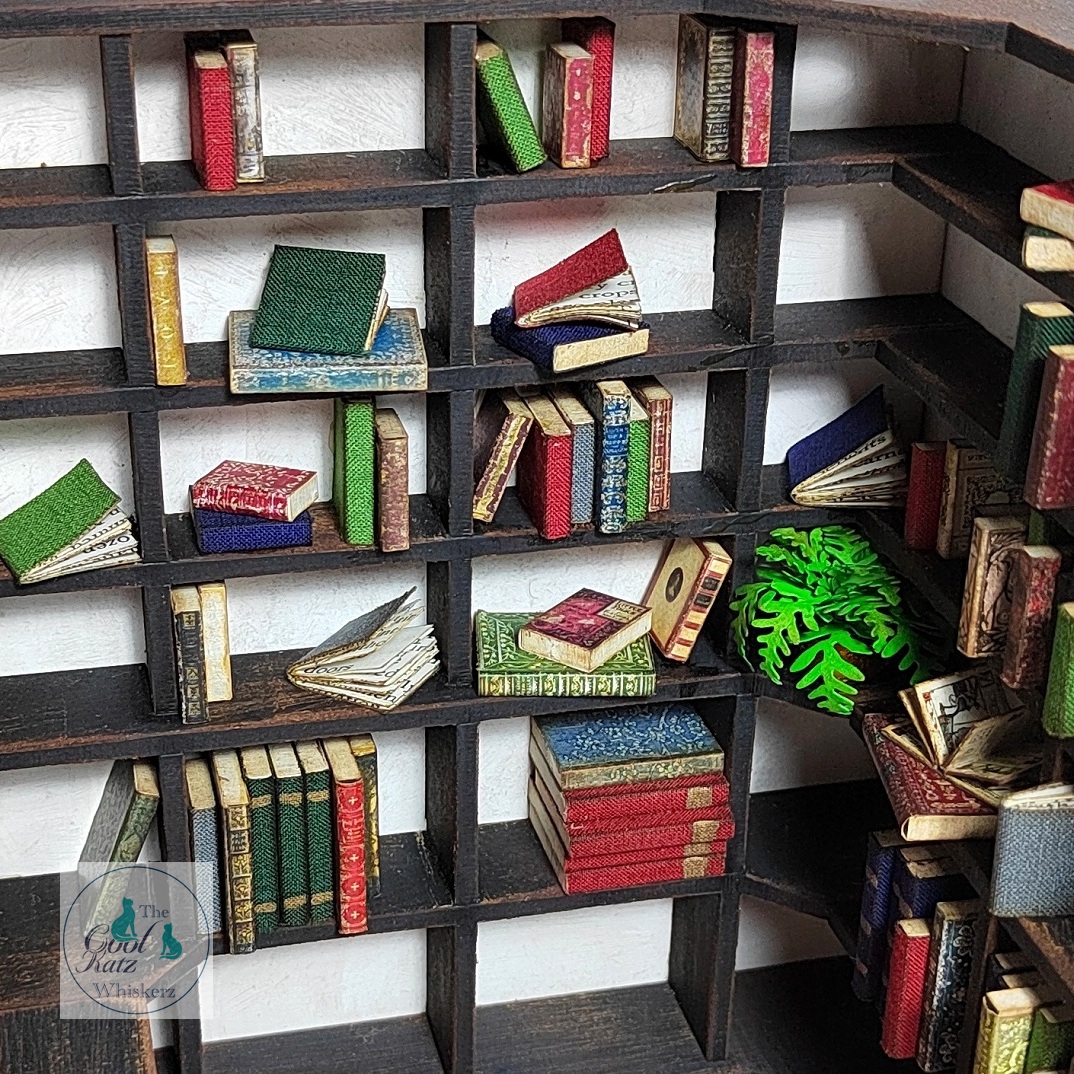
As you start to fill your shelves you will begin to realise that this could take a lot of books, so try a few of these tricks to reduce the number needed. Move your ‘book blocks’ in from the side of the shelves to leave a few gaps, lean books against others, and even lay a few down flat to create small piles.
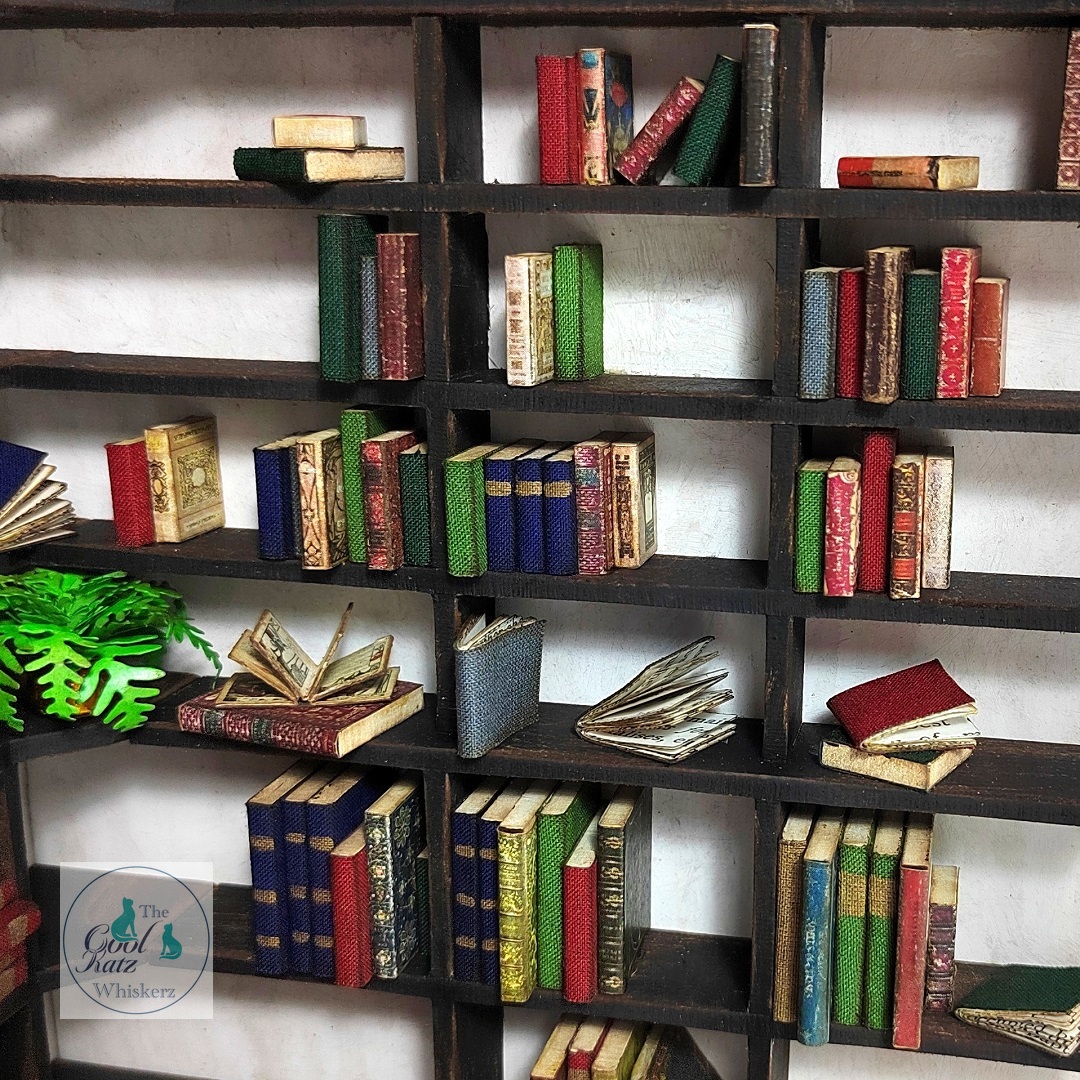
If you have made some books with the Mini Book Die Set make sure to lay these flat, and even open, so you get to see the pages that you have taken time to create. For a bigger impact try grouping sets of books together; think back to those impressive sets of encyclopaedias that used to grace the shelves of many homes. And of course, it is good to leave space on your shelves for plants, boxes, ornaments and other treasures.
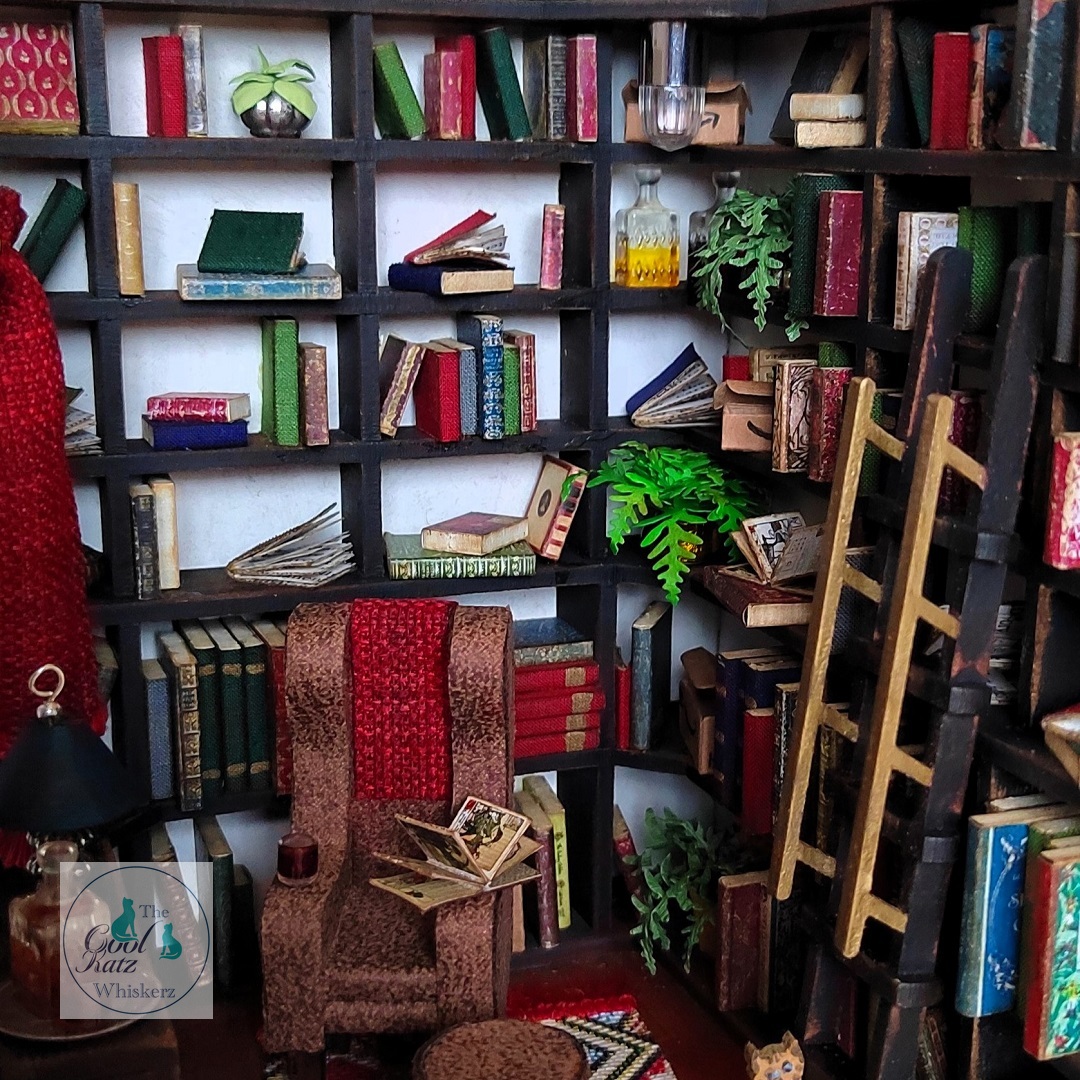
I think you will agree that is a "Wow" project, and if Jenny has inspired you to create your own Library, you will find all the links you need below.
Happy Crafting
The CoolKatz Team x
https://www.coolkatzcraft.com/book-nook-intrigue-in-the-library-complete-kit
https://www.coolkatzcraft.com/model-makers-mediums-kit
https://www.coolkatzcraft.com/pebeo-acrylic-modelling-paste
https://www.coolkatzcraft.com/pebeo-modelling-tool
https://www.coolkatzcraft.com/coolkatz-masonry-edges-stencil
https://www.coolkatzcraft.com/mini-book-album-die-set
https://www.coolkatzcraft.com/catalogsearch/result/?q=fern+leaves
https://www.coolkatzcraft.com/cool-katz-leaf-dies
https://www.coolkatzcraft.com/foliage-and-flower-die-bundle