
free UK postage
over £40.00
Now the fun begins, assembling all the flips and flaps!
*When I decorate the folio, I do it as follows:base-flap D, flap C, flap B
flap A. Both sides together so I remember sizes of pp to cut.
I put together both sides of folio with card and pp before sticking onto folio inside covers.
I cut out both Folio sides of card at the same time for all the flaps/parts and label them with a pencil. eg:- Flap A left, Flap A right, mini flap A left side and so on.
Flap A and it's parts
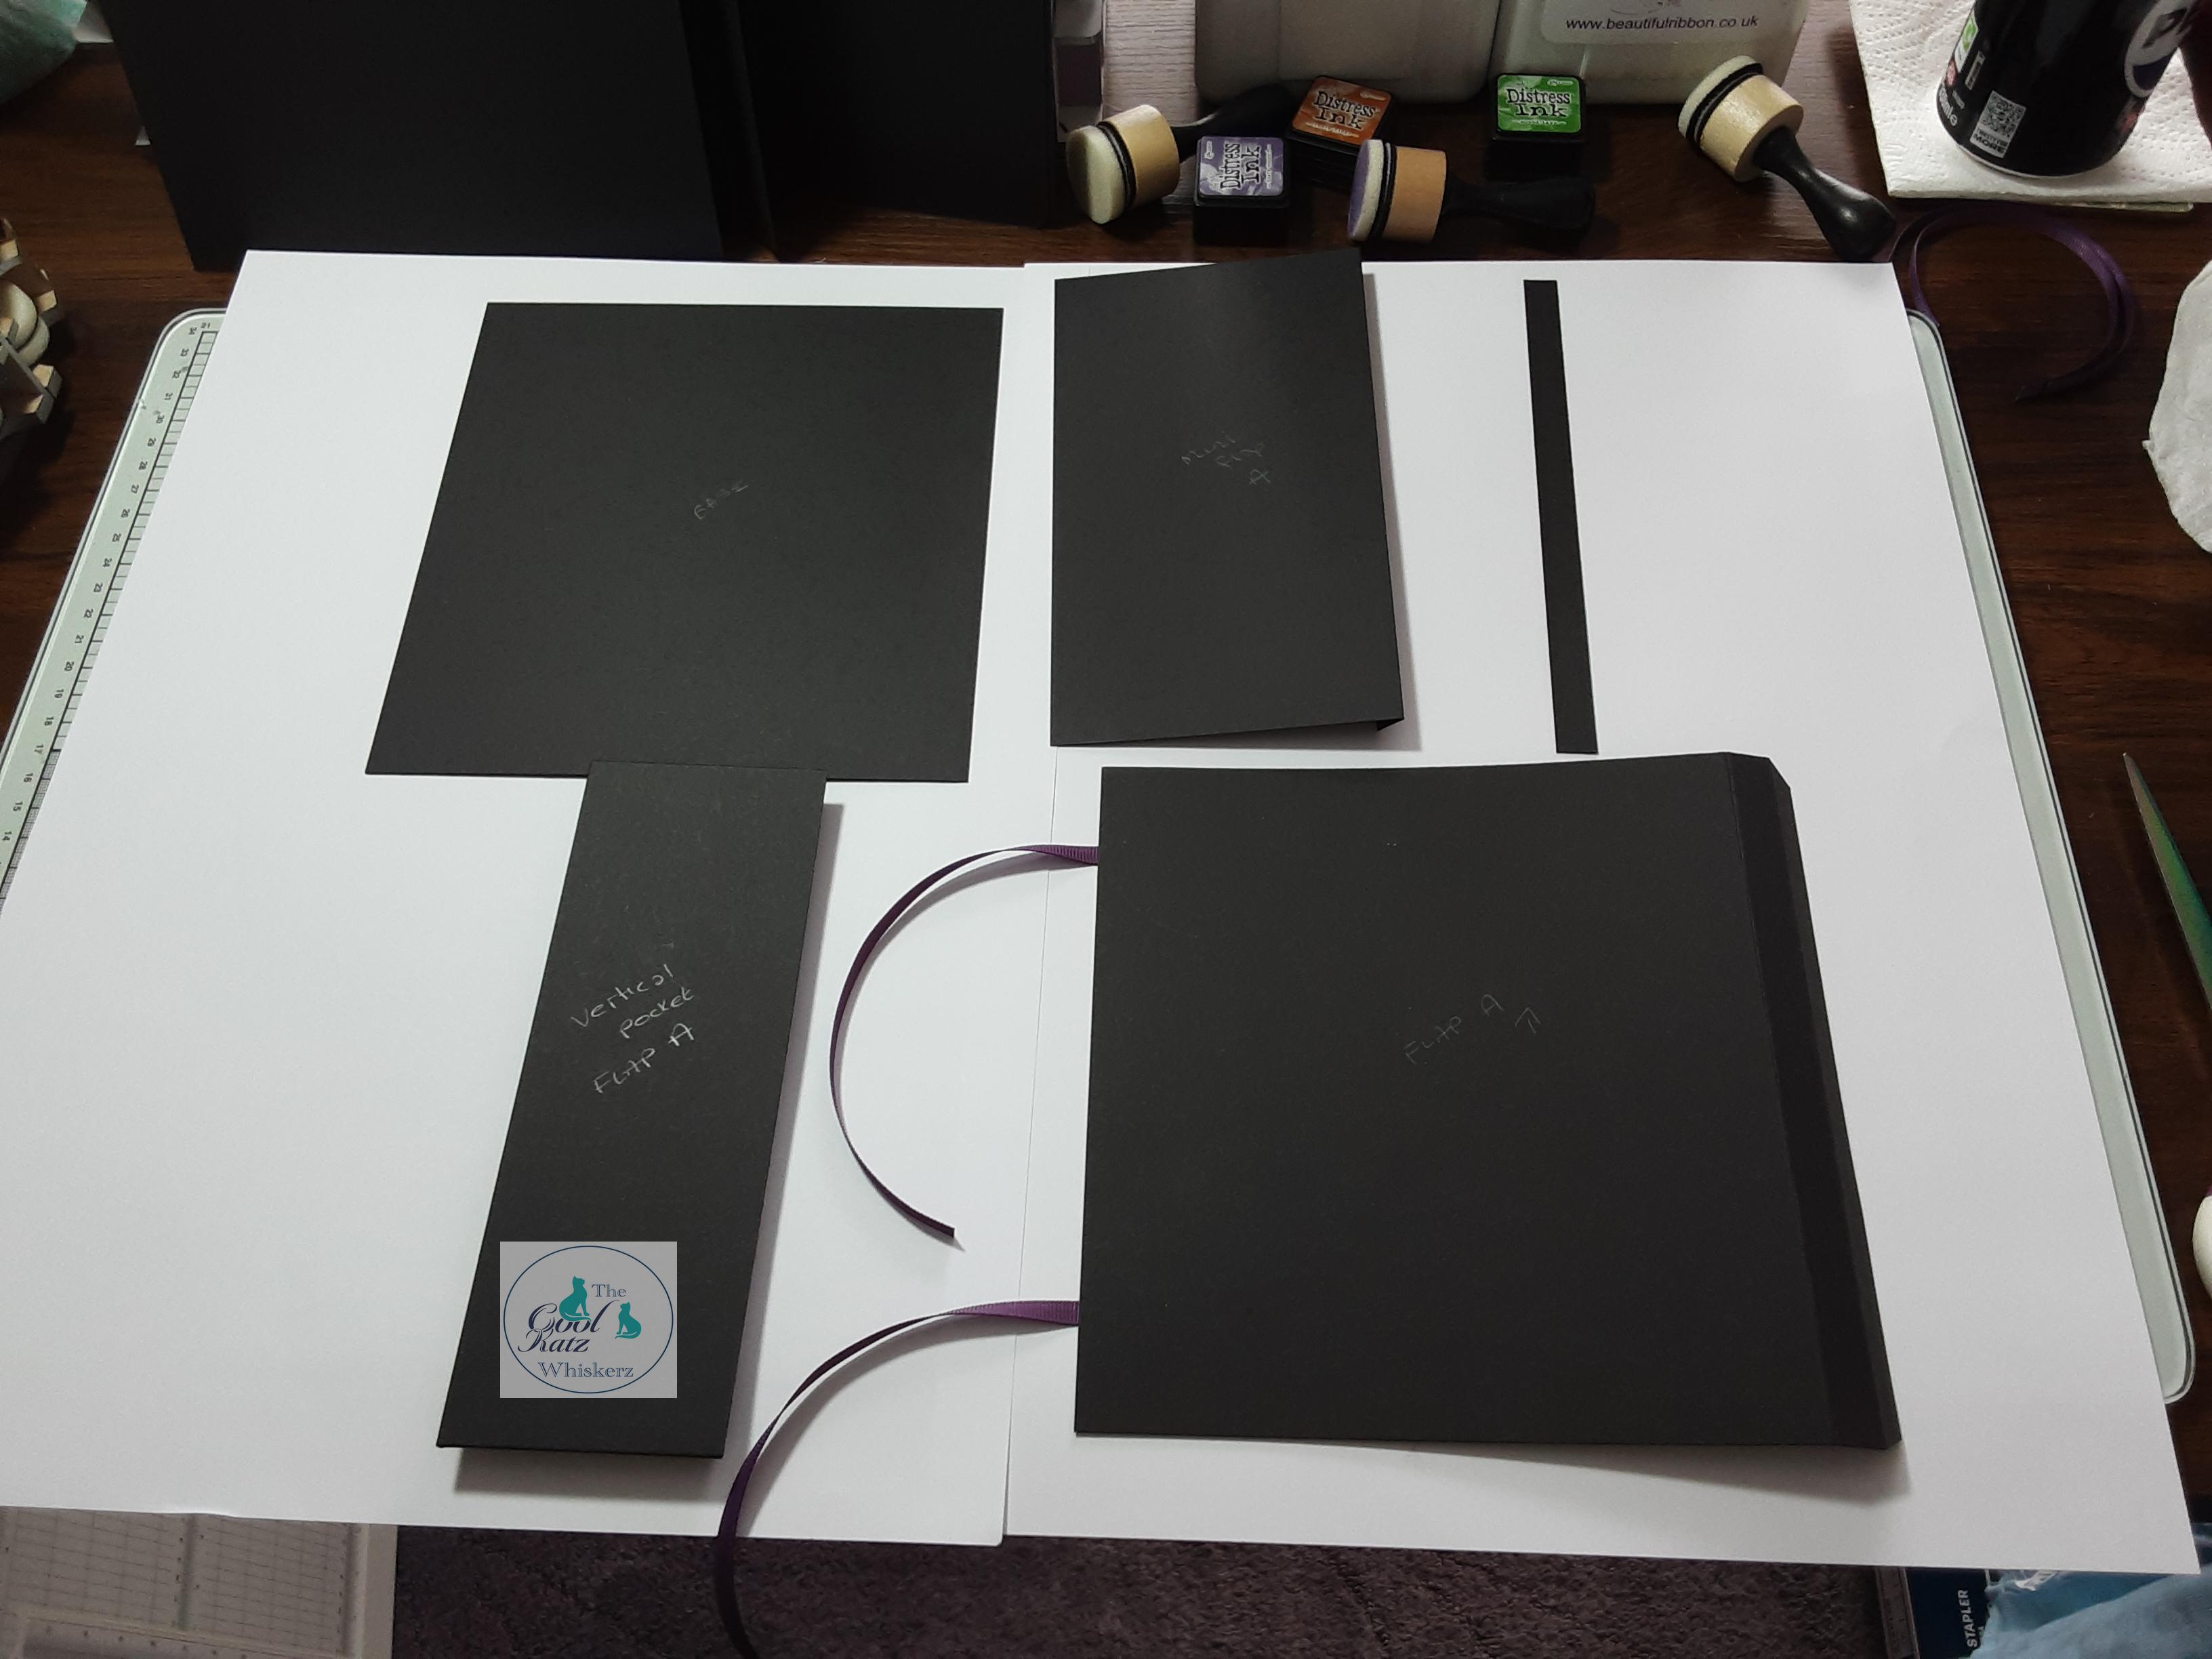
Base card :- cut 2 @ 7 1/2 inches x 7 inches. All flaps stick onto this card Flap A:- cut 2 @ 7 1/2 inches x 8 inches with the 8 inches across the top of your scoreboard , score @ 1/2 then 1 inch. Reinforce the gusset with a piece of card 7 1/2 inches x 3/8 inch .
Place these flaps on the outer side edge of the base card. ( the flap should open outwards)
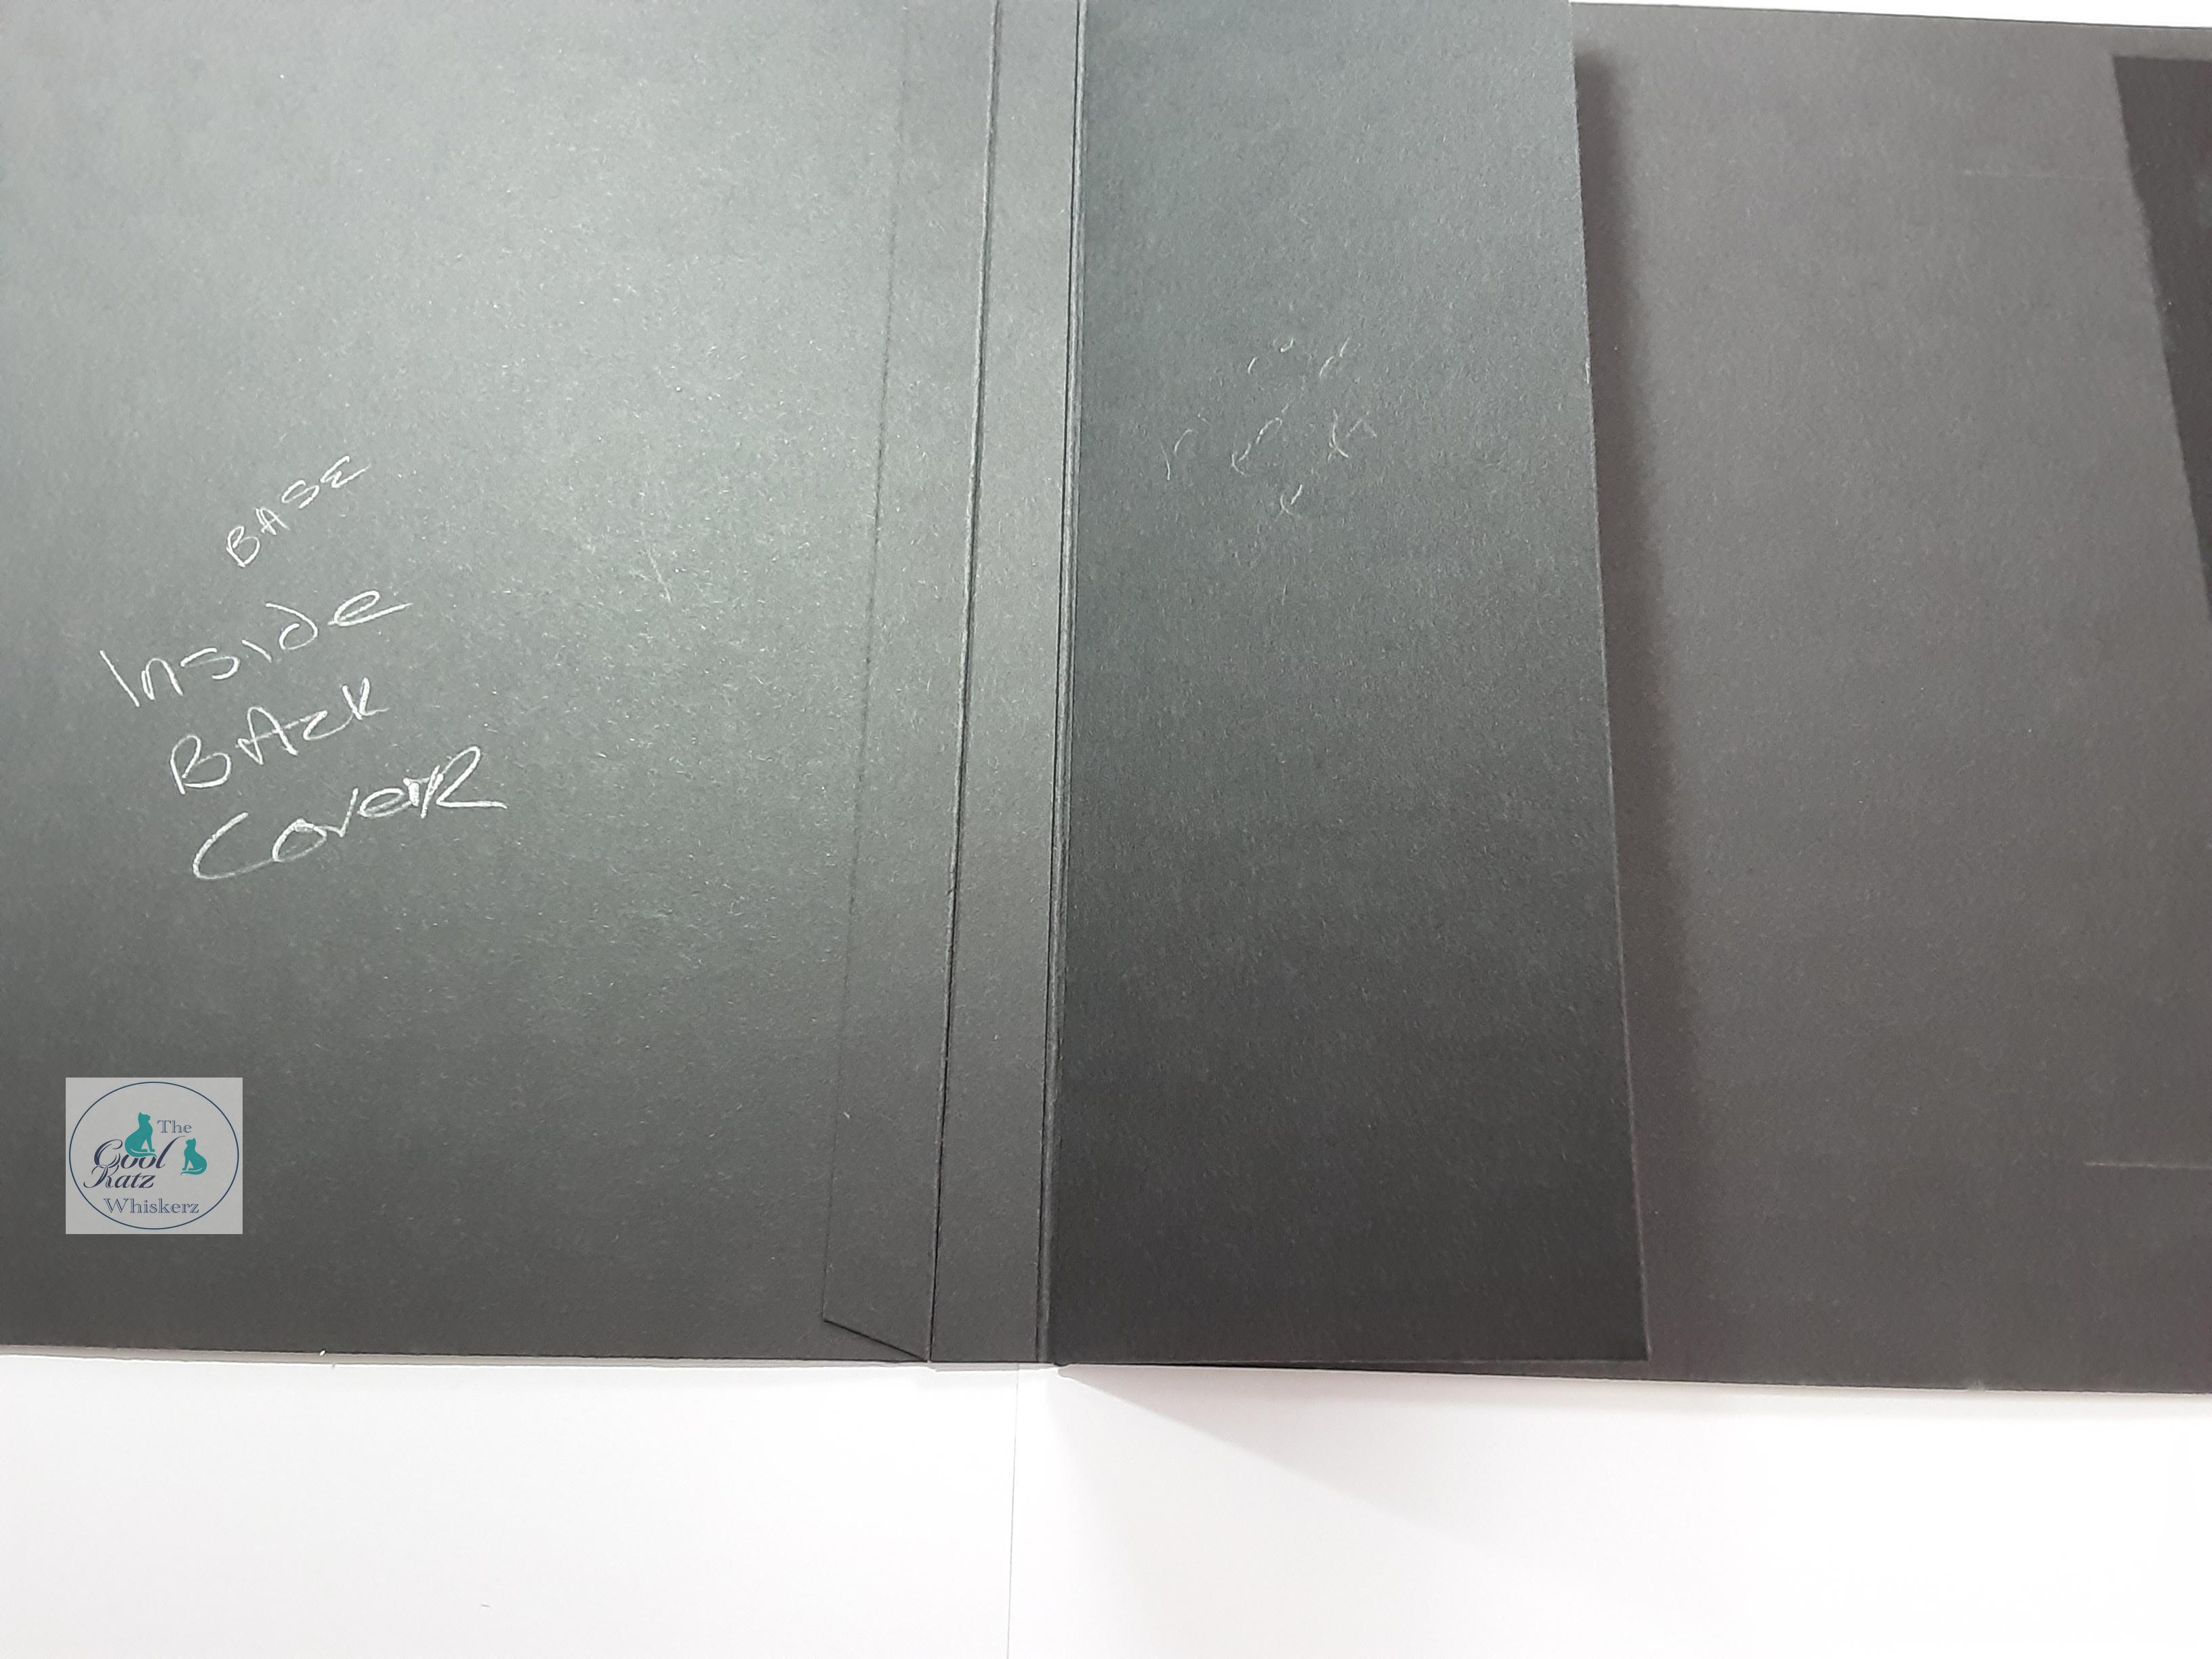
6mm ribbon cut 4 pieces @ 8 inches, place these 1 inch up/down from bottom/top edges of flap A.
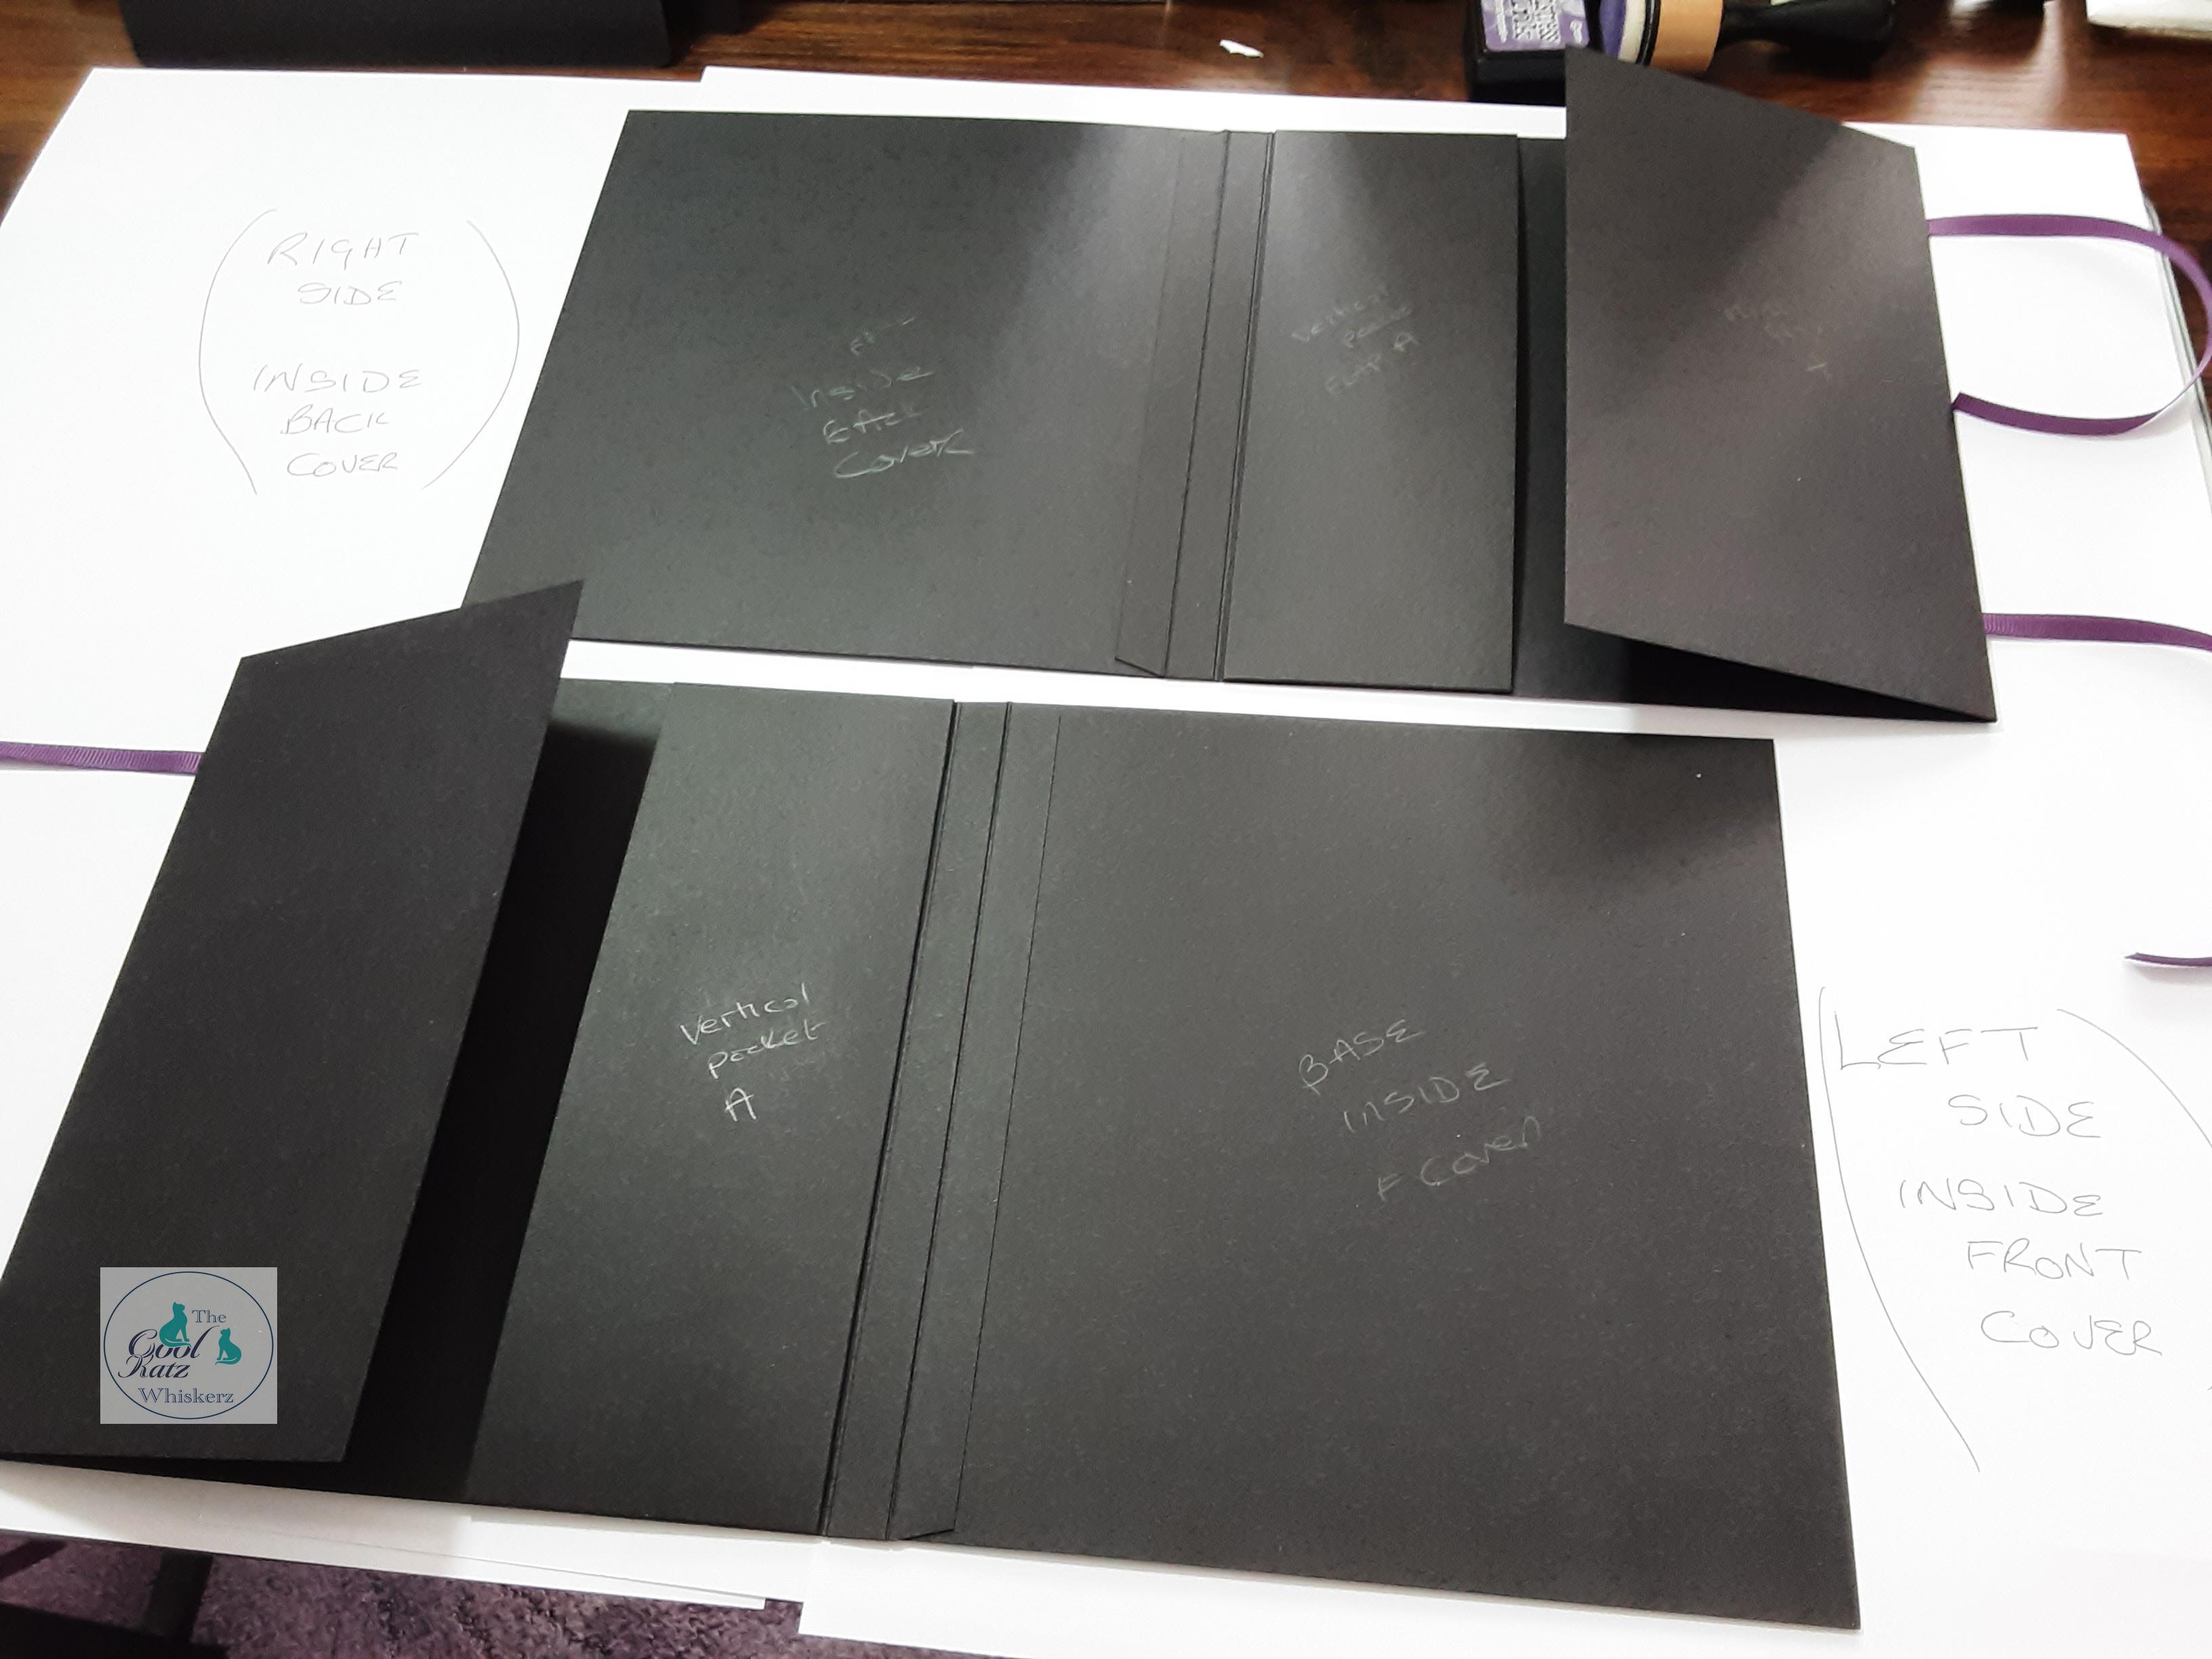
Vertical pocket :- cut 2 @ 8 1/2 inches x 3 3/16 inches, score 1/2 inch on 2 short sides and 1 long side. Place the vertical pockets on the inside side edge of flap A staying clear of the hinge.
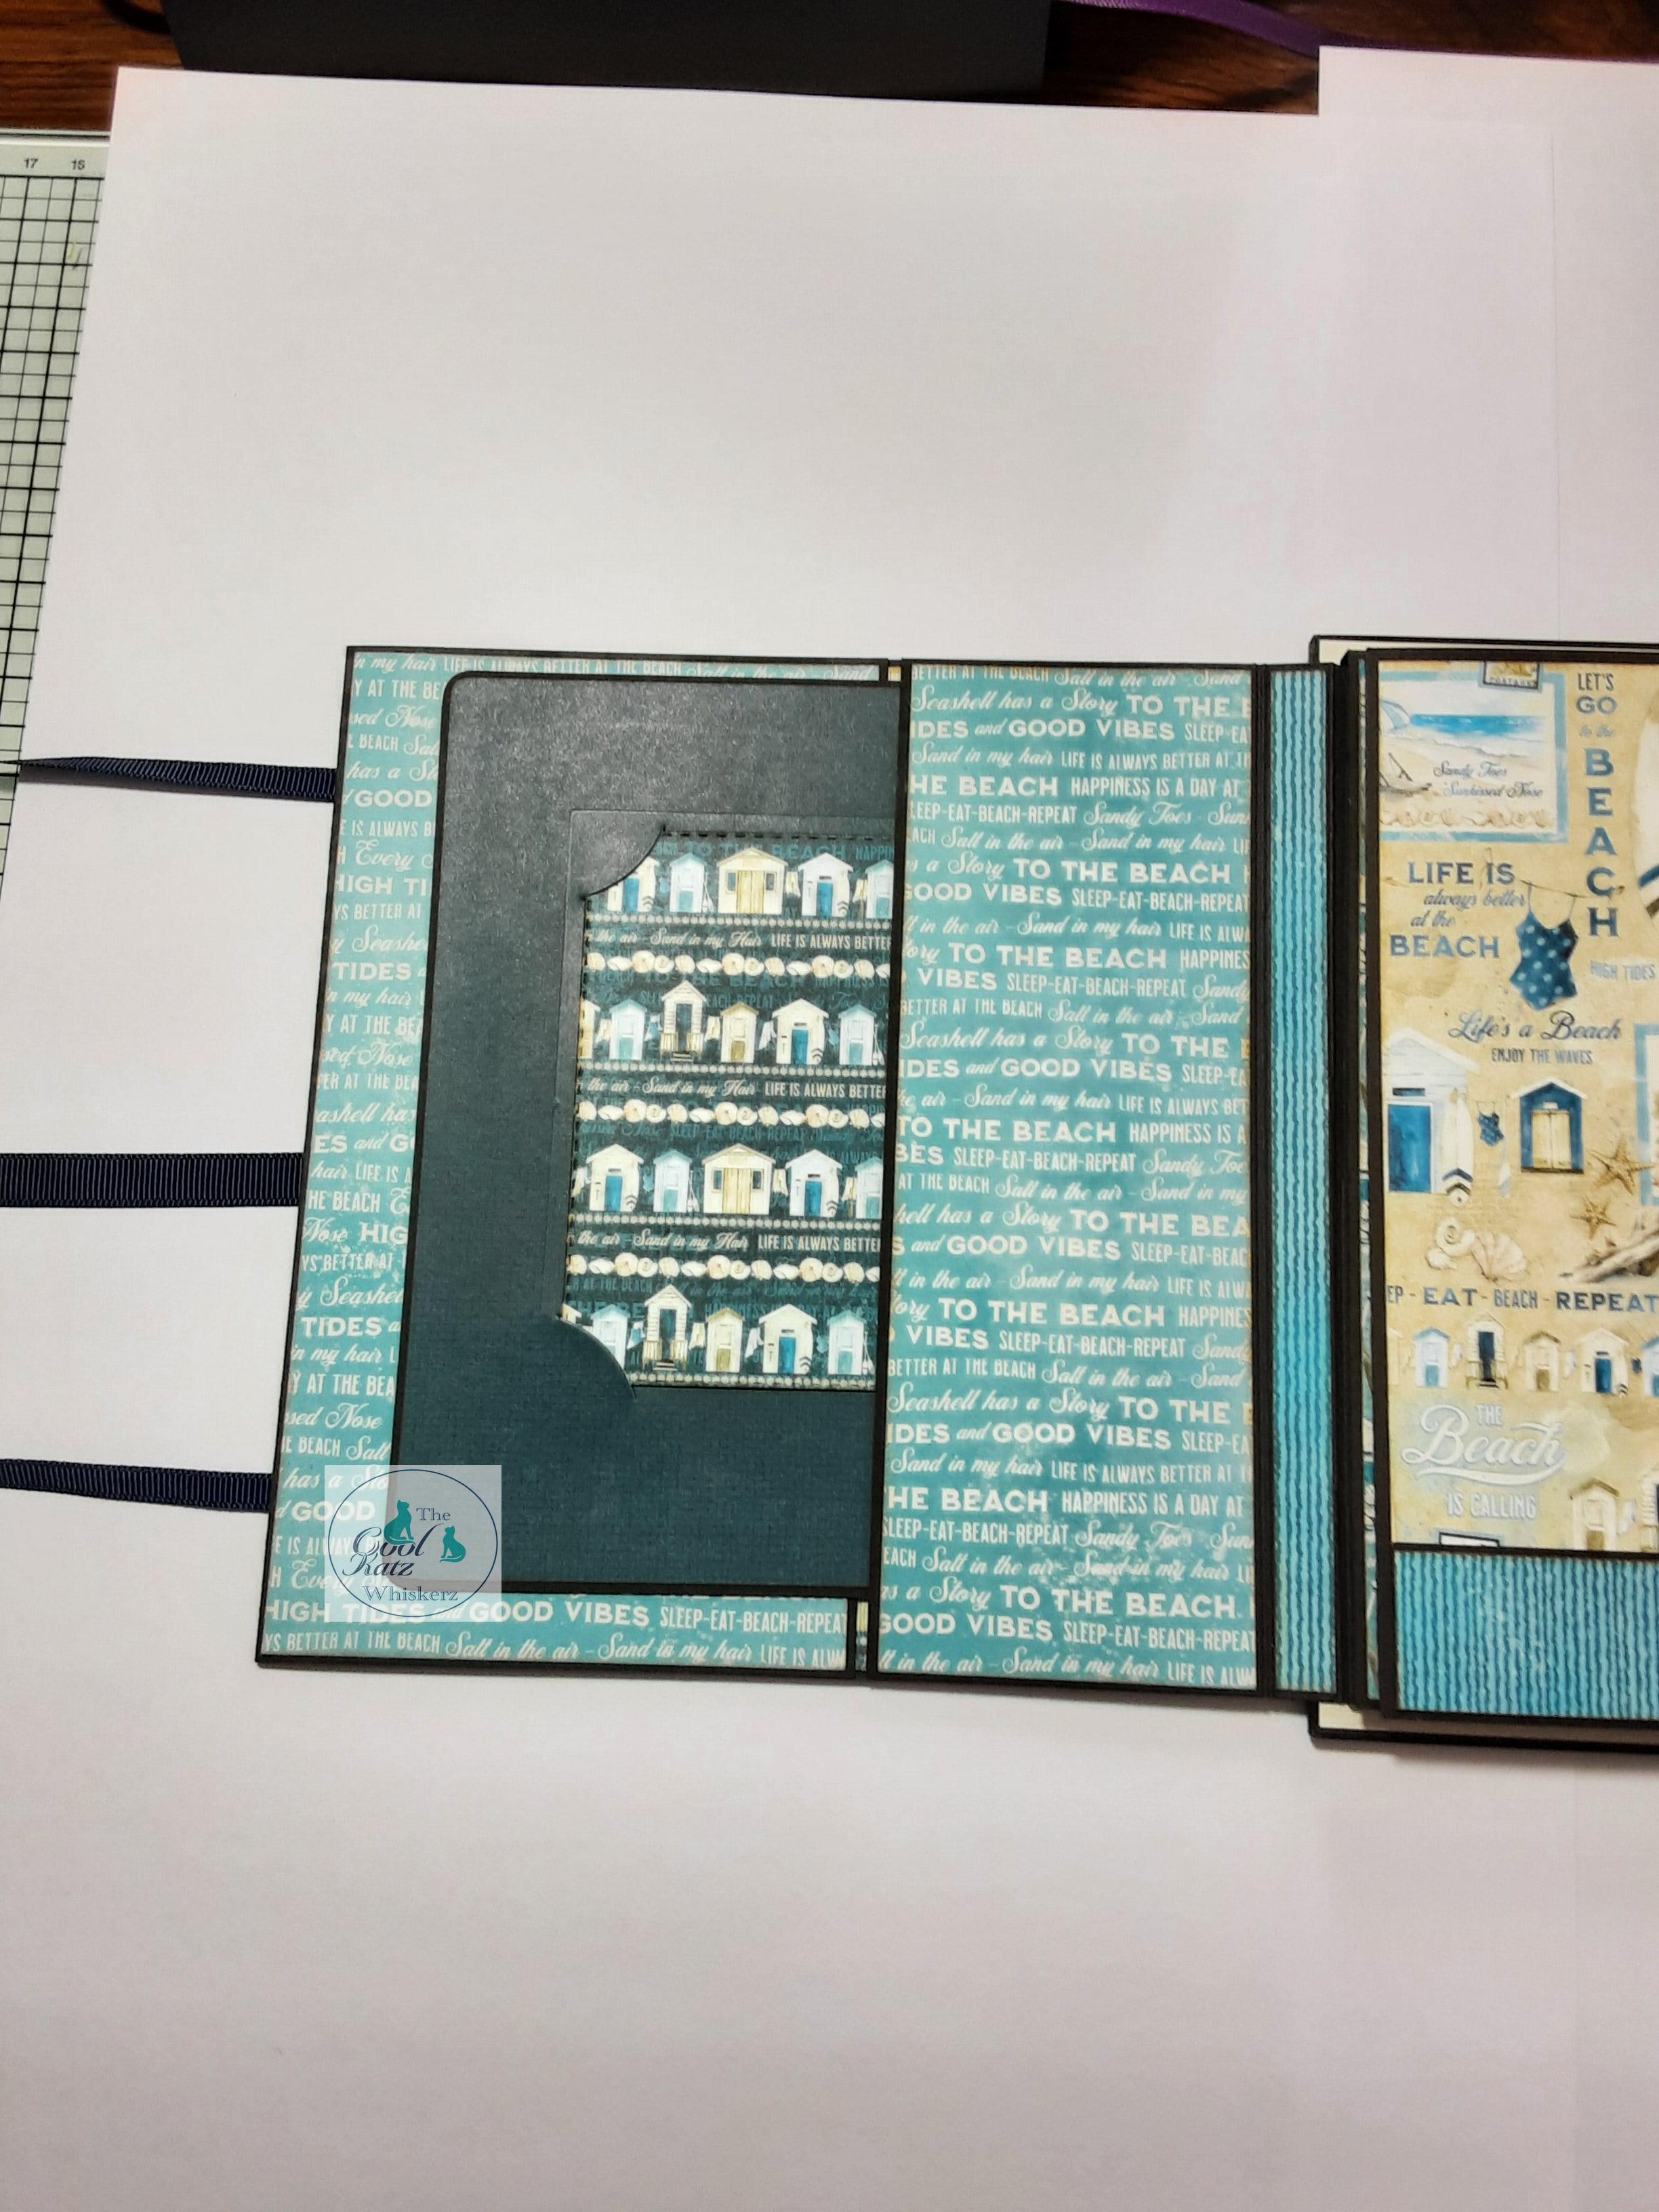
Mini flap:- cut 2 @ 7 1/2 inches x 4 5/8 inches , with the 4 5/8 inches across the top of your scoreboard, score 1/2 inch. Attach to flap A on the outer side edge. (you will be sticking over part of the ribbon)
I made mats (Size of mats :- cut 2 @ 6 3/4 inches x 5 1/2 inches) . to go over the mini flap and tuck into the pocket , this will save using magnets as closures.
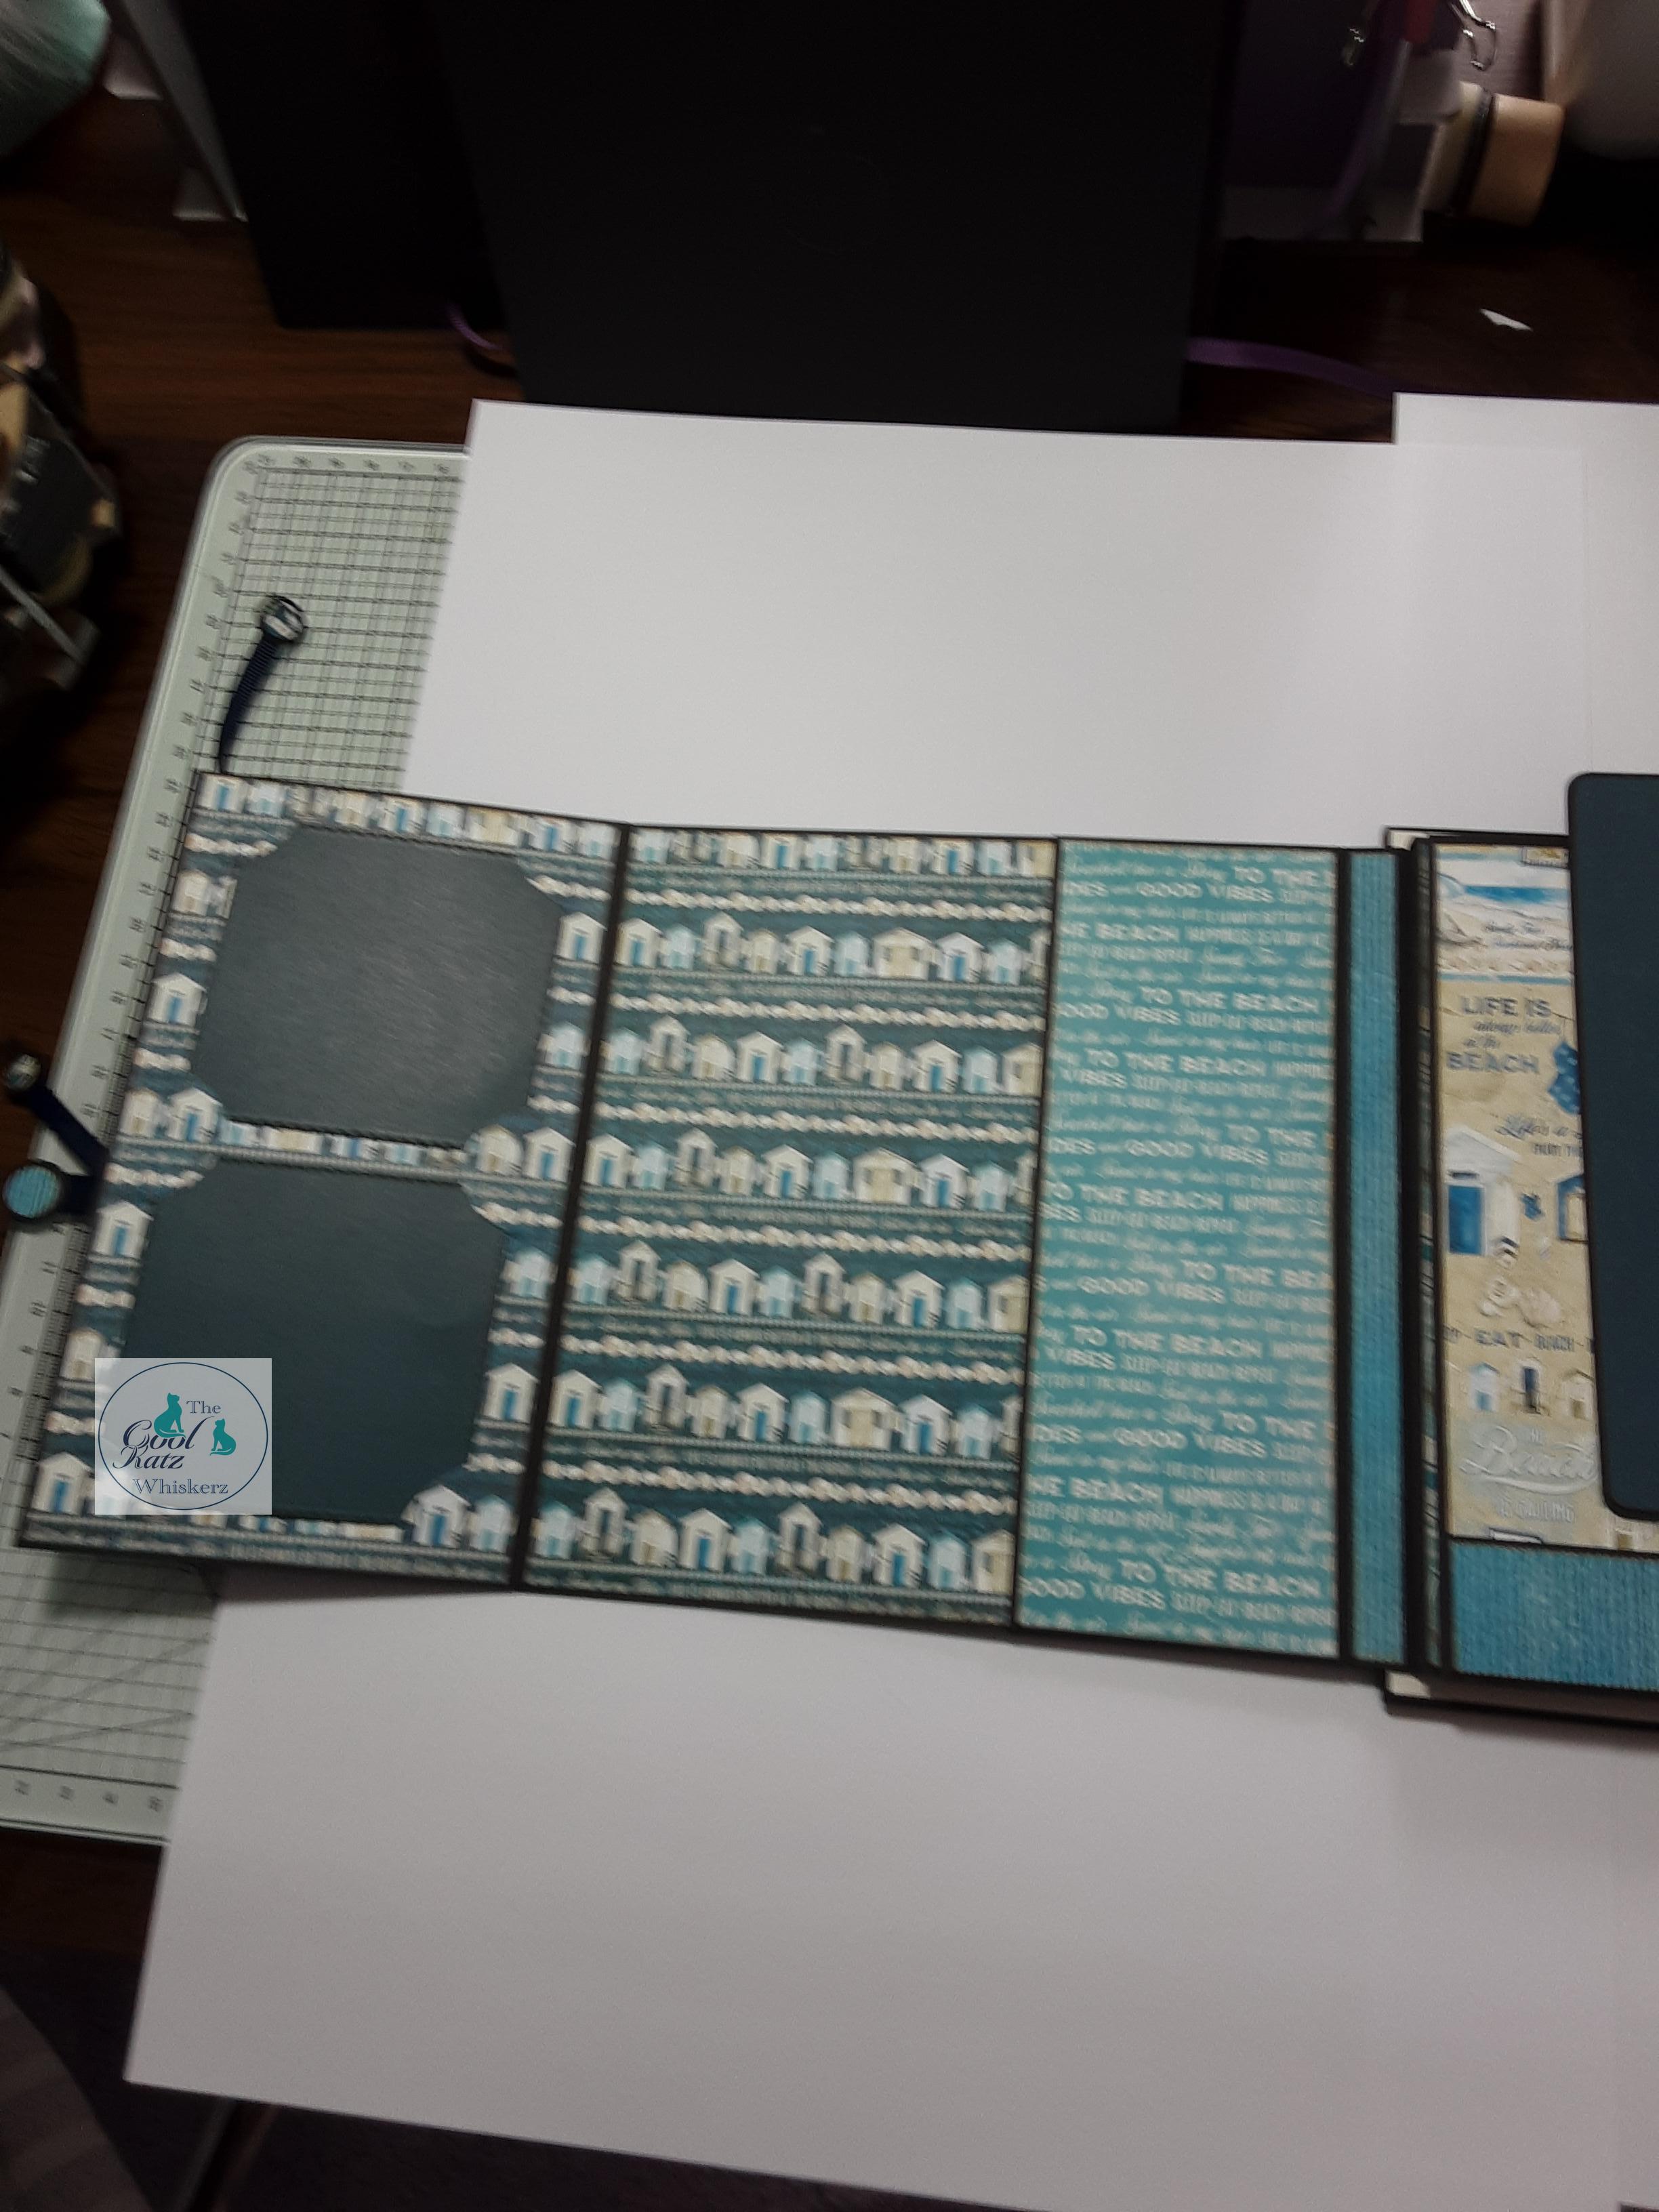
And that's the end of Part 1, Flap A.
Thank you Lynne, looking forward to Flap "B" next week!