free UK postage
over £40.00
Search


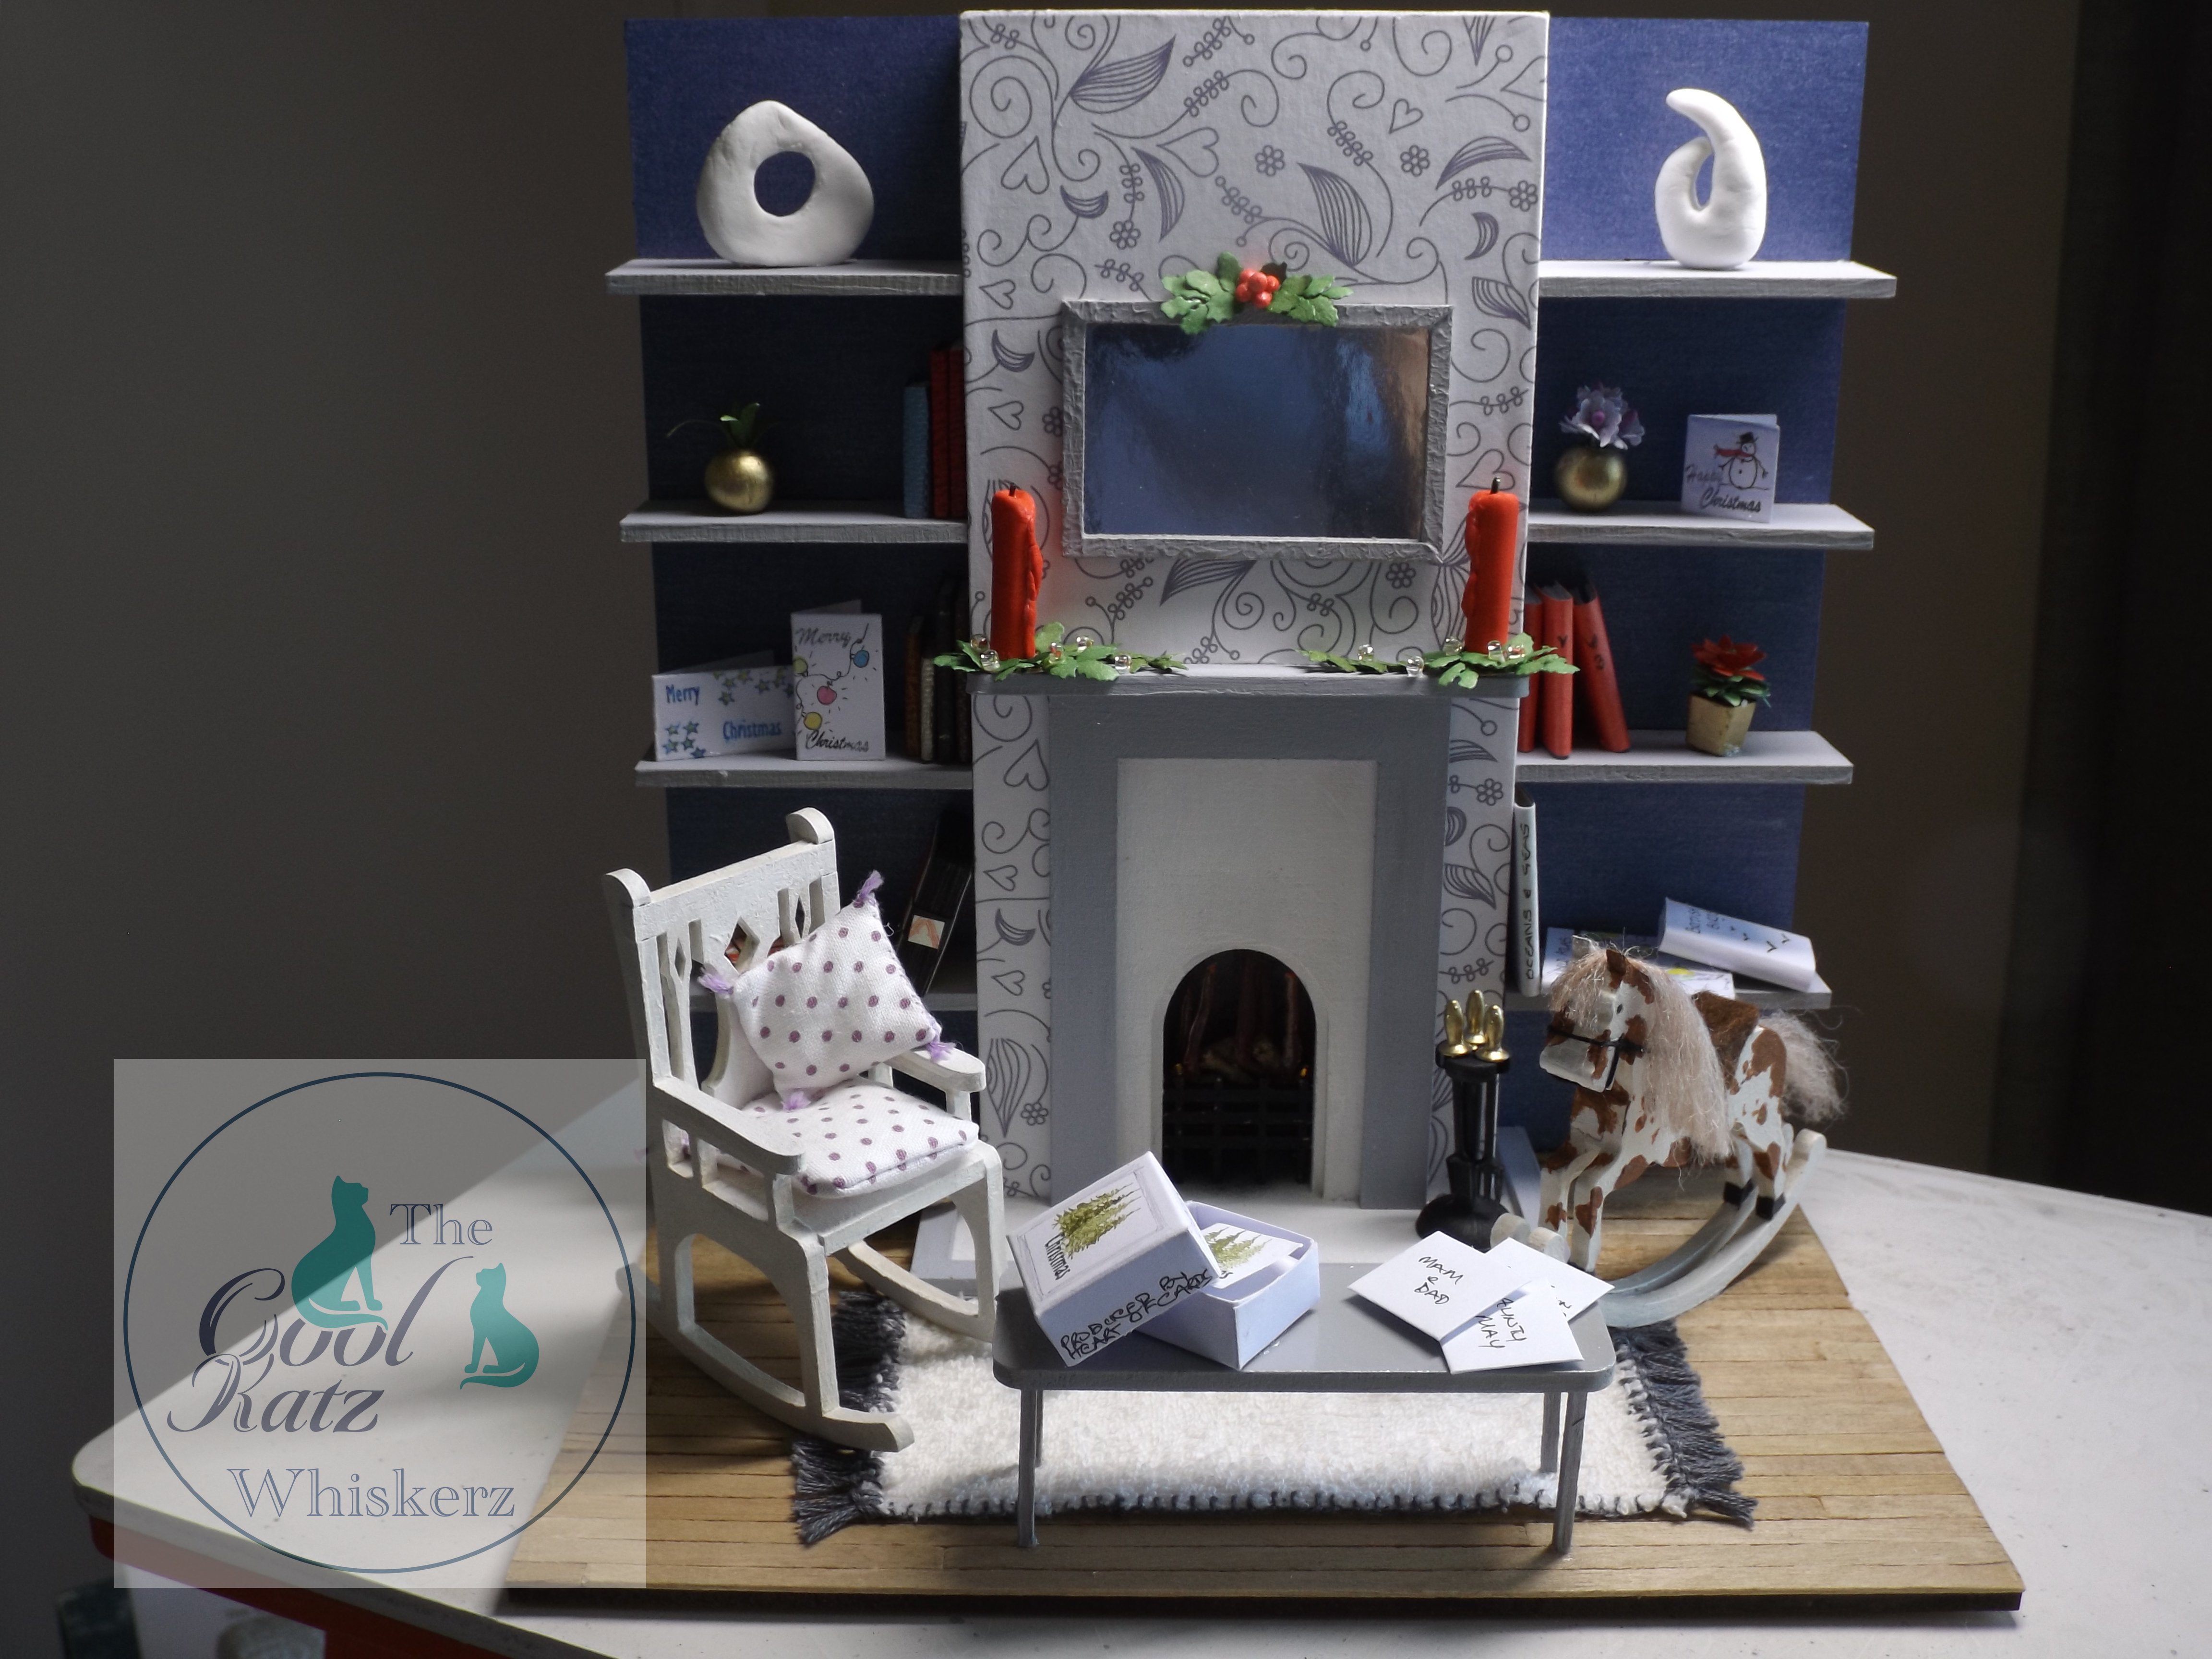
I was so honoured and pleased that Maggie and Kay asked if I would like to have a play with their new miniature set. After I checked on the construction with a dry run. I formed a plan of action! You know how those go . . . out of the window!
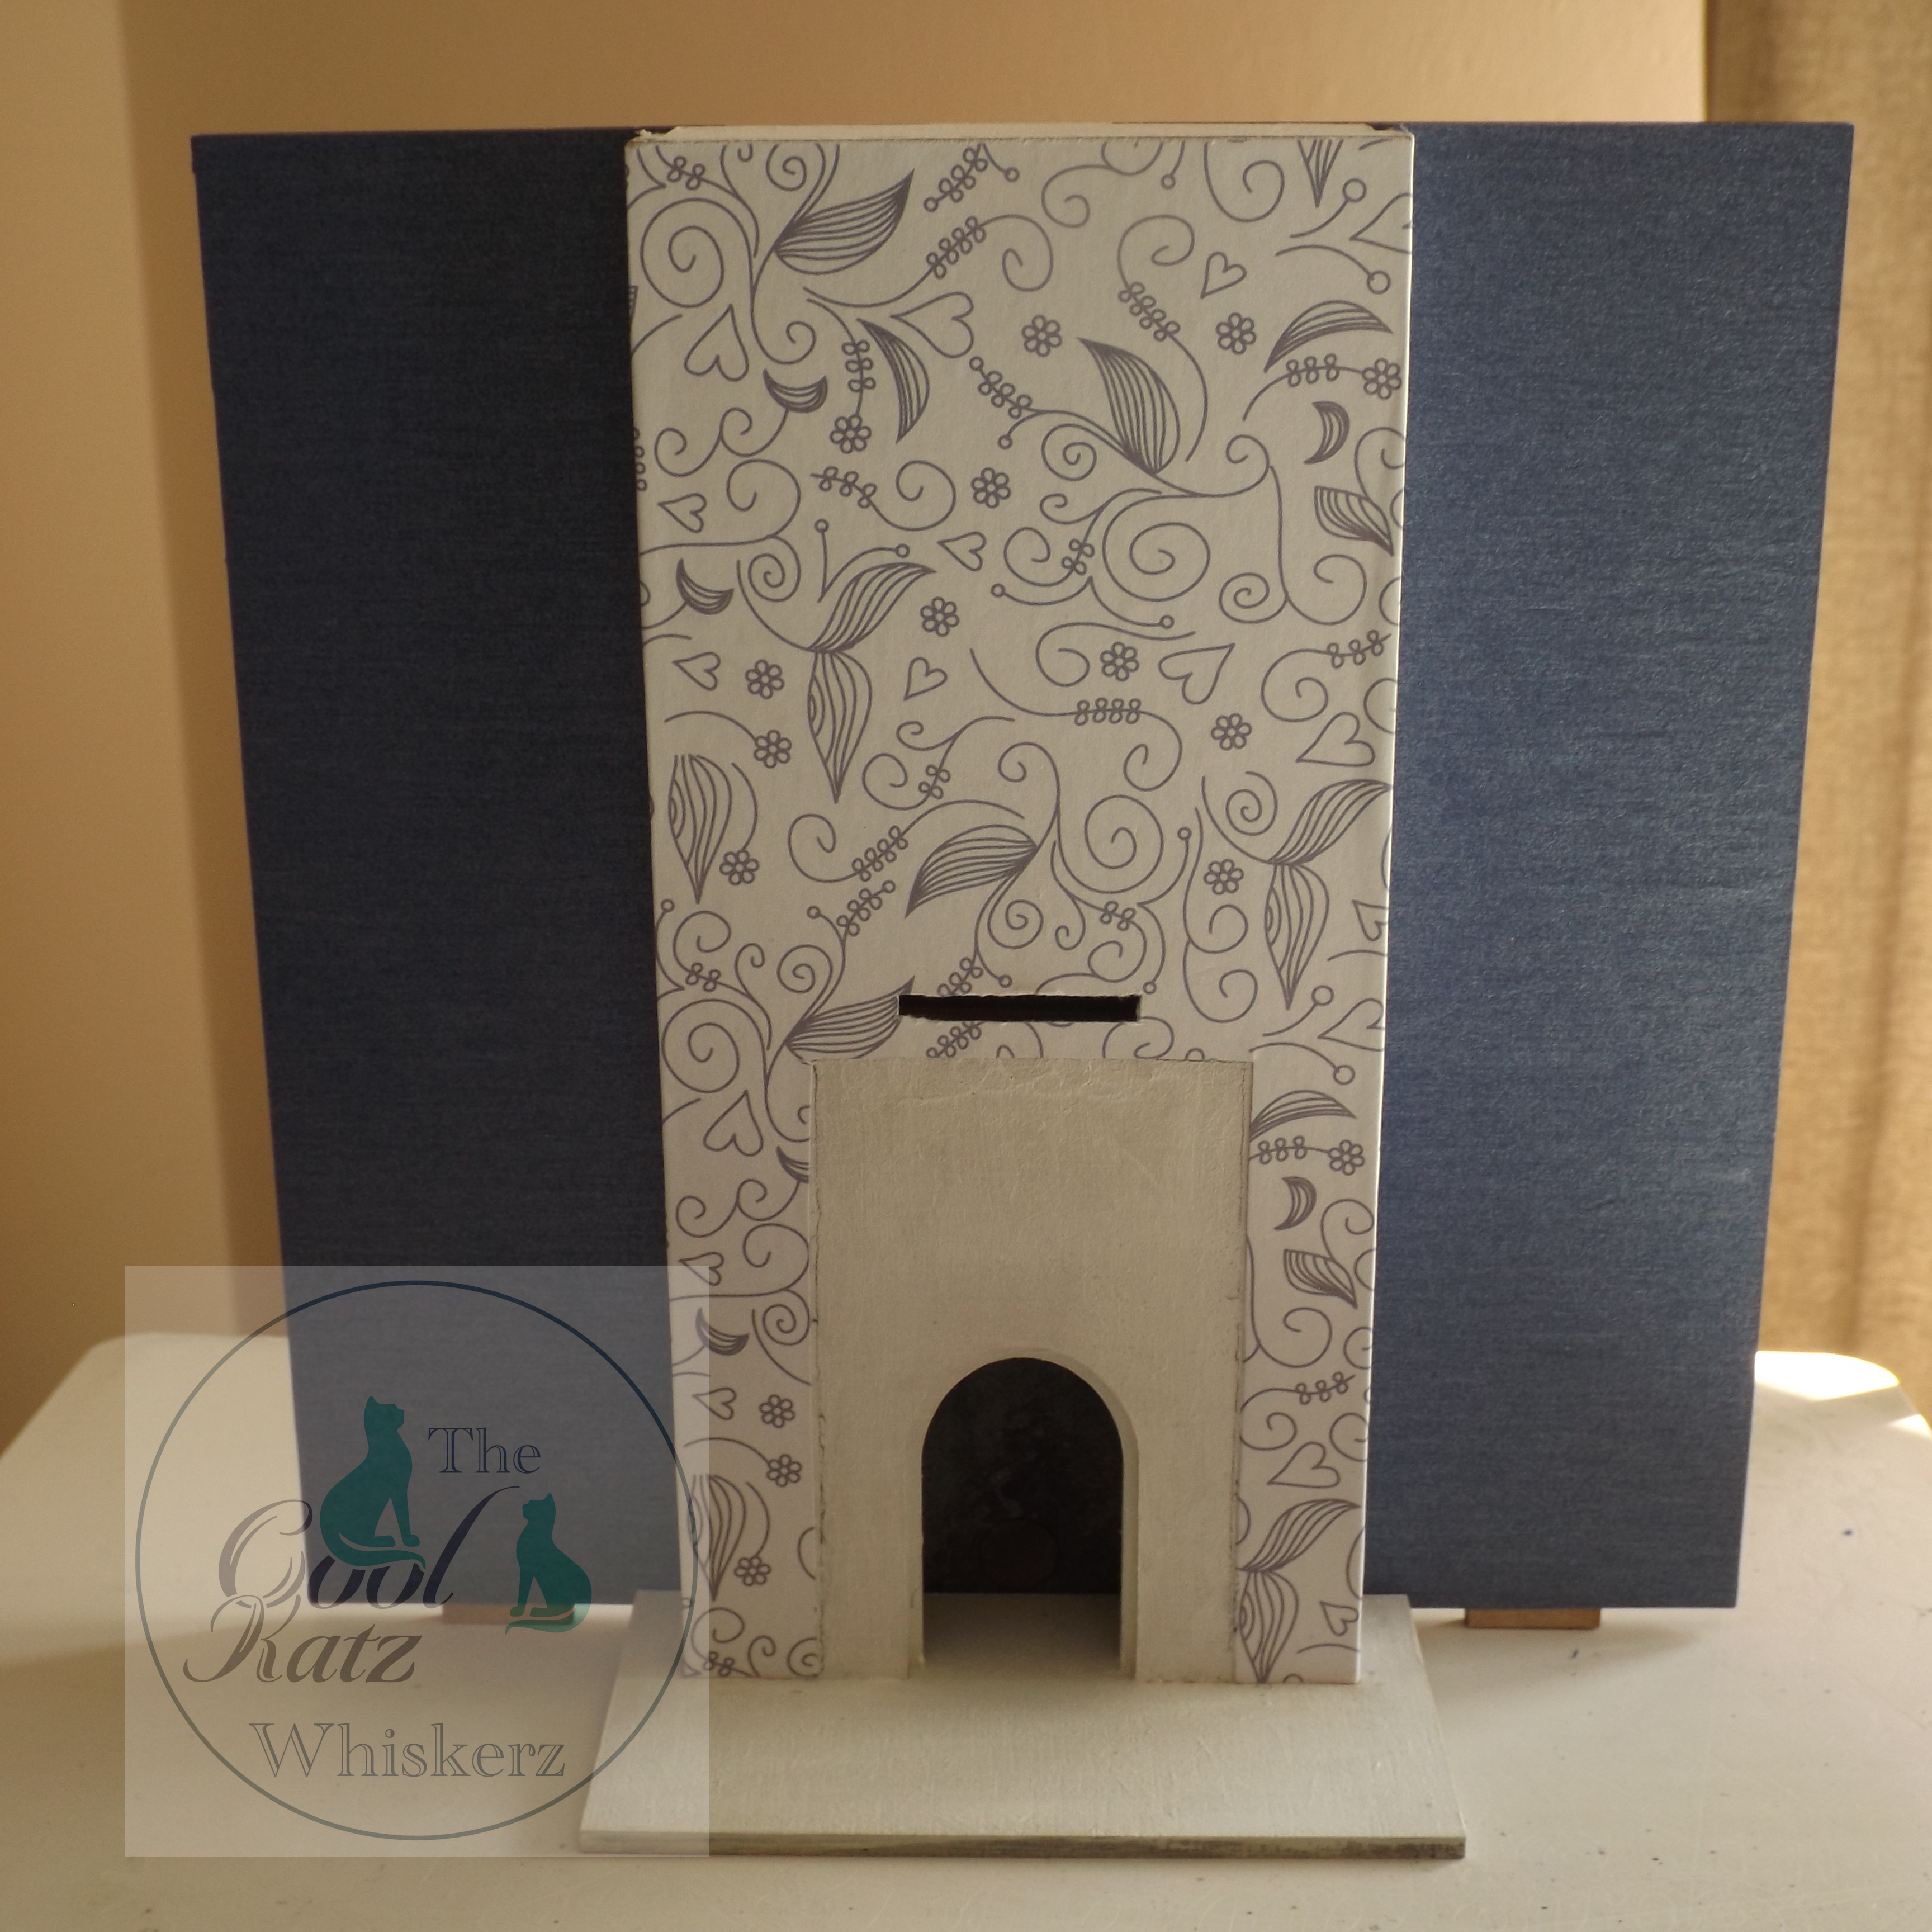
As it's getting closer to Christmas, I thought I would do a Christmas theme. I decided to paper the chimney breast.
Should you decide to do the same, be aware of the thickness of paper! I had to trim the shelving tabs a tad for them to fit.
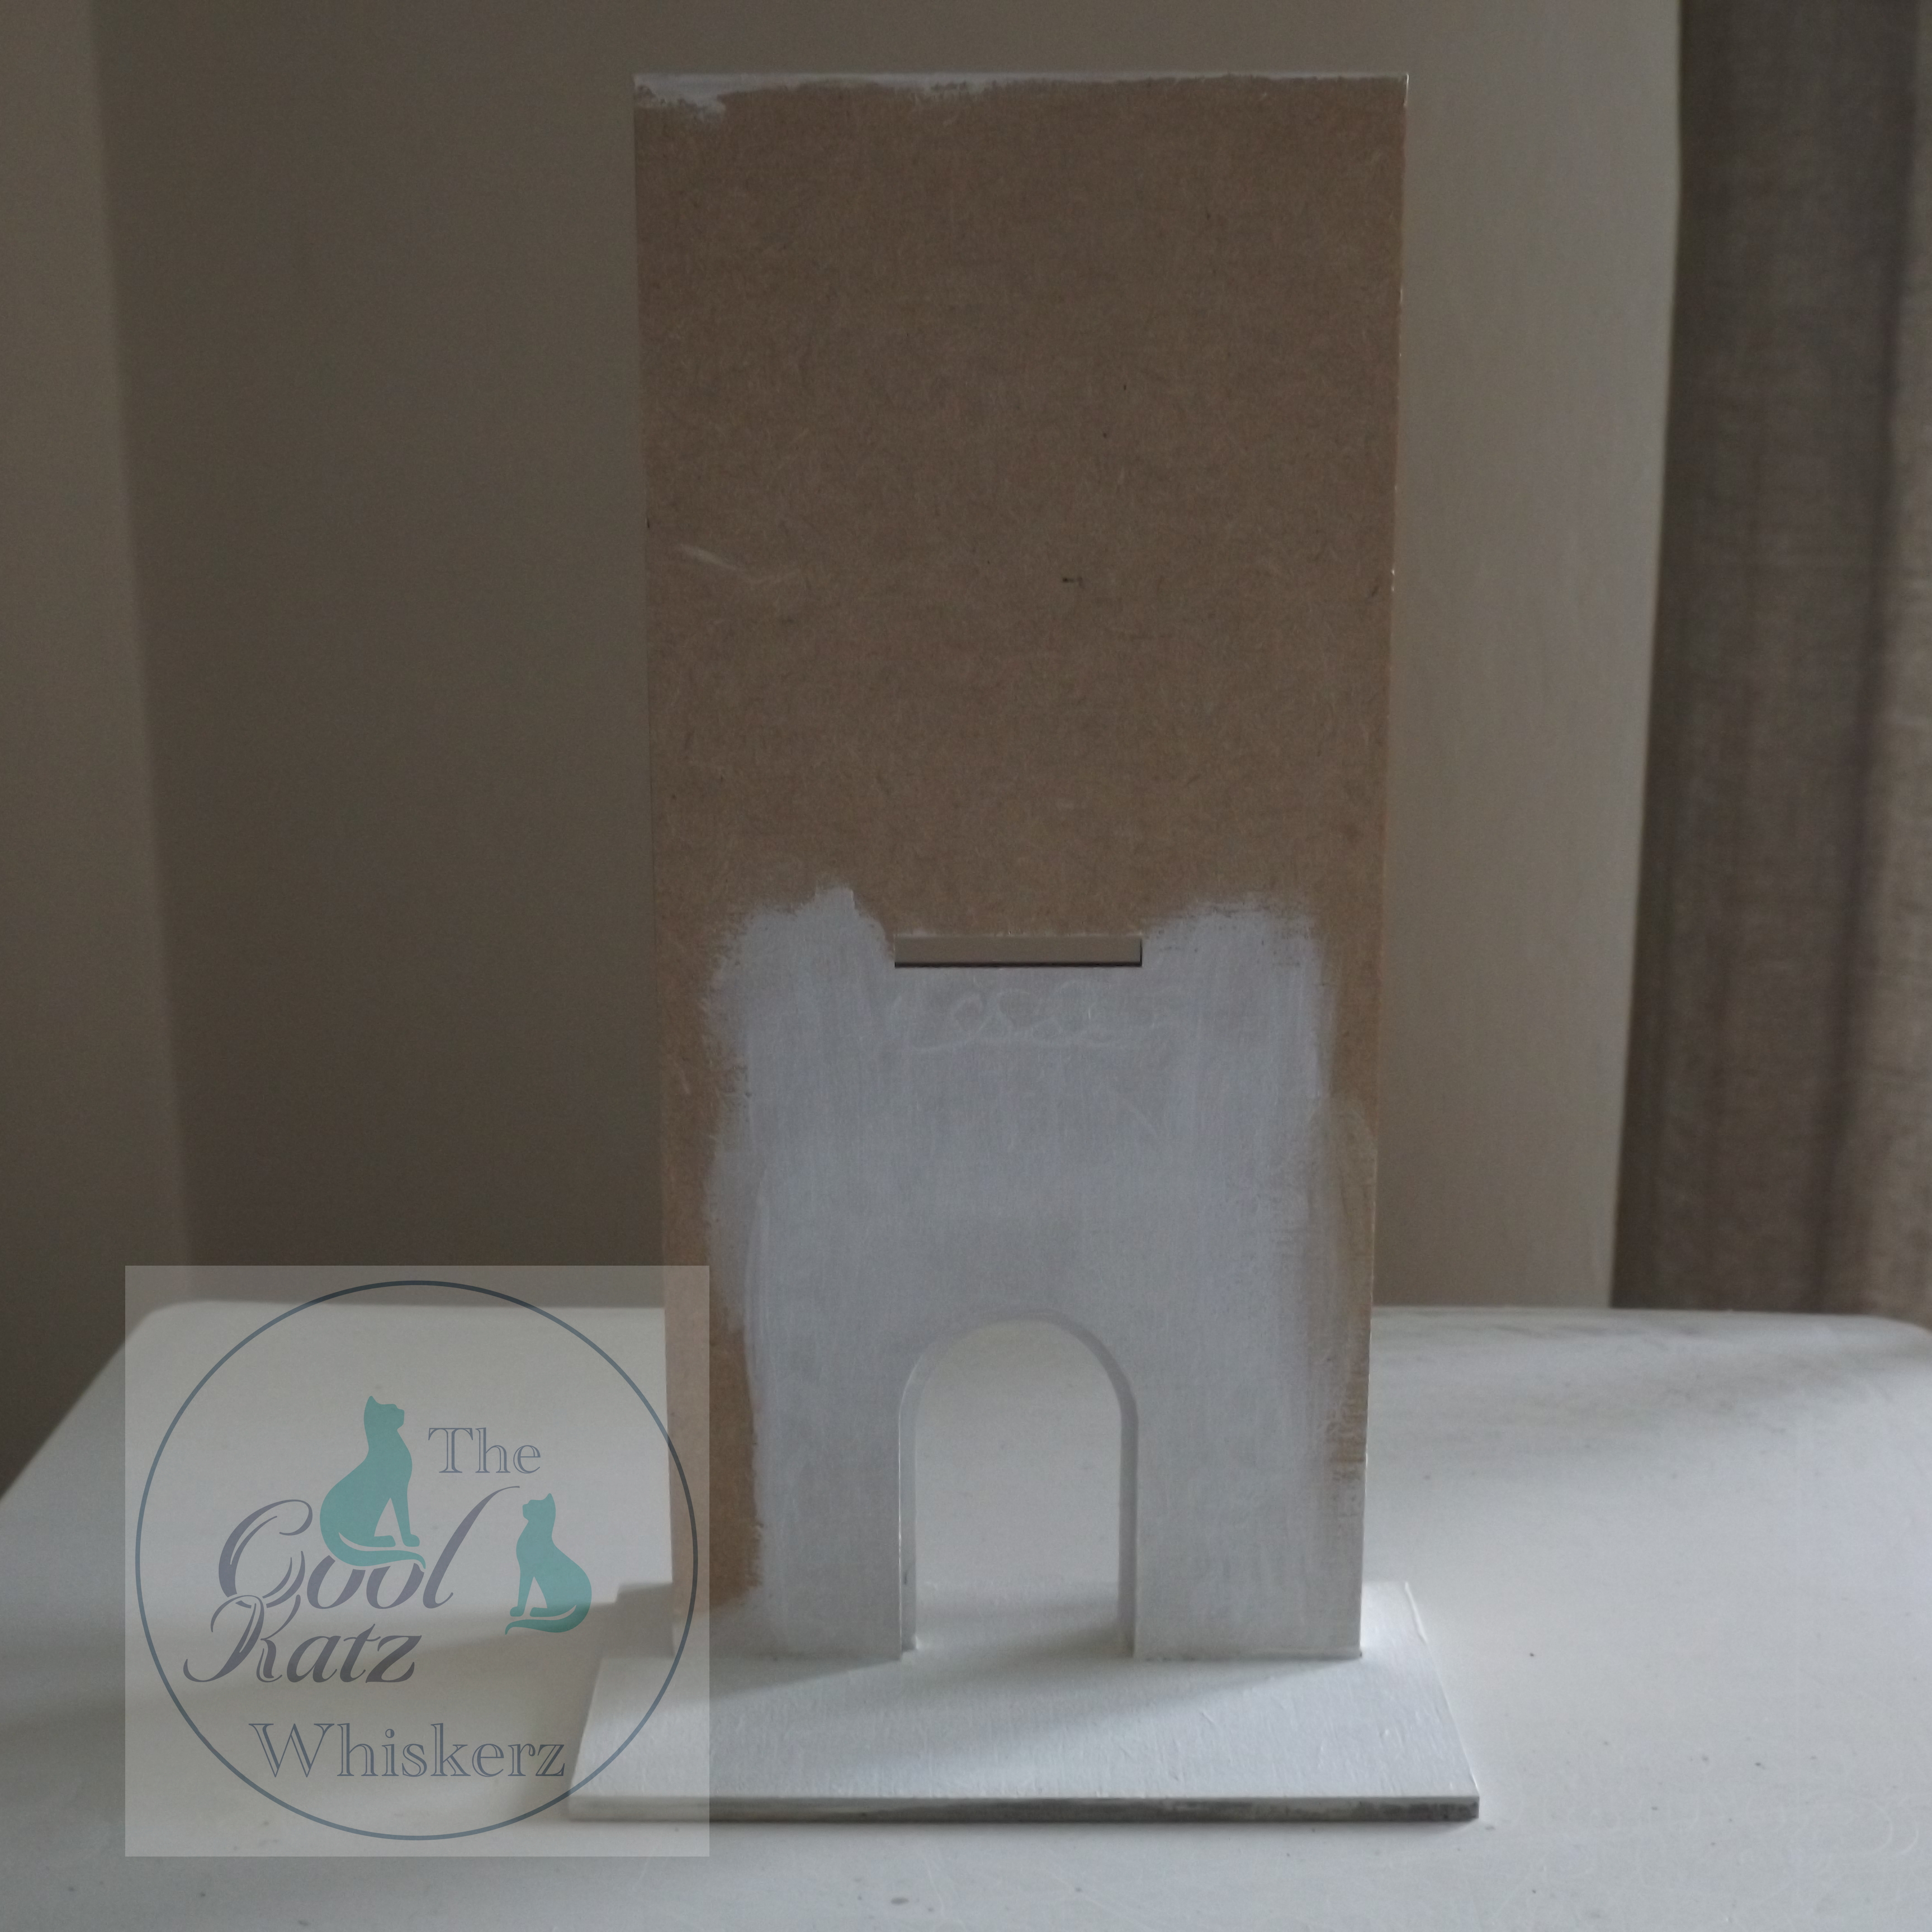
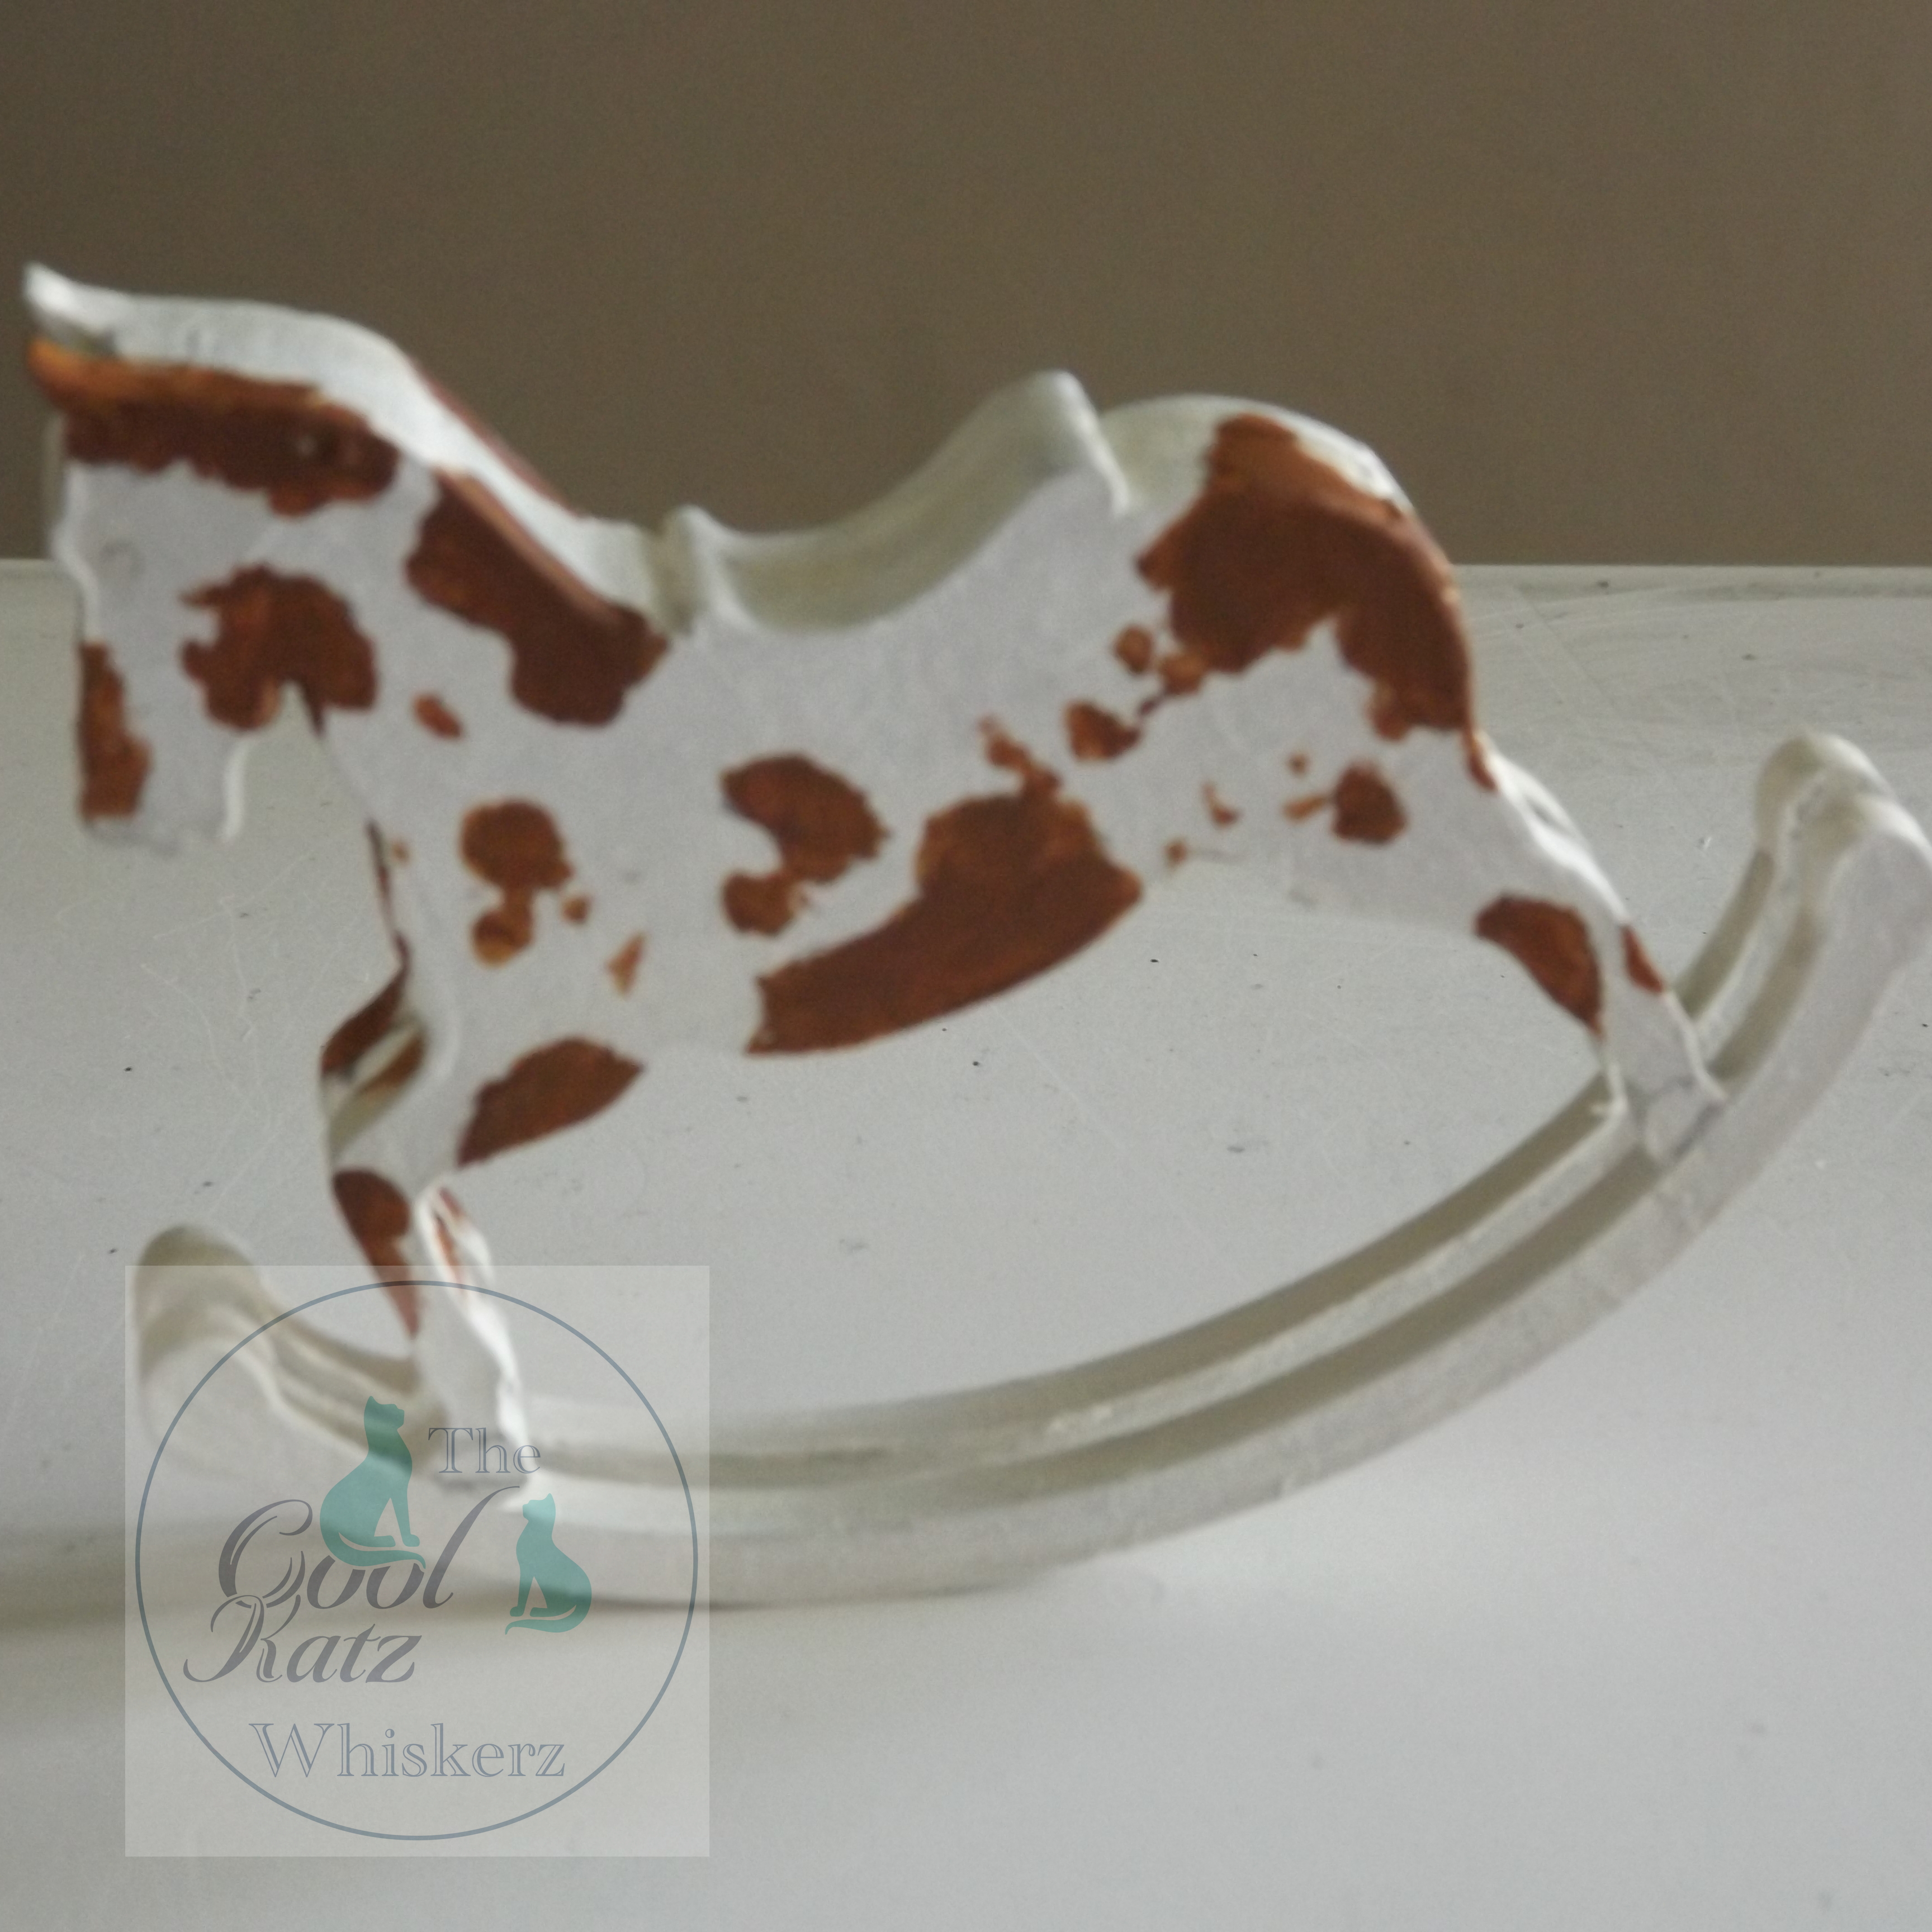
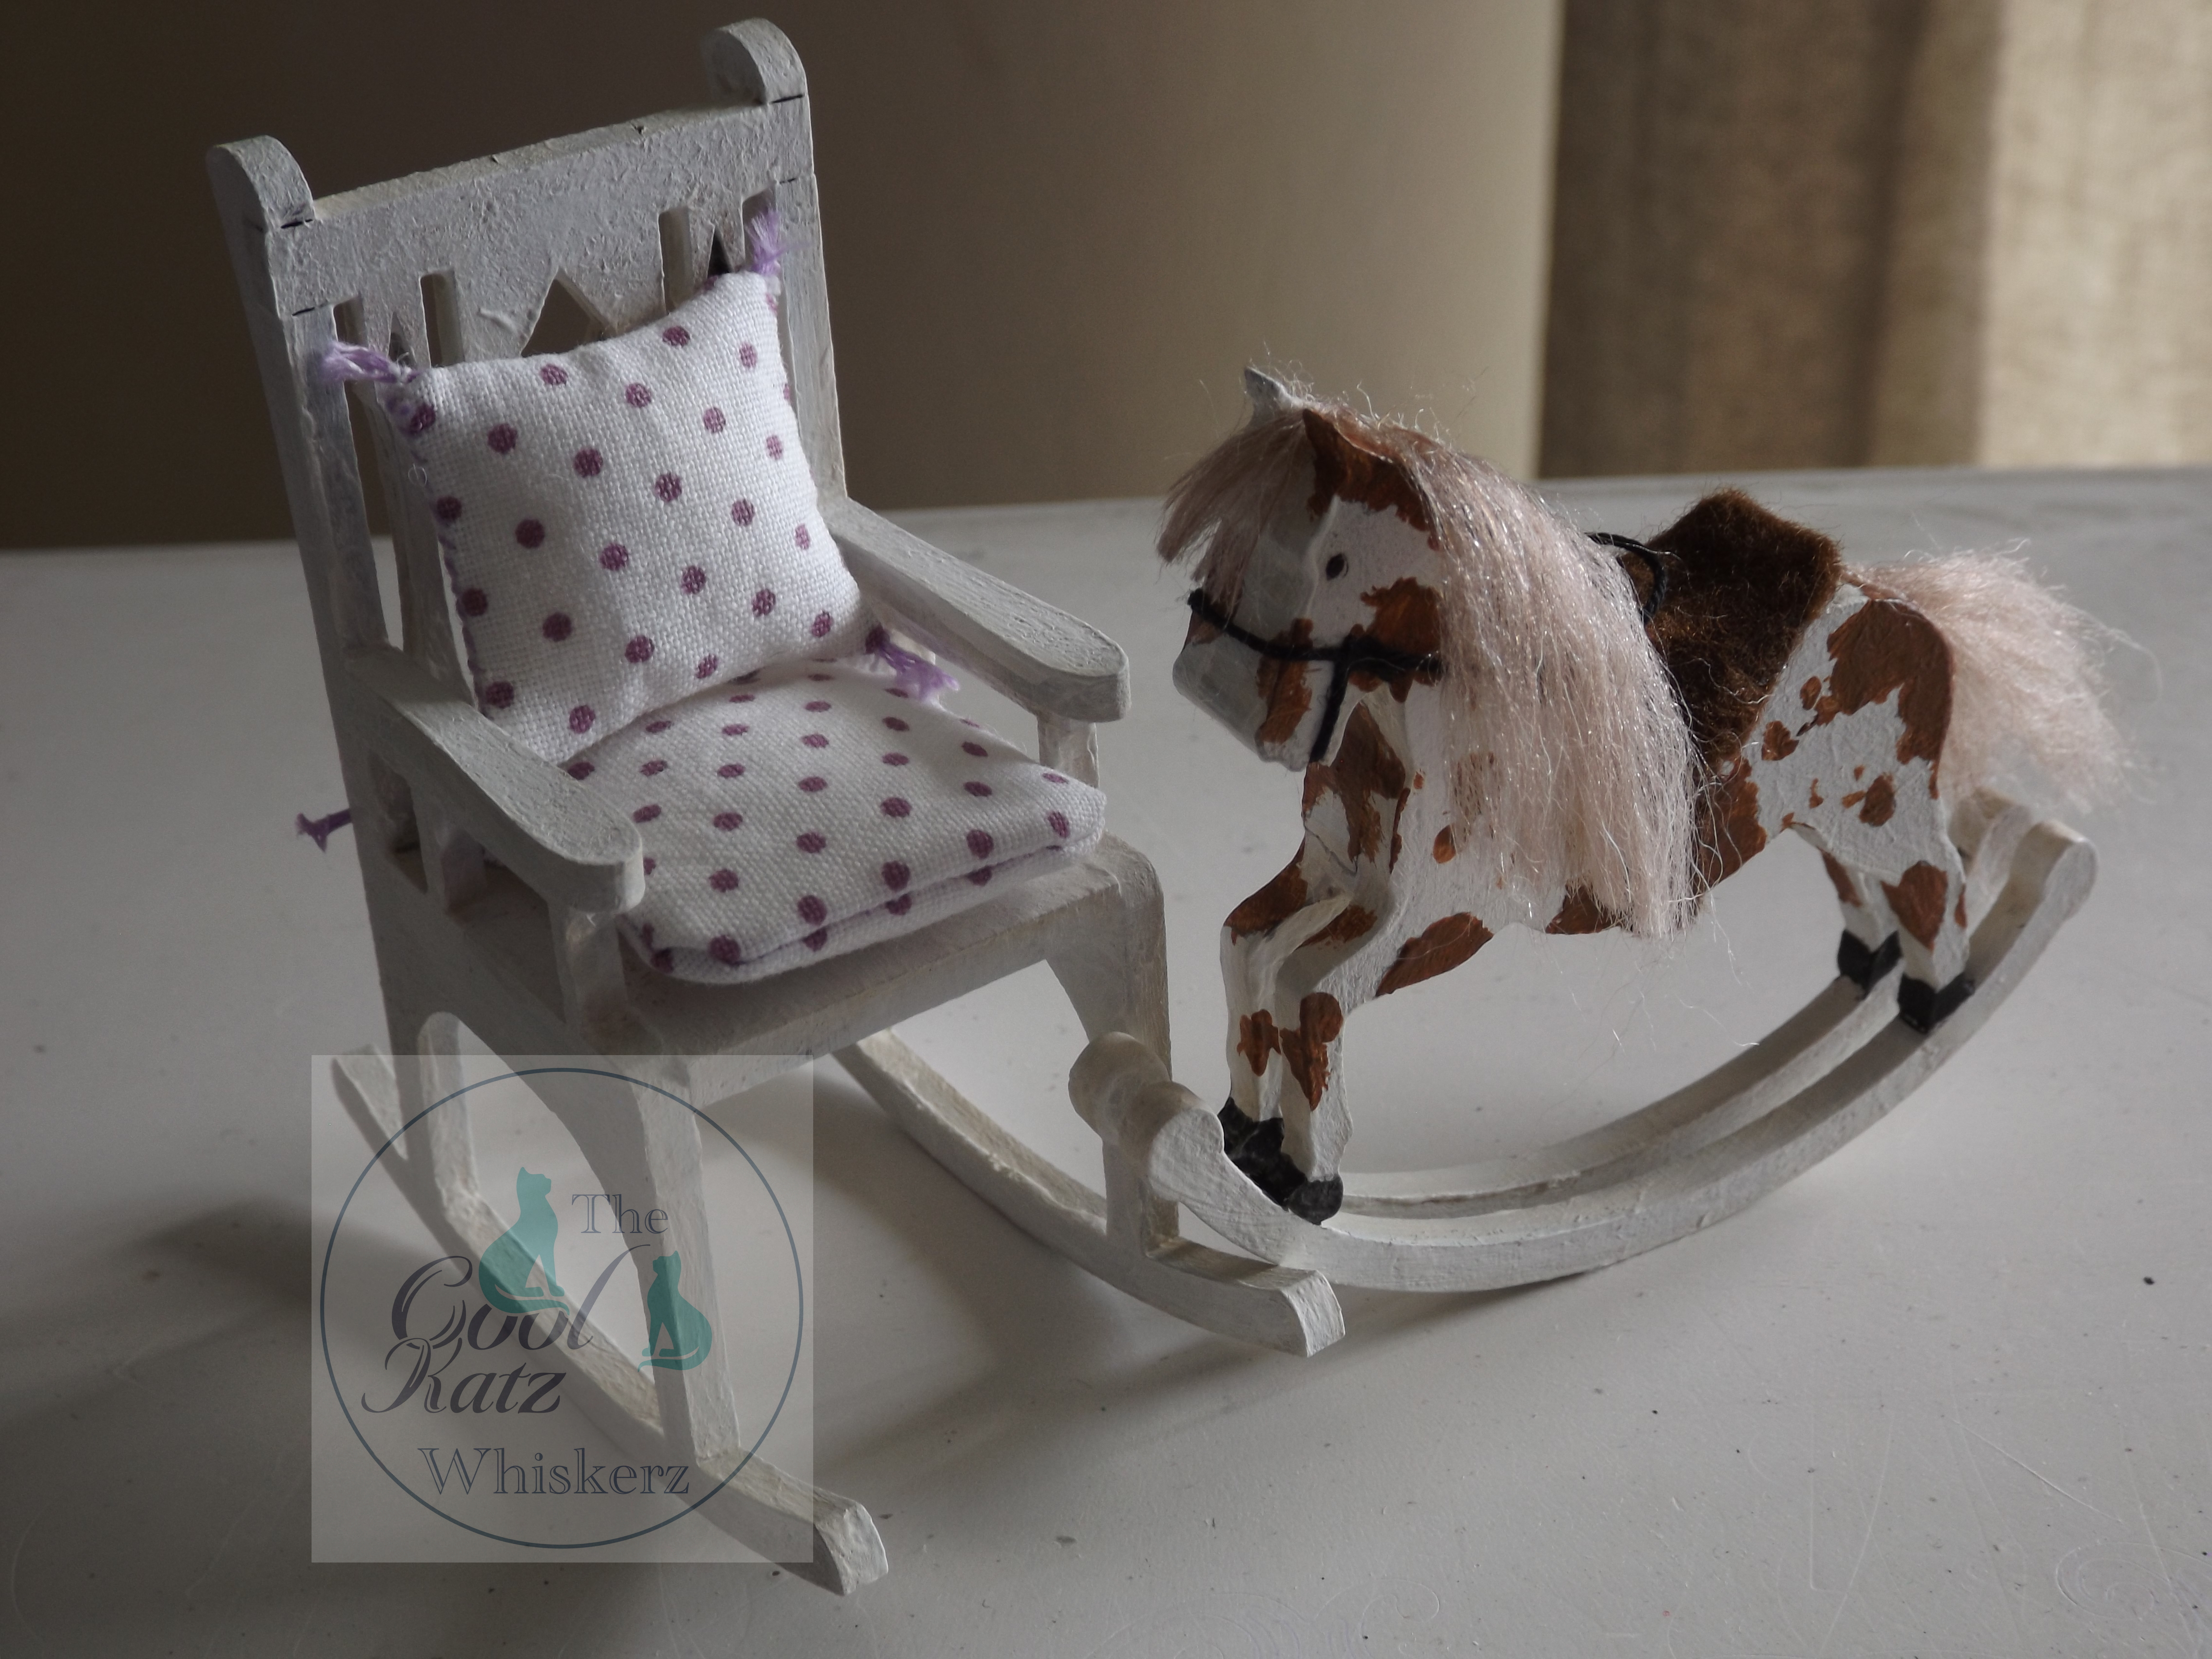
Next the construction of the horse and chair in preparation for a coat of gesso, plus the fire surround and hearth. Before glueing the horse together I cut off the tail on each piece...OUCH! - I had a plan :)
For the back wall, I papered the whole piece and once totally dry, I cut the shelving slots and back panel out with a sharp craft knife. Before glueing the chimney breast to the back wall I positioned the fire grate (it has lights and small twigs) much easier to do from the back and then threaded the wire through the back opening.
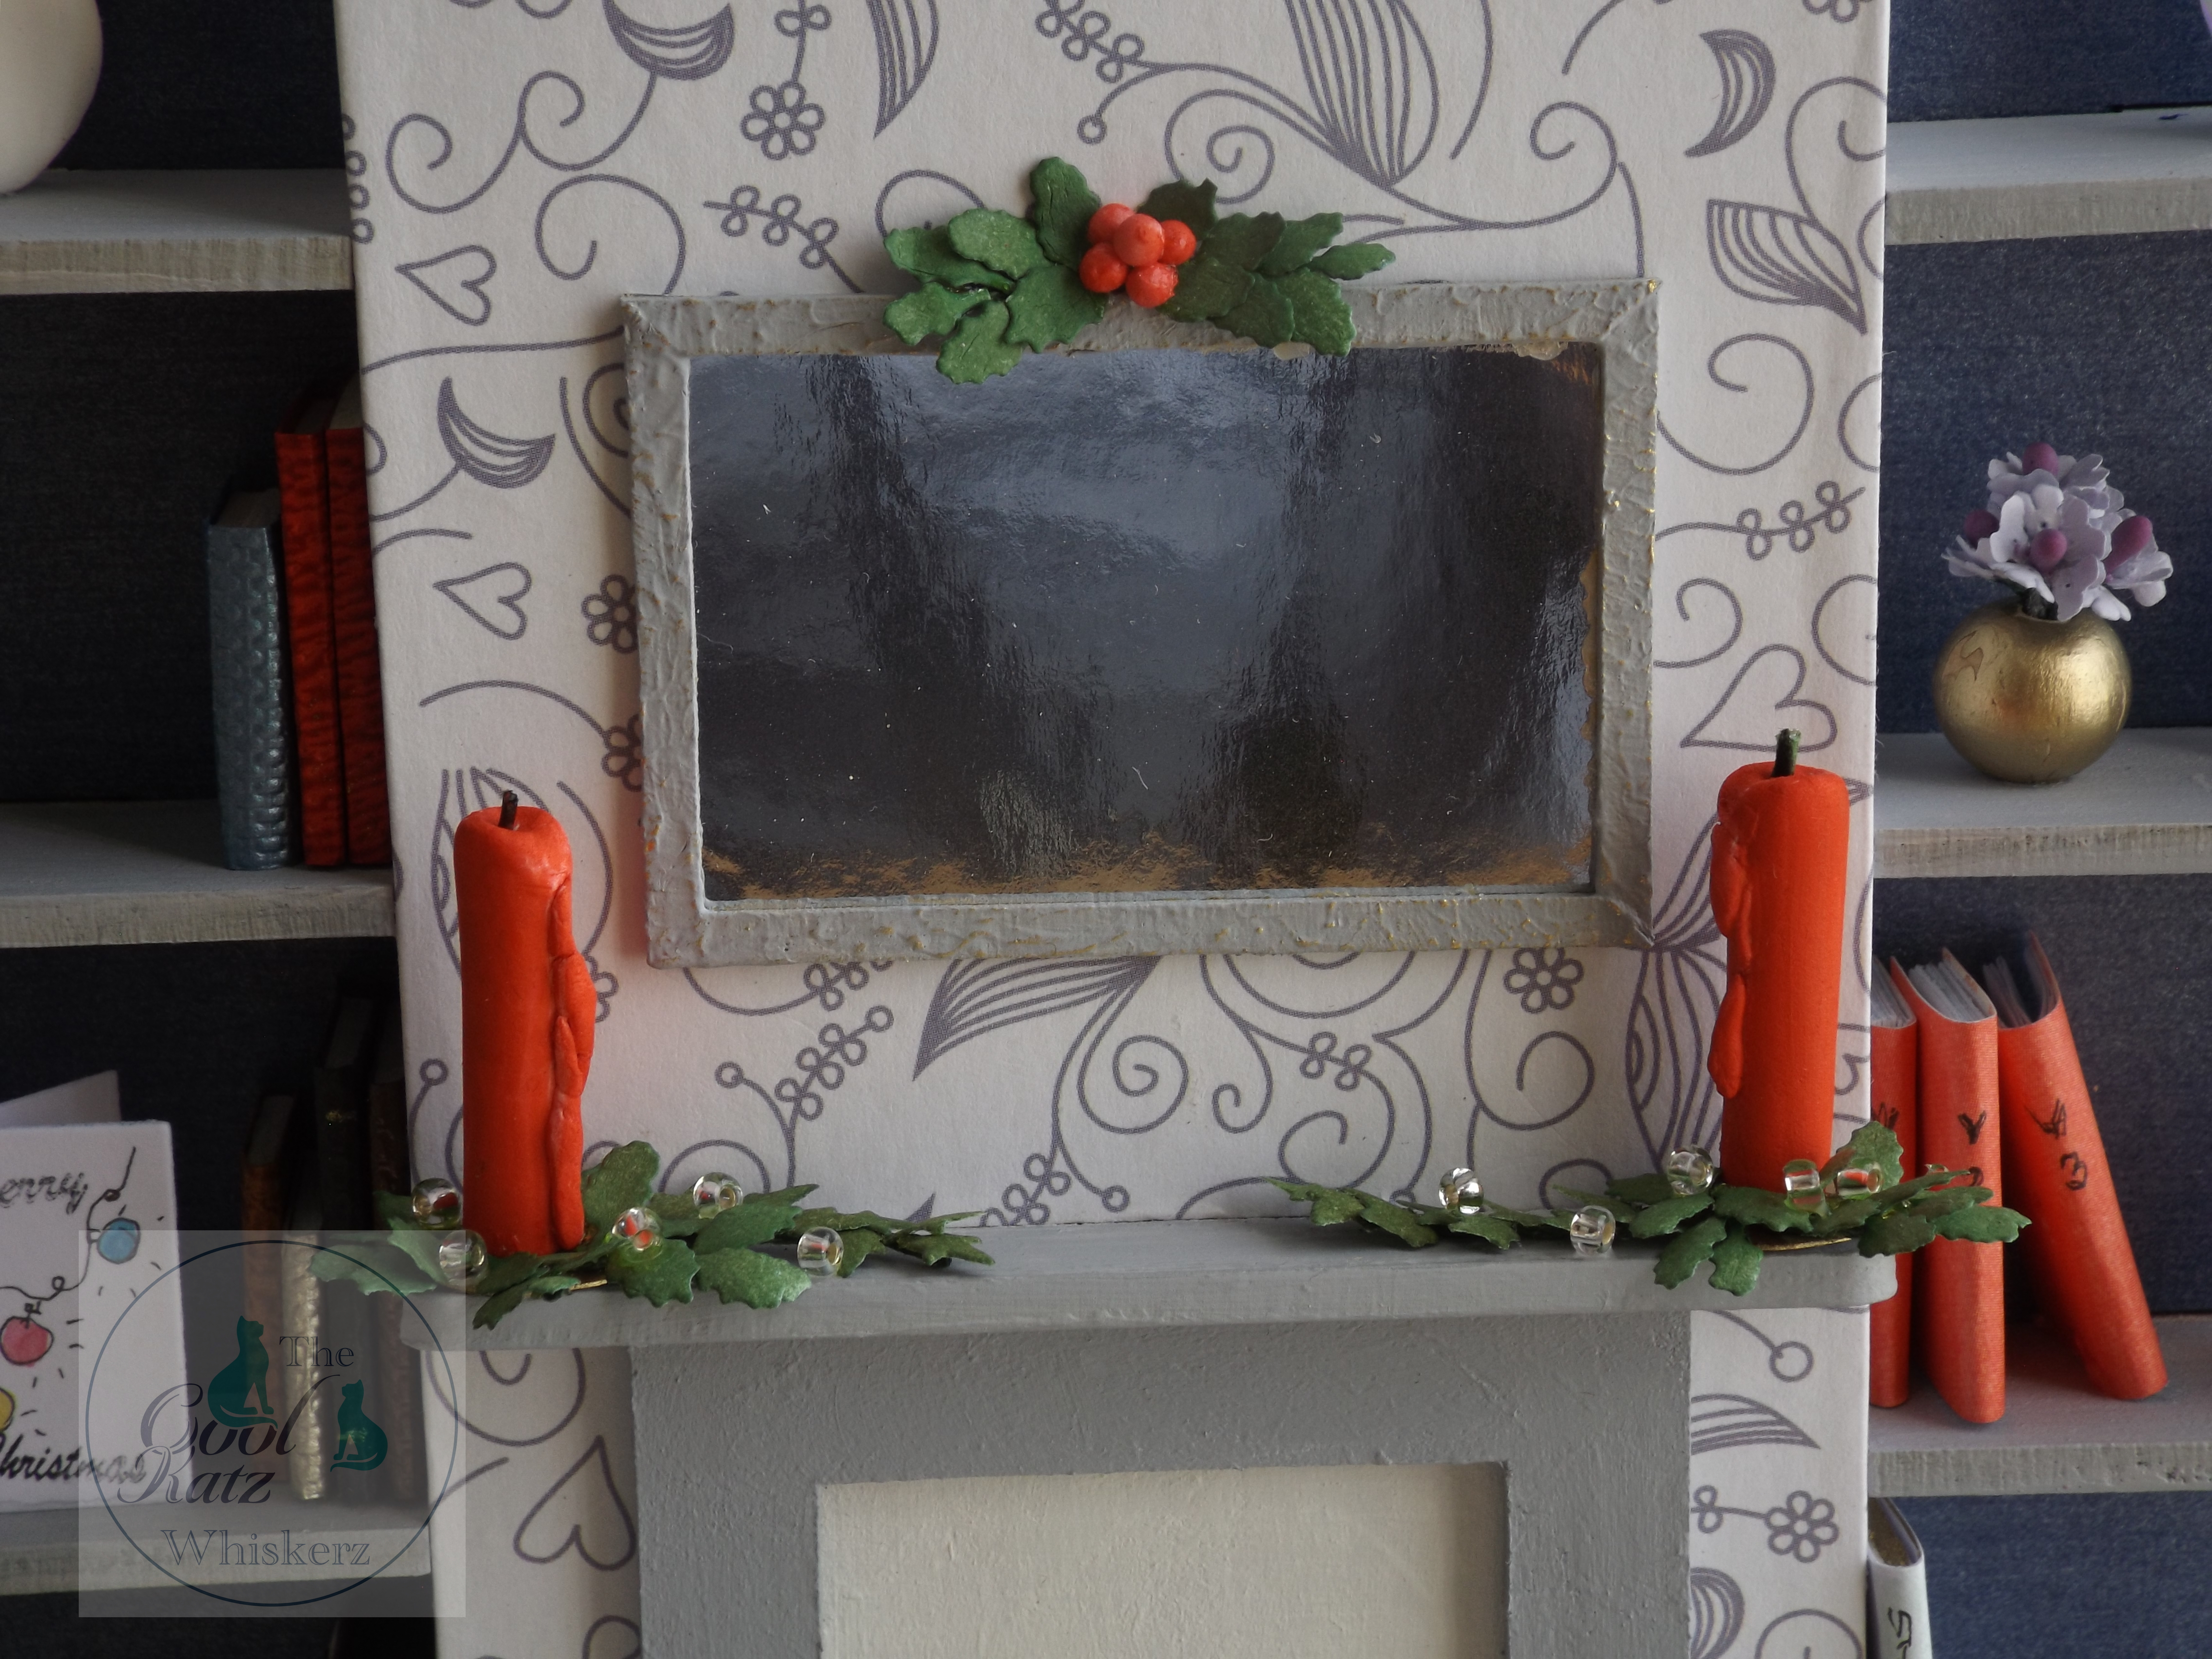
For the flooring I used wooden spills from my stash and gave it a brown acrylic wash to tone down. I used a mix of white, black and a touch of purple acrylic paint to create the grey tone and painted the shelving, fire surround, mirror frame table etc.
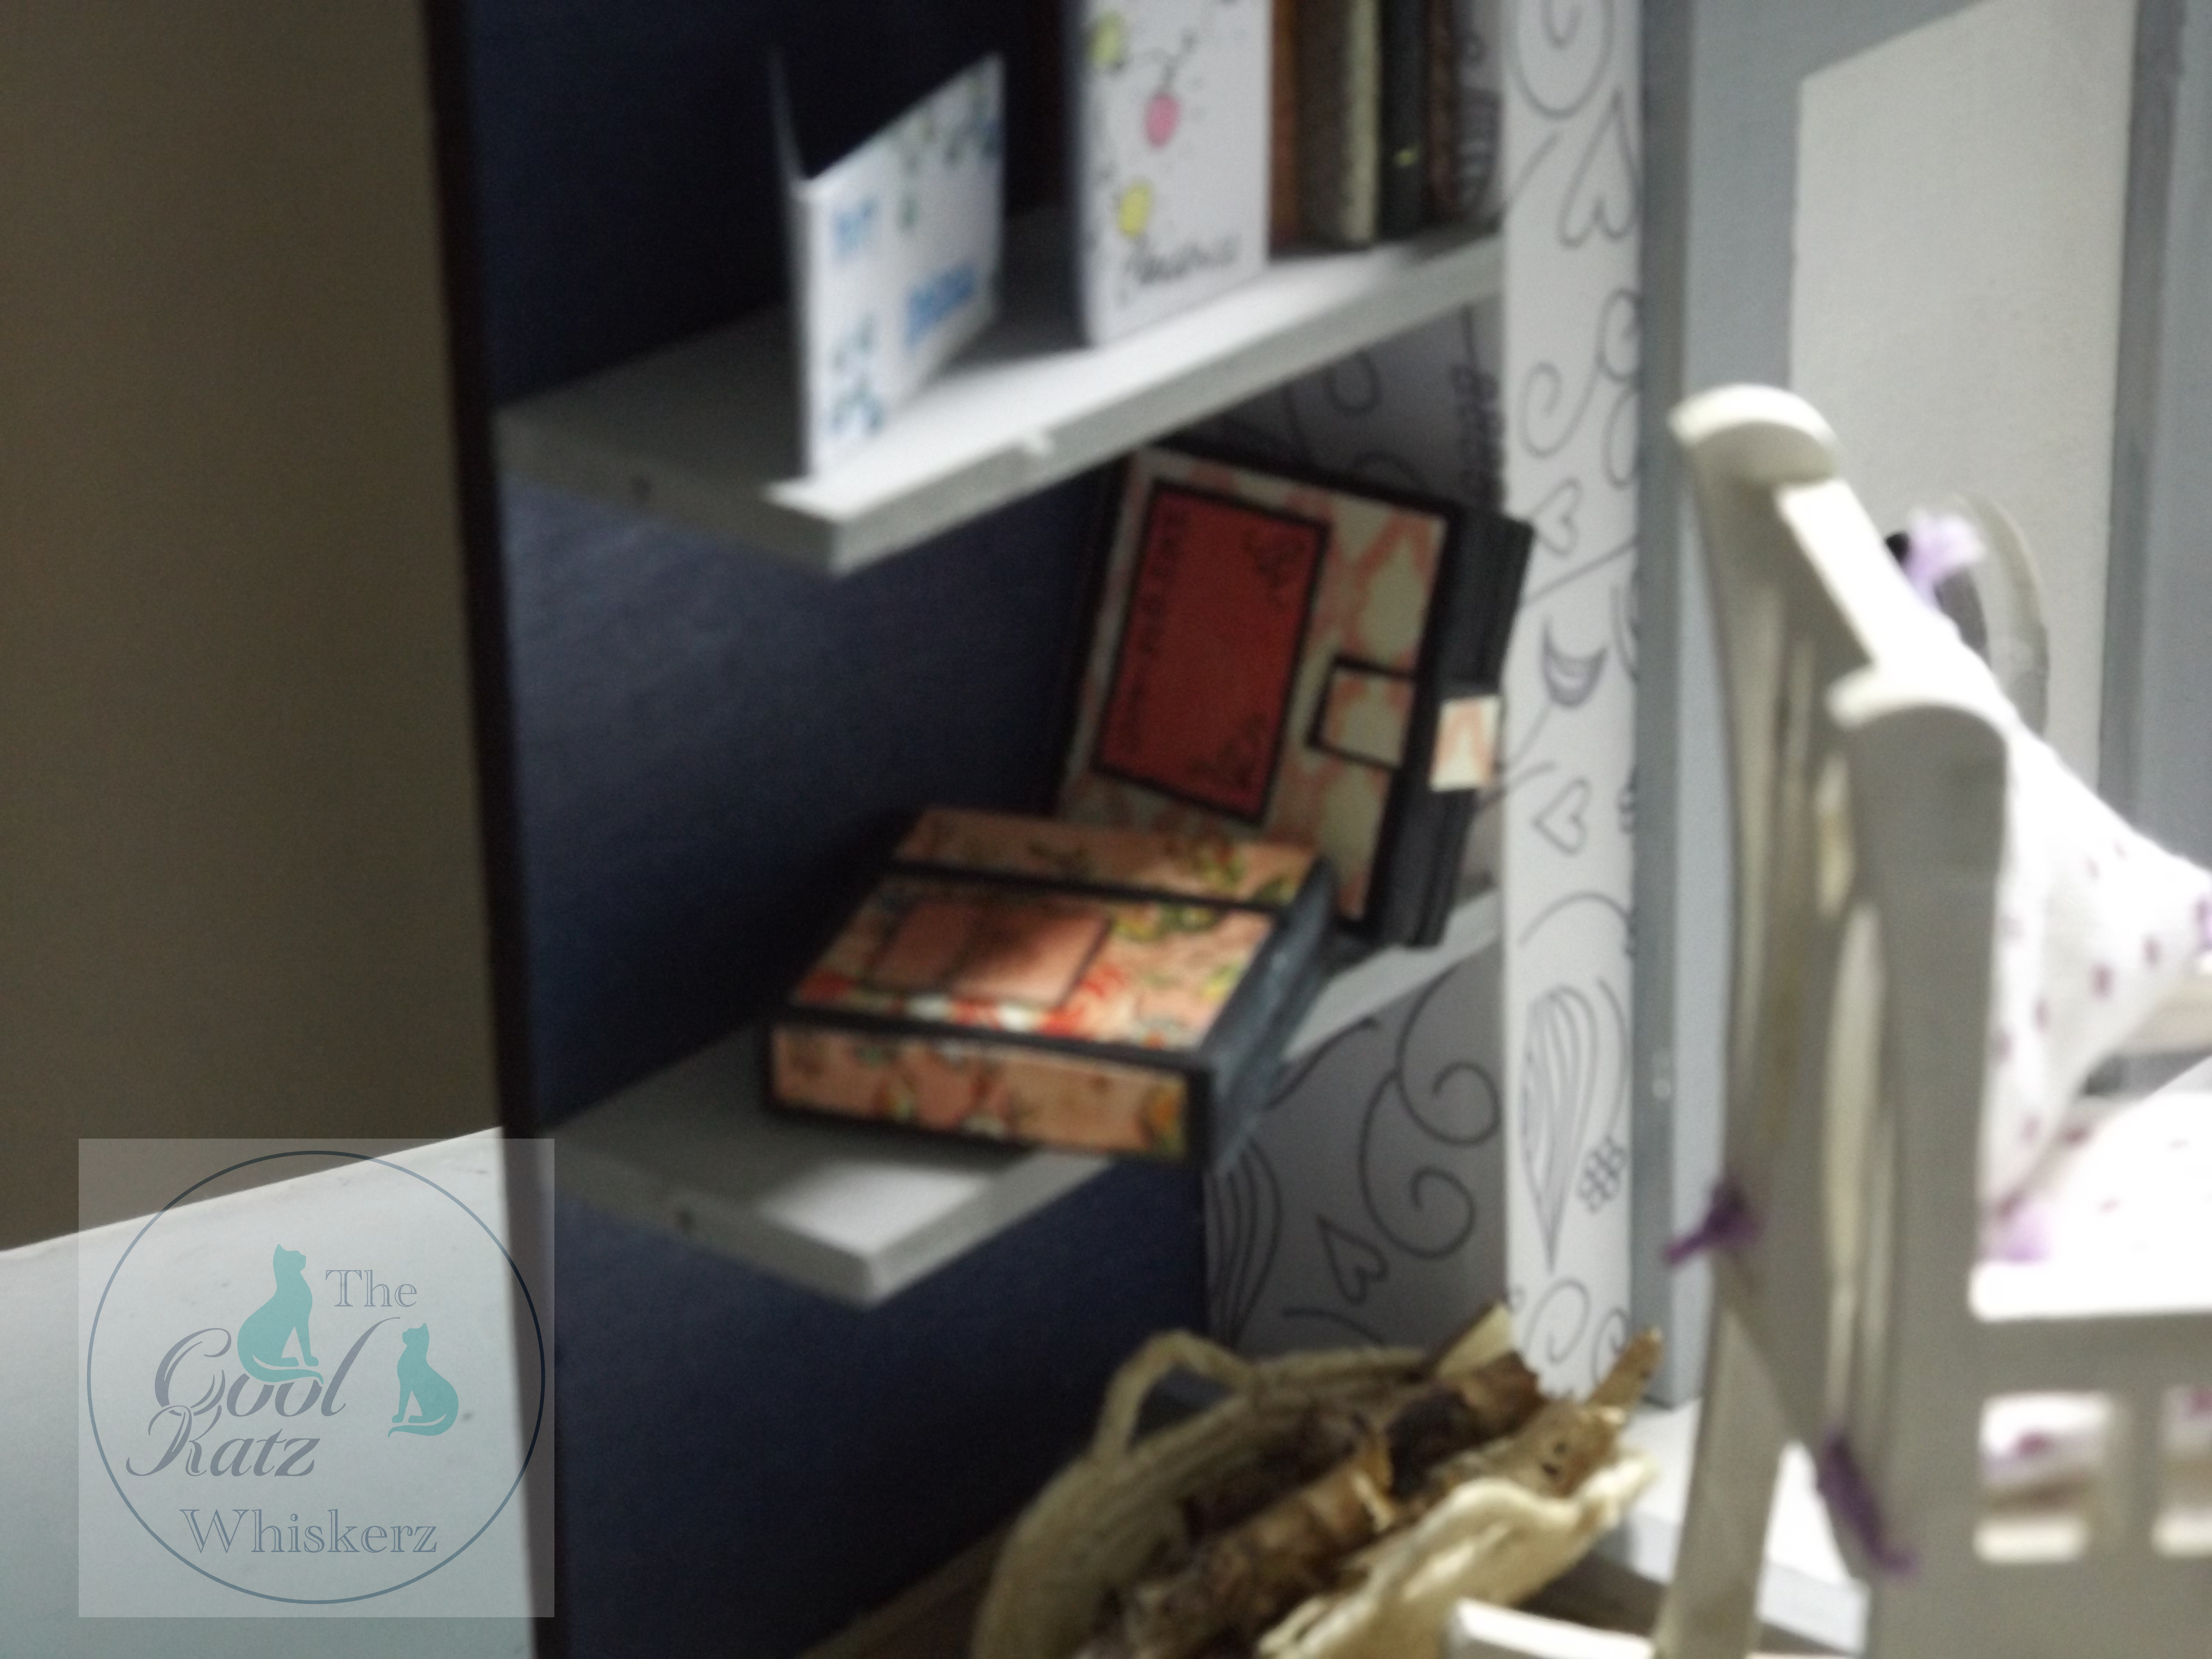
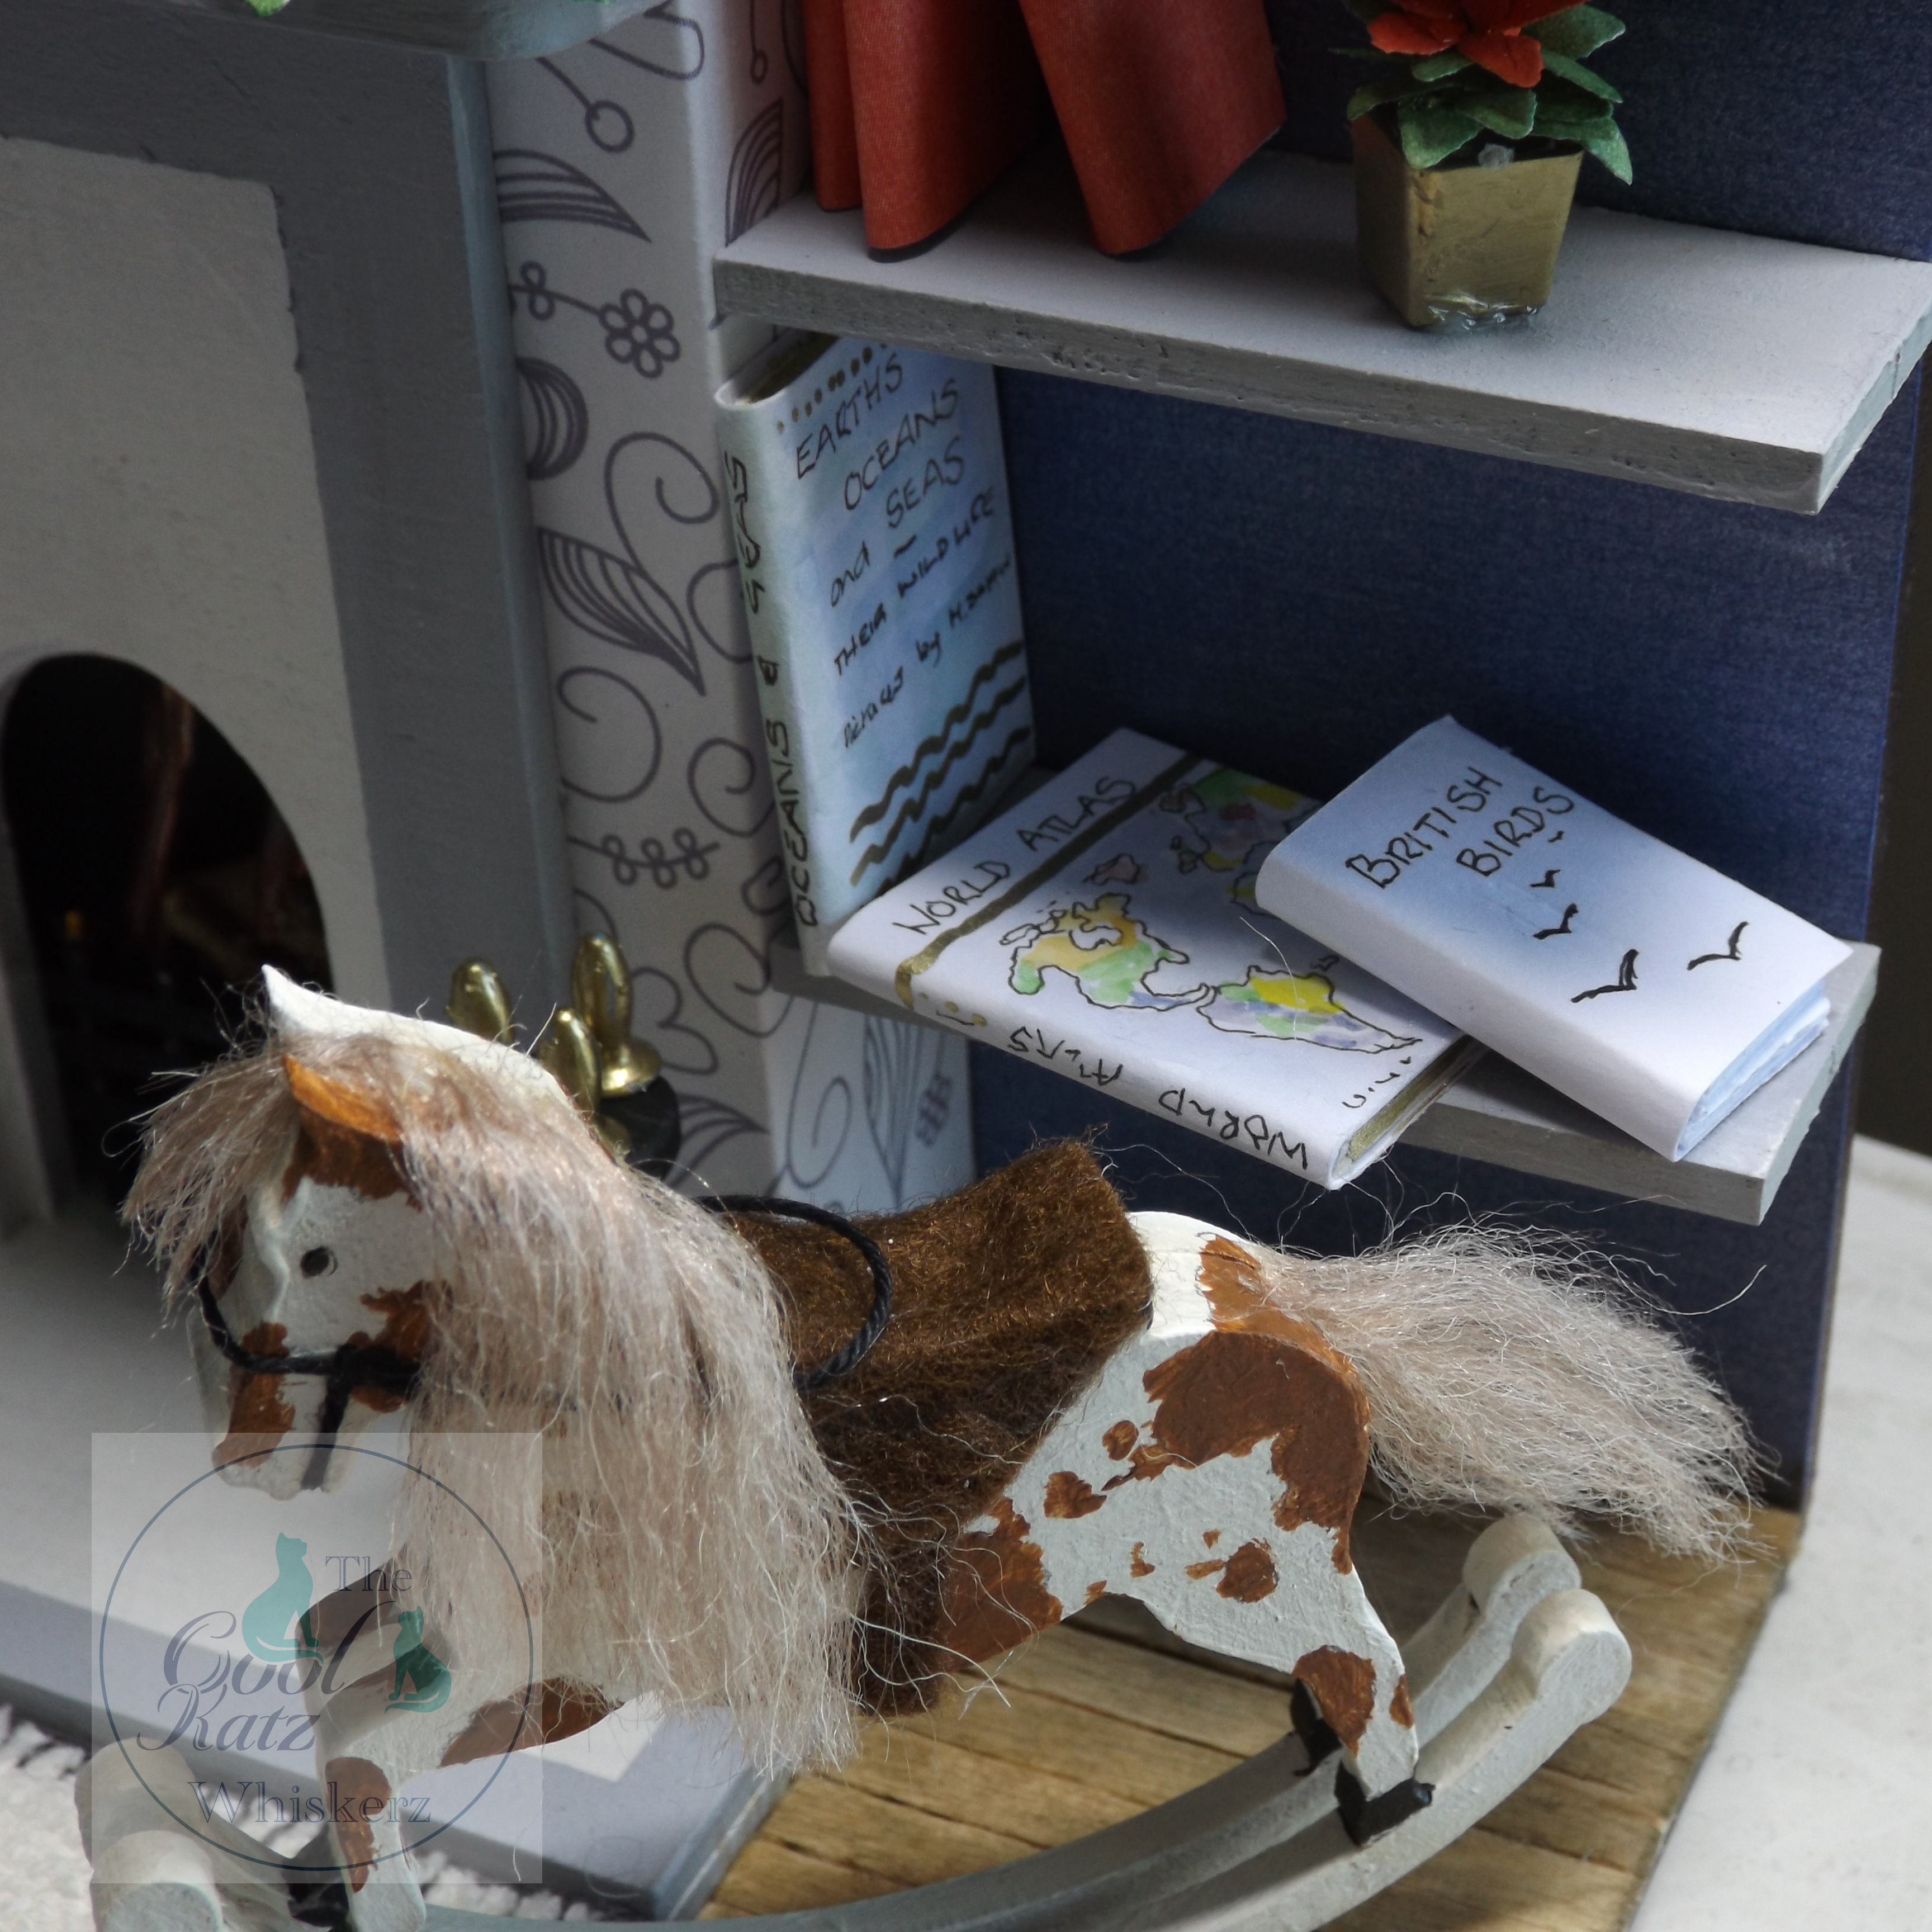
It was one of those warm days and I didn't have long to wait for the paint to dry, then do the other side of the shelving. While waiting for the paint to dry, I proceed to do the really fun stuff – books and ornaments etc.
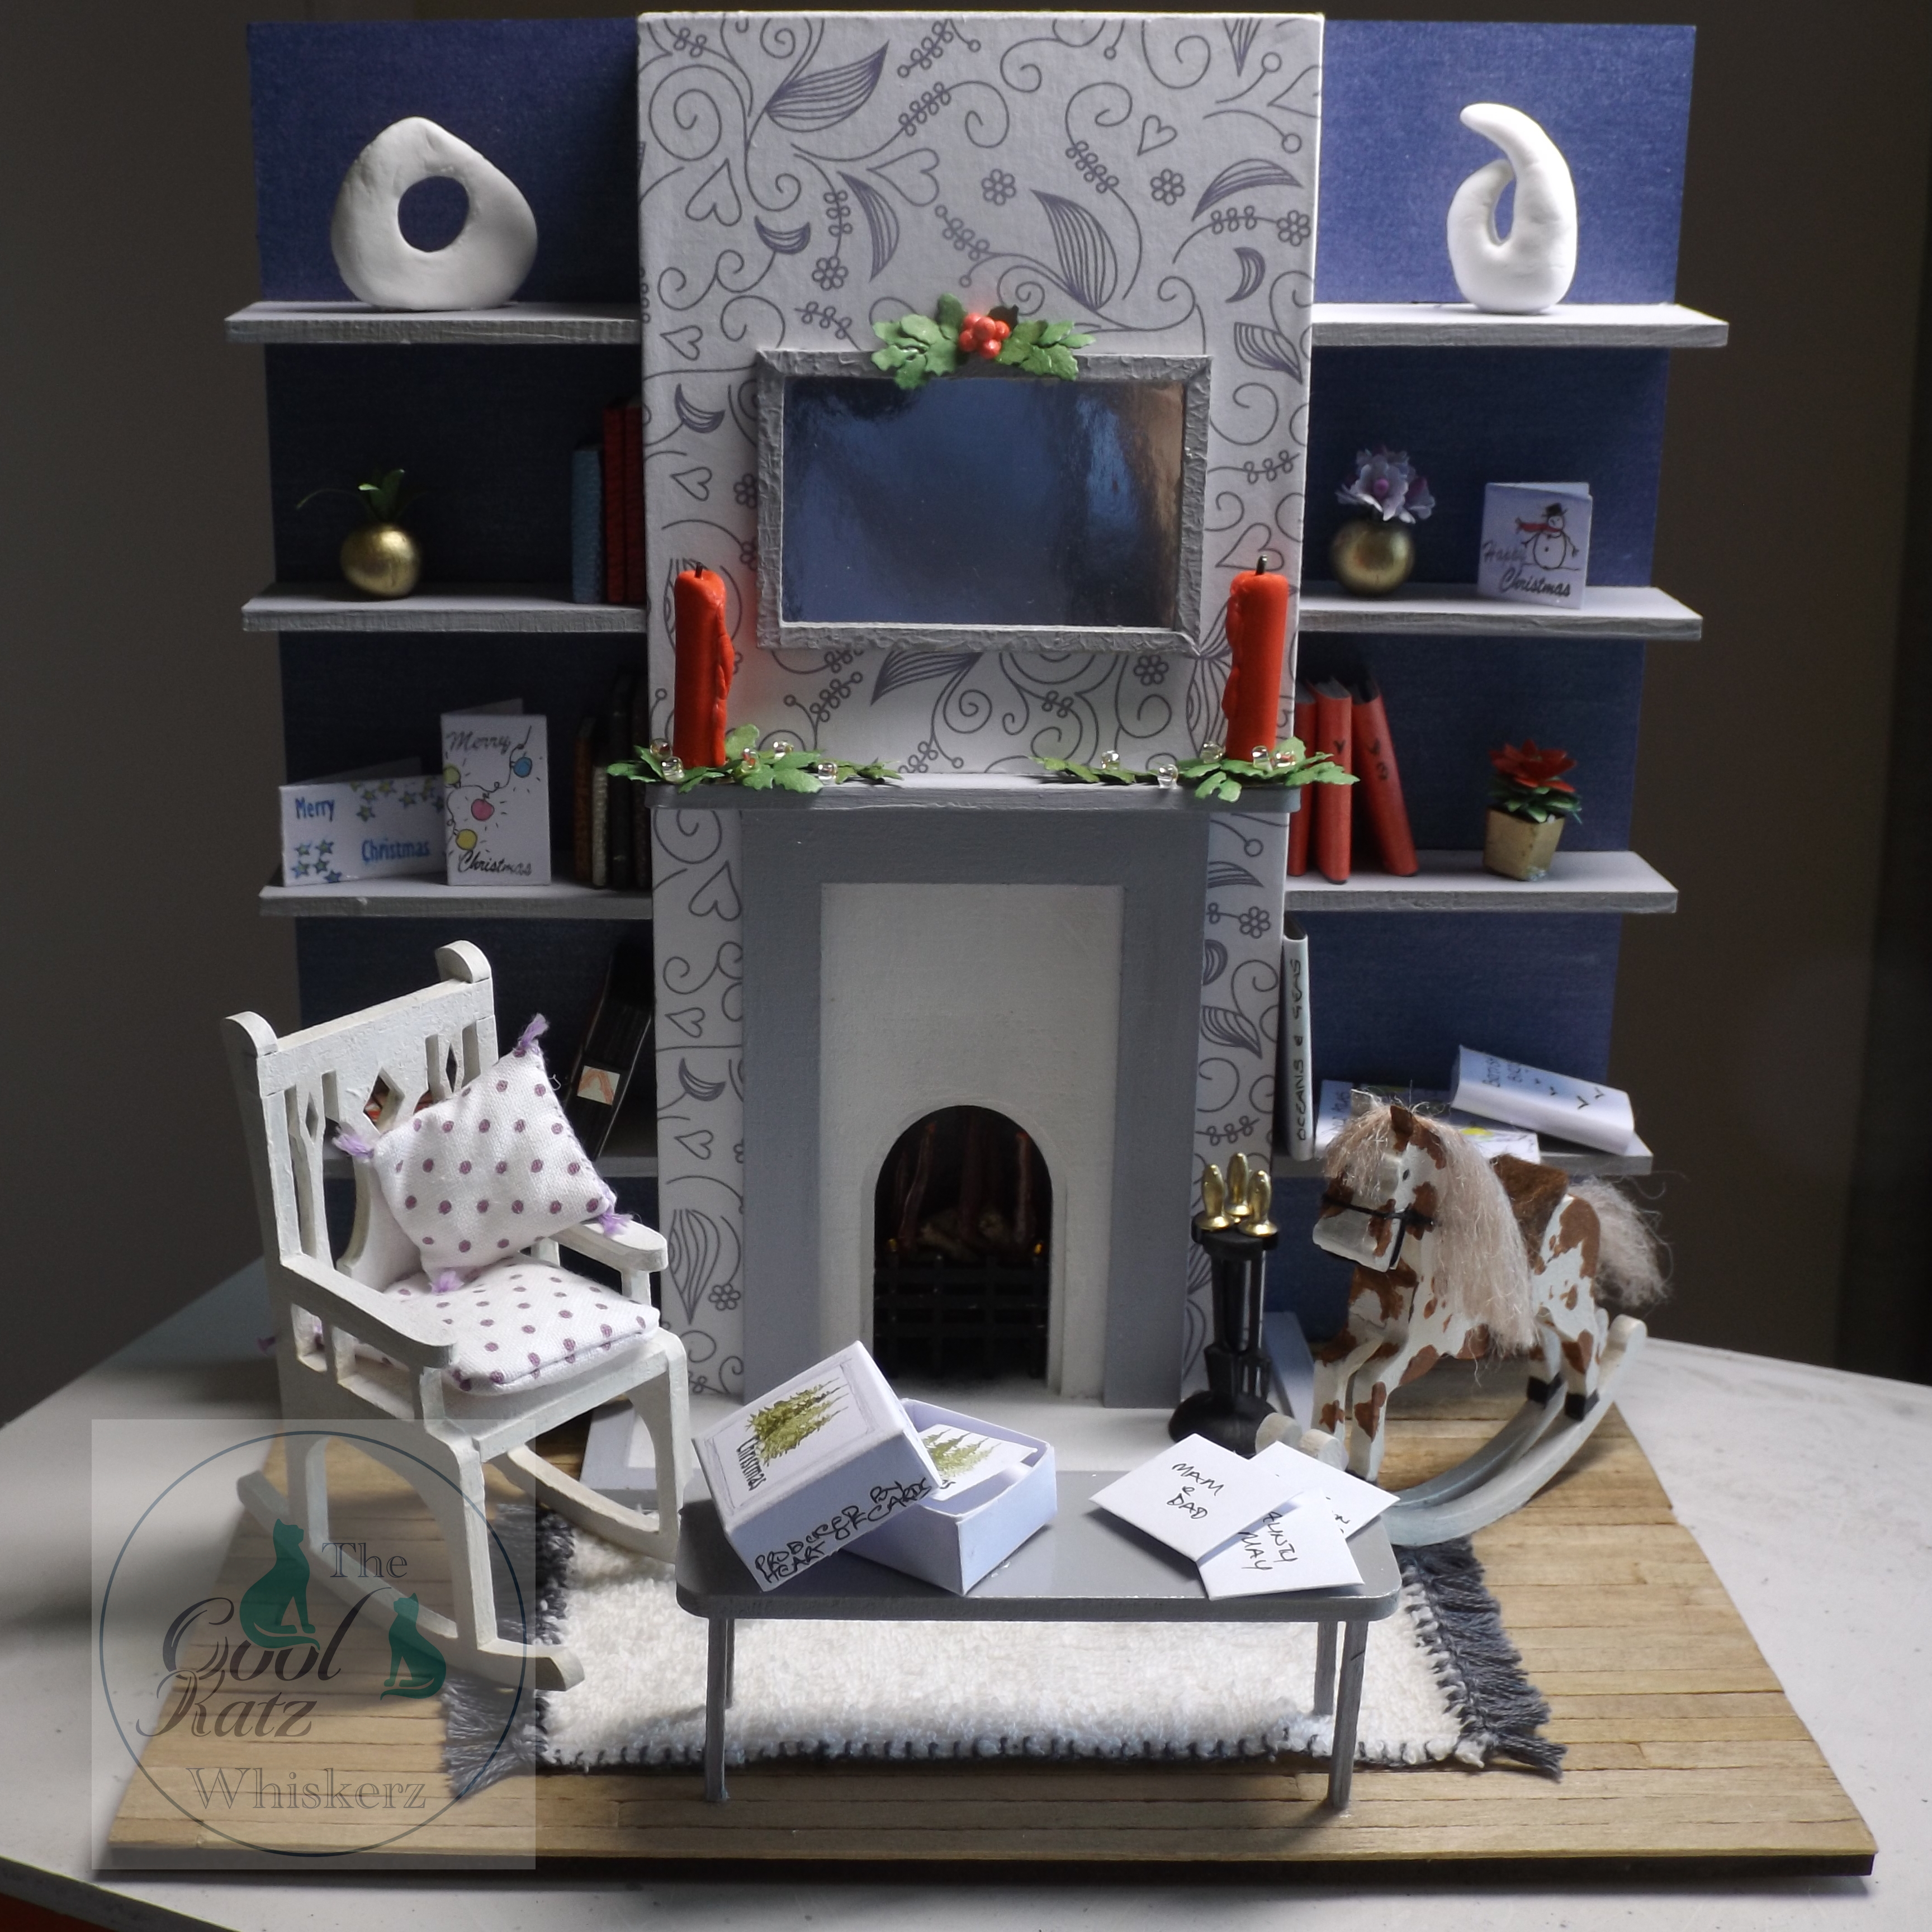
The top shelf ornaments I made freehand with air drying clay, left the natural colour of the clay. The gold vases with a plant and the flowers, are wooden beads coloured gold.
I don't own the miniature book dies, though I have watched videos on how to make them and used this method to create my books. And a 'Nod' to Maggie and Kay, I created 2 albums, even finding some small print Graphic 45 for the covers!
As previously mentioned, I cut off the horse's tail, replaced with more of a natural look using acrylic wool, unravelled and straightened. The saddle is made from felt using a paper pattern I drew up.
The table is the panel from the back wall - the legs are match sticks.

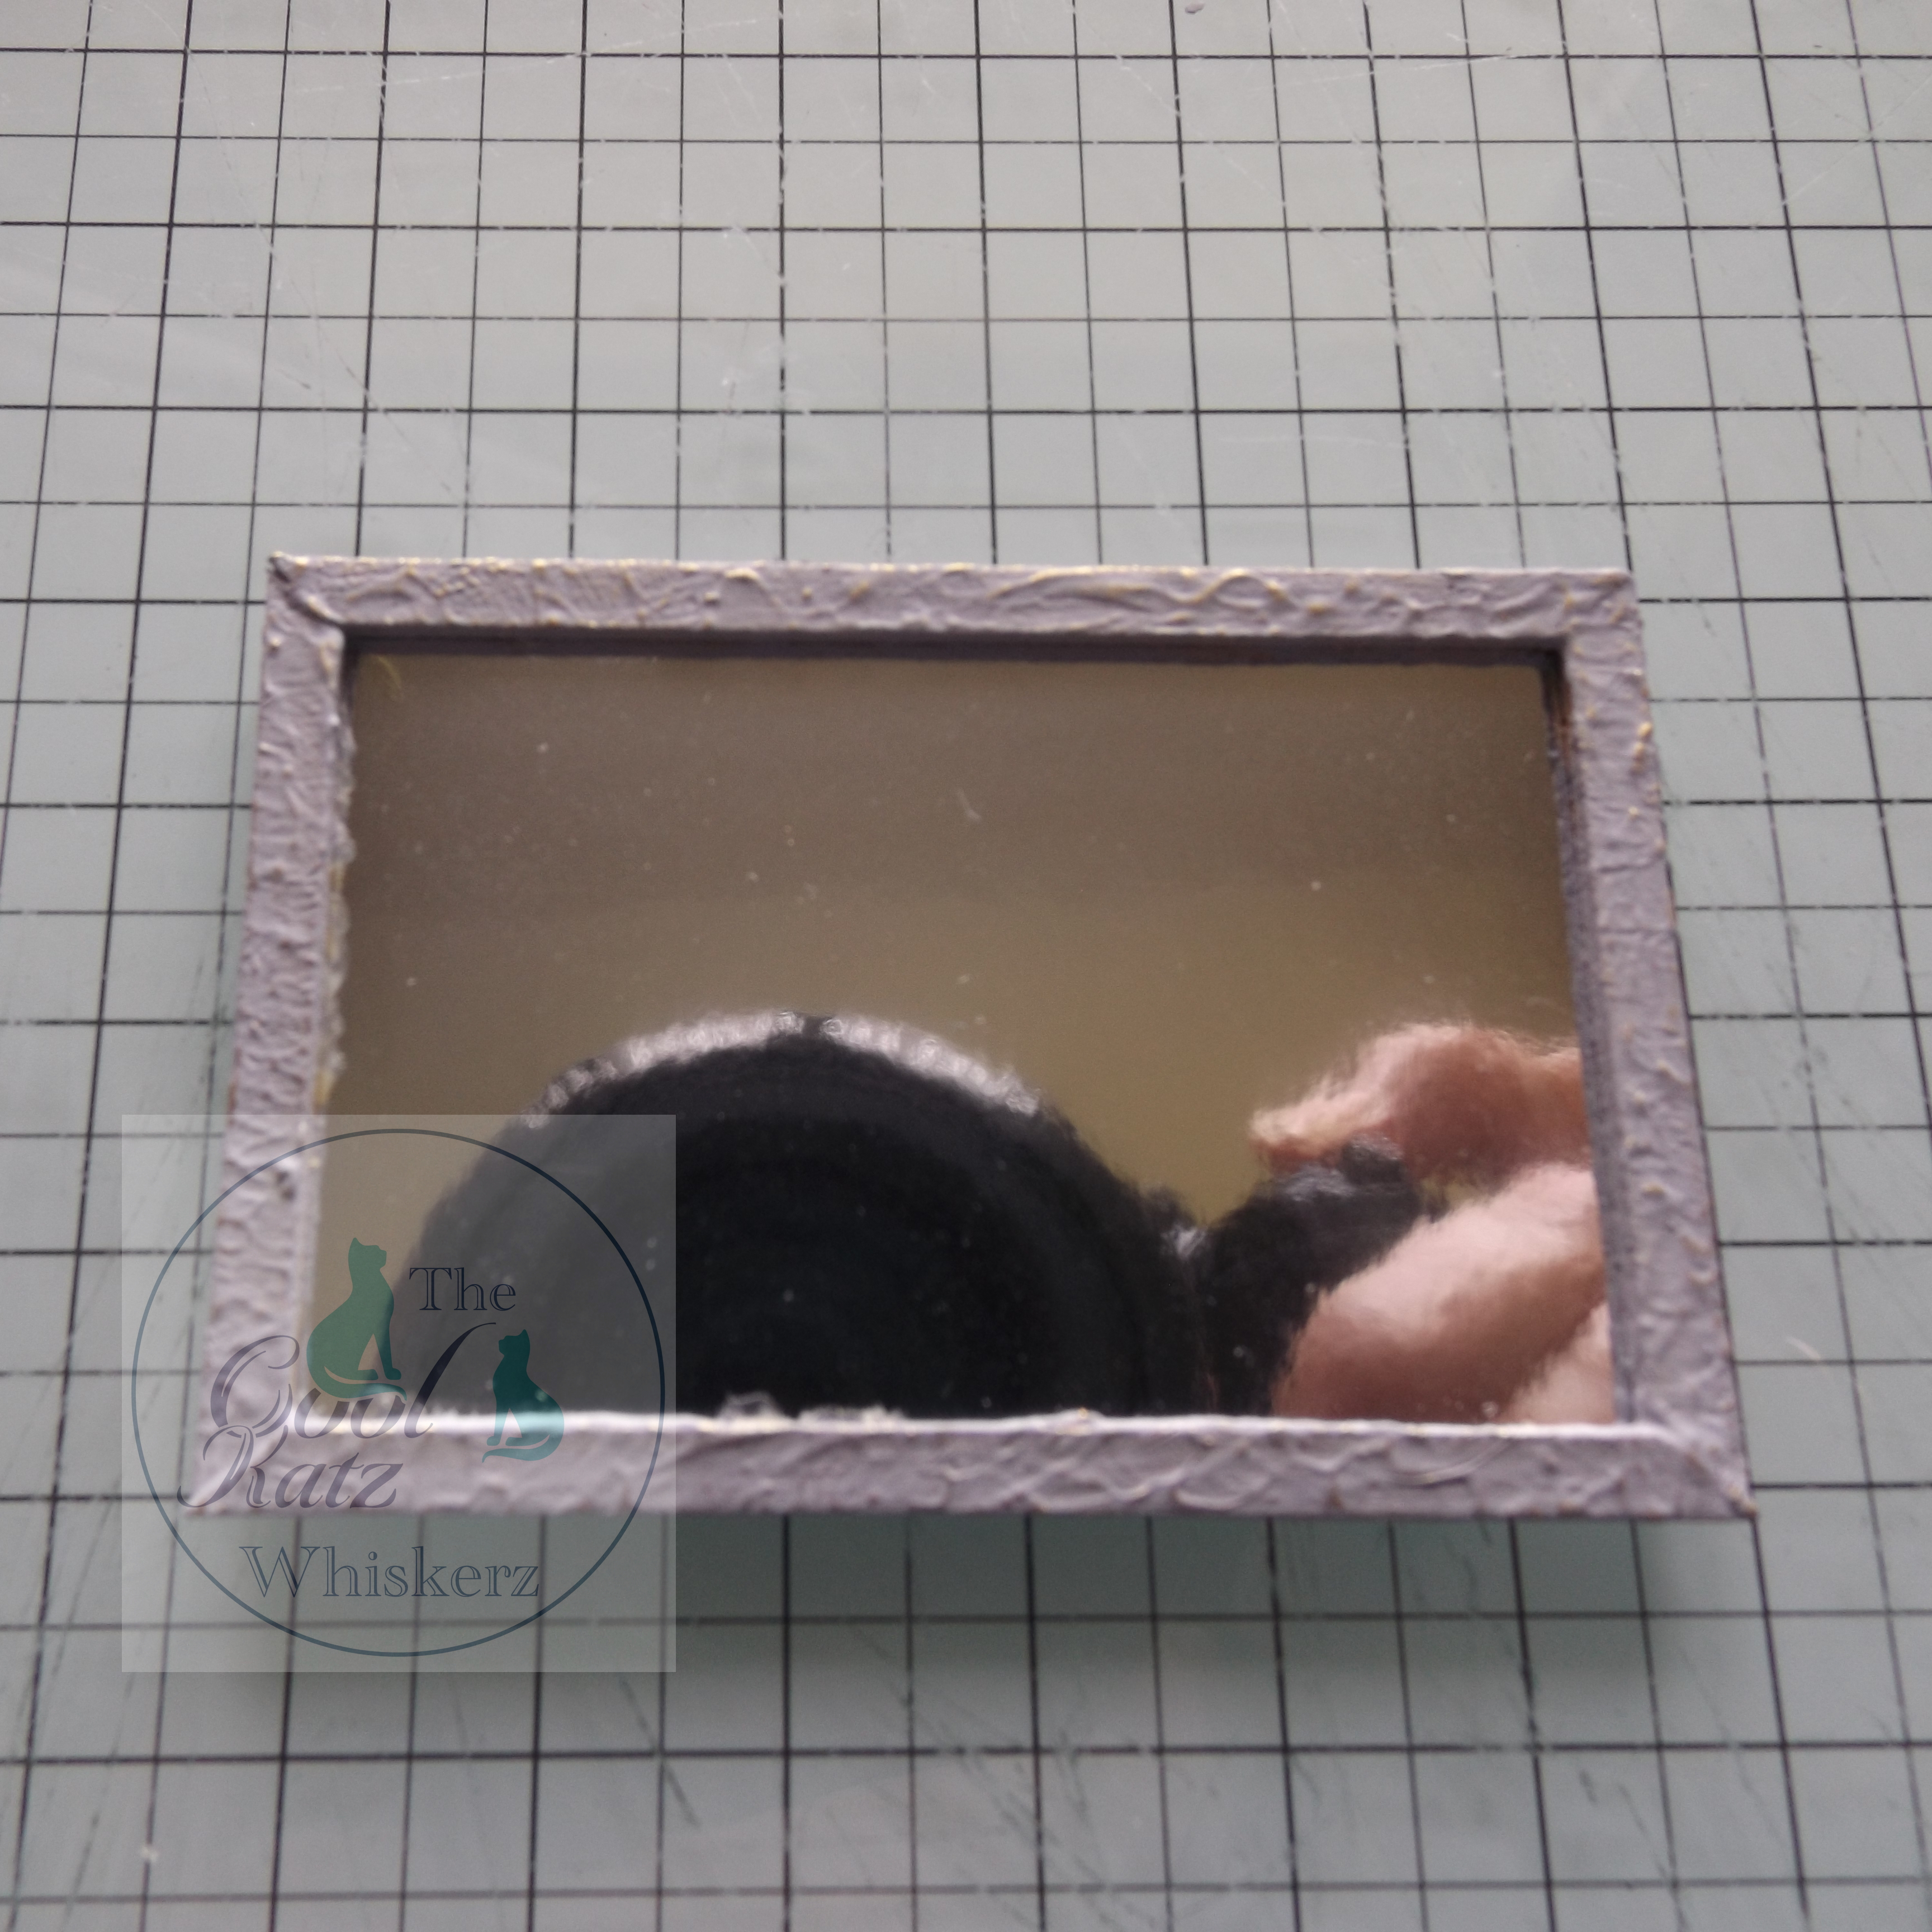
The mirror frame is also from the MDF waste. I dabbed the paint on to give texture and when dry I lightly applied gilding wax.
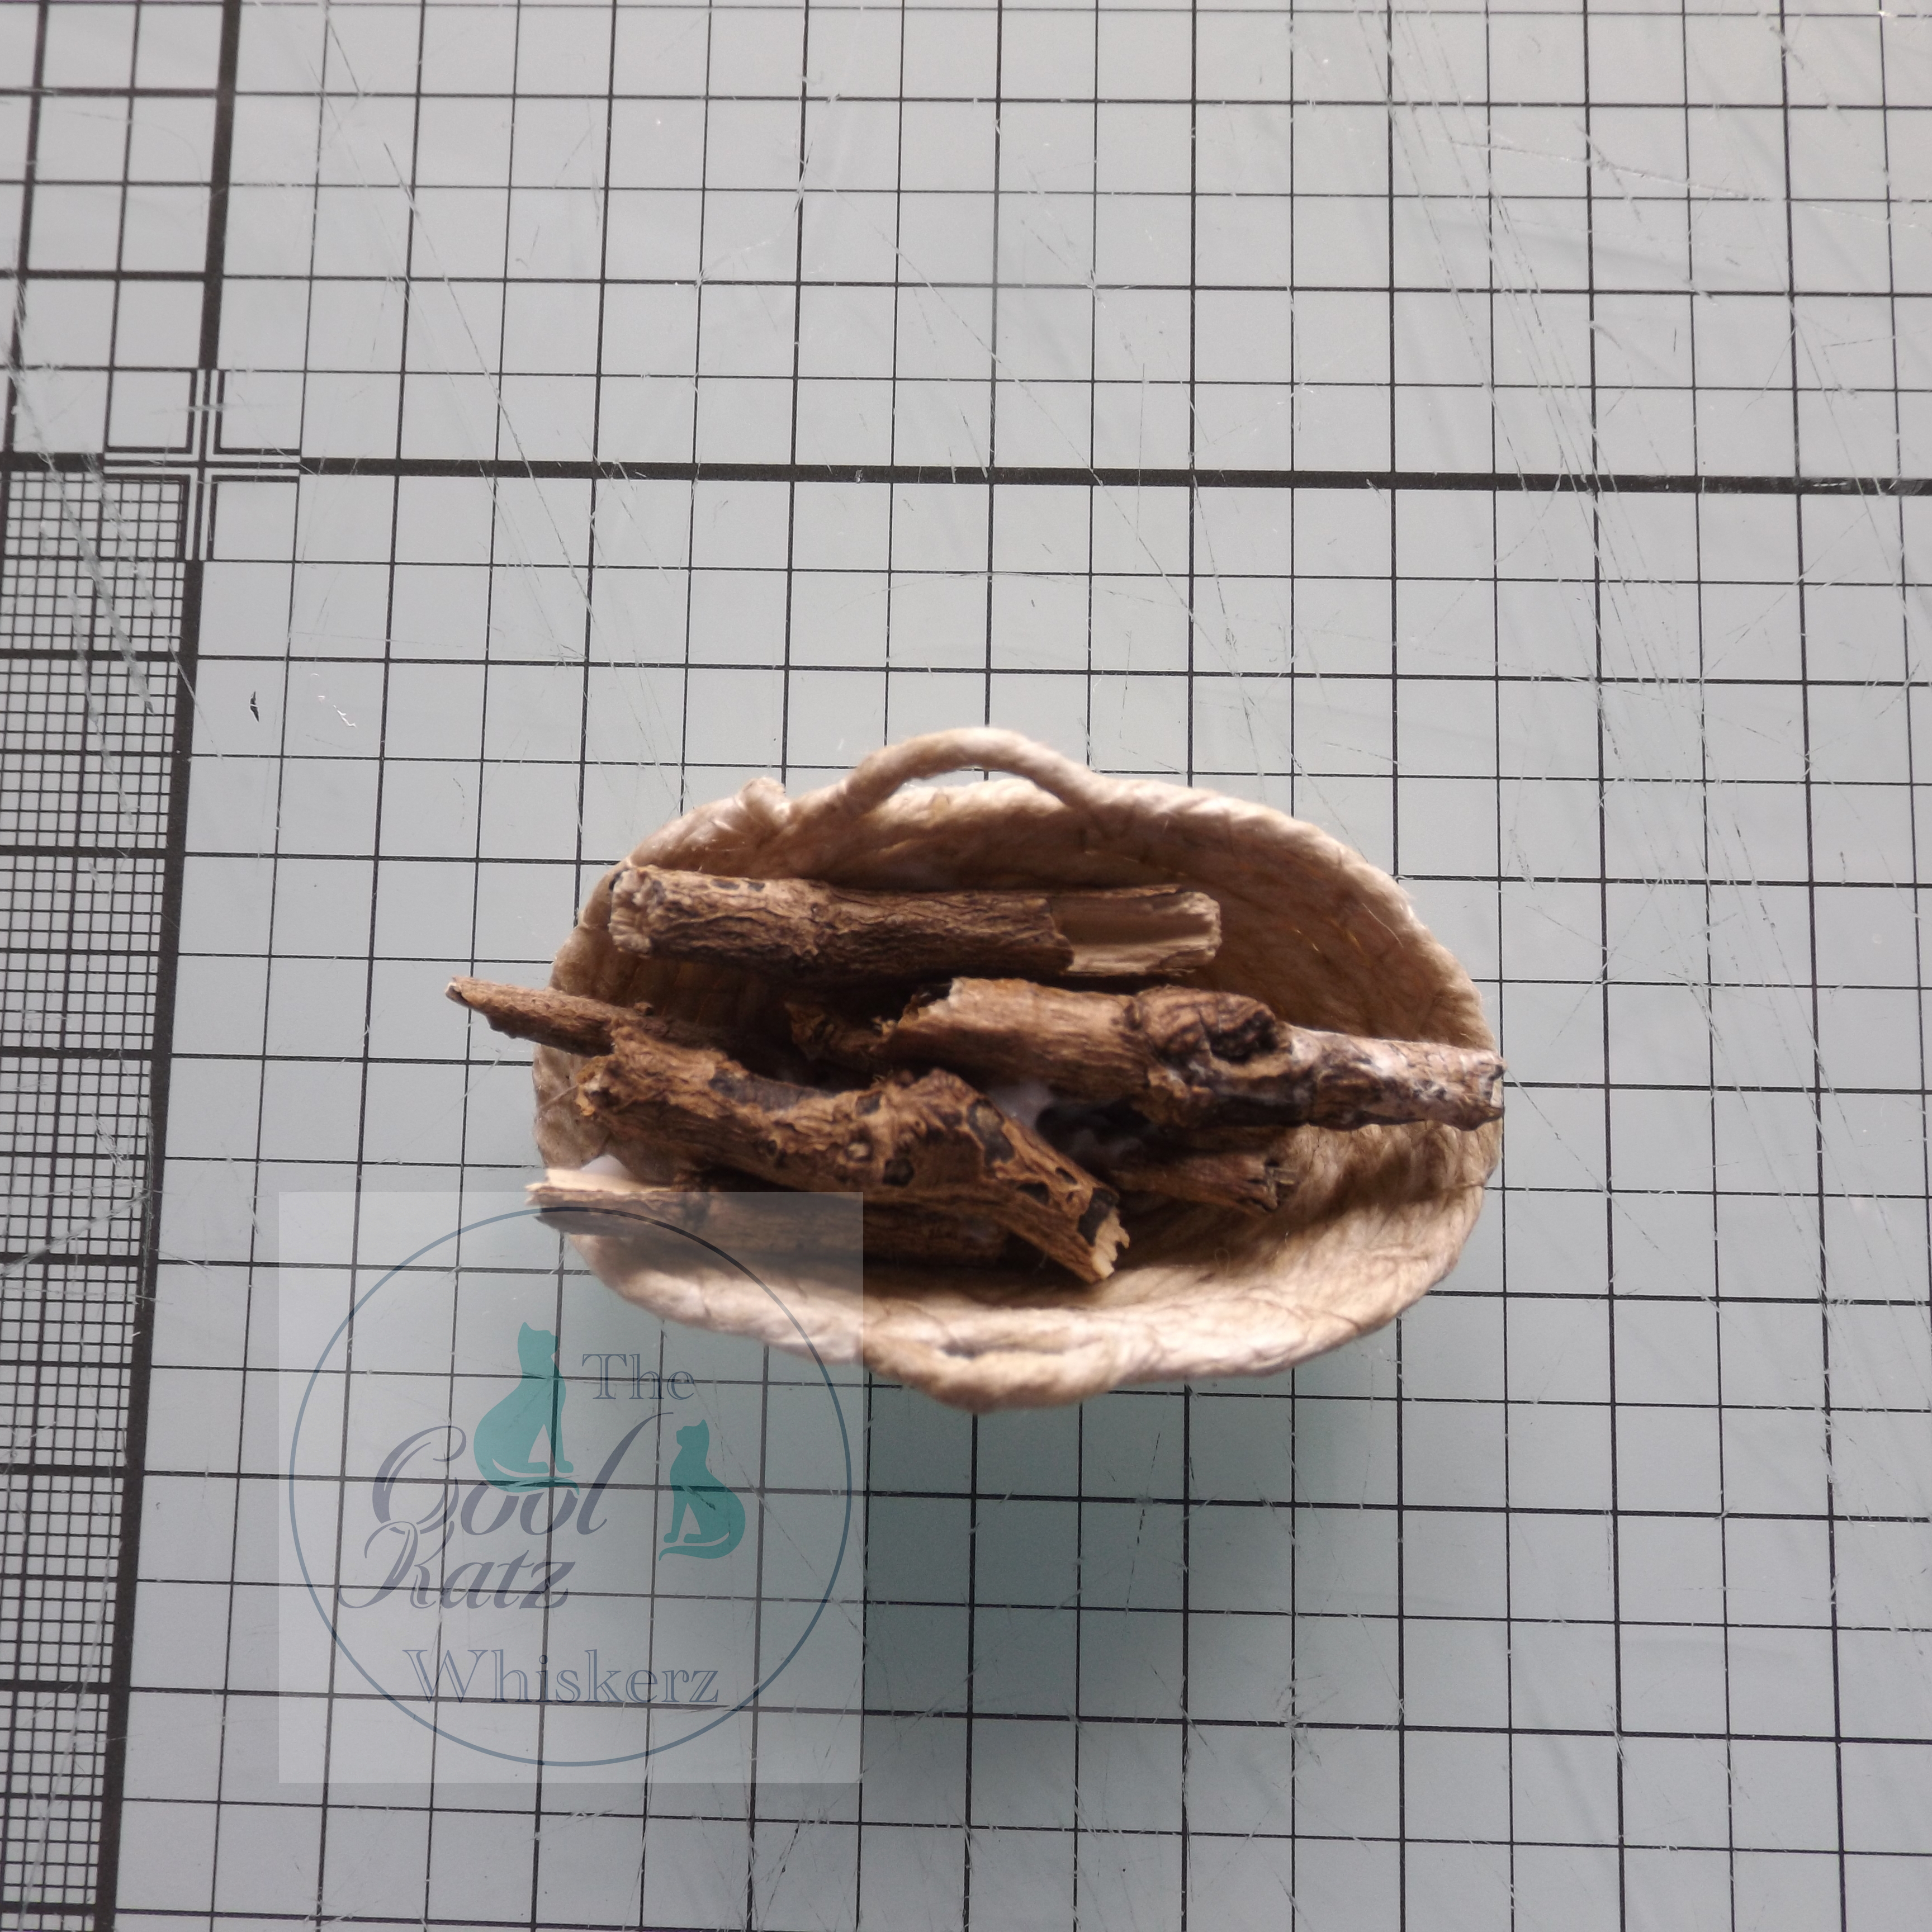
The log basket - aka twigs - I stitched fine string in an oval shape and shaped it when glueing in the twigs.
The large pillar candles on the mantle shelf I made from air drying clay, with a bit of wire for the wick, then painted red. The greenery is made from the miniature holly and ivy dies, and small seed beads added for a bit of sparkly.
I hope you have as much fun as I did, creating with your miniature chimney .
Whta a beautiful festive scene, Thank you Sylvia for a fab project and for all the hints and tips for extra decoration... We love it!
We'd love to see your fireplaces, why not join our CoolKatz Facebook group and share your projects there.
Suiggested products
https://www.coolkatzcraft.com/1-12-scale-fireplace-scene
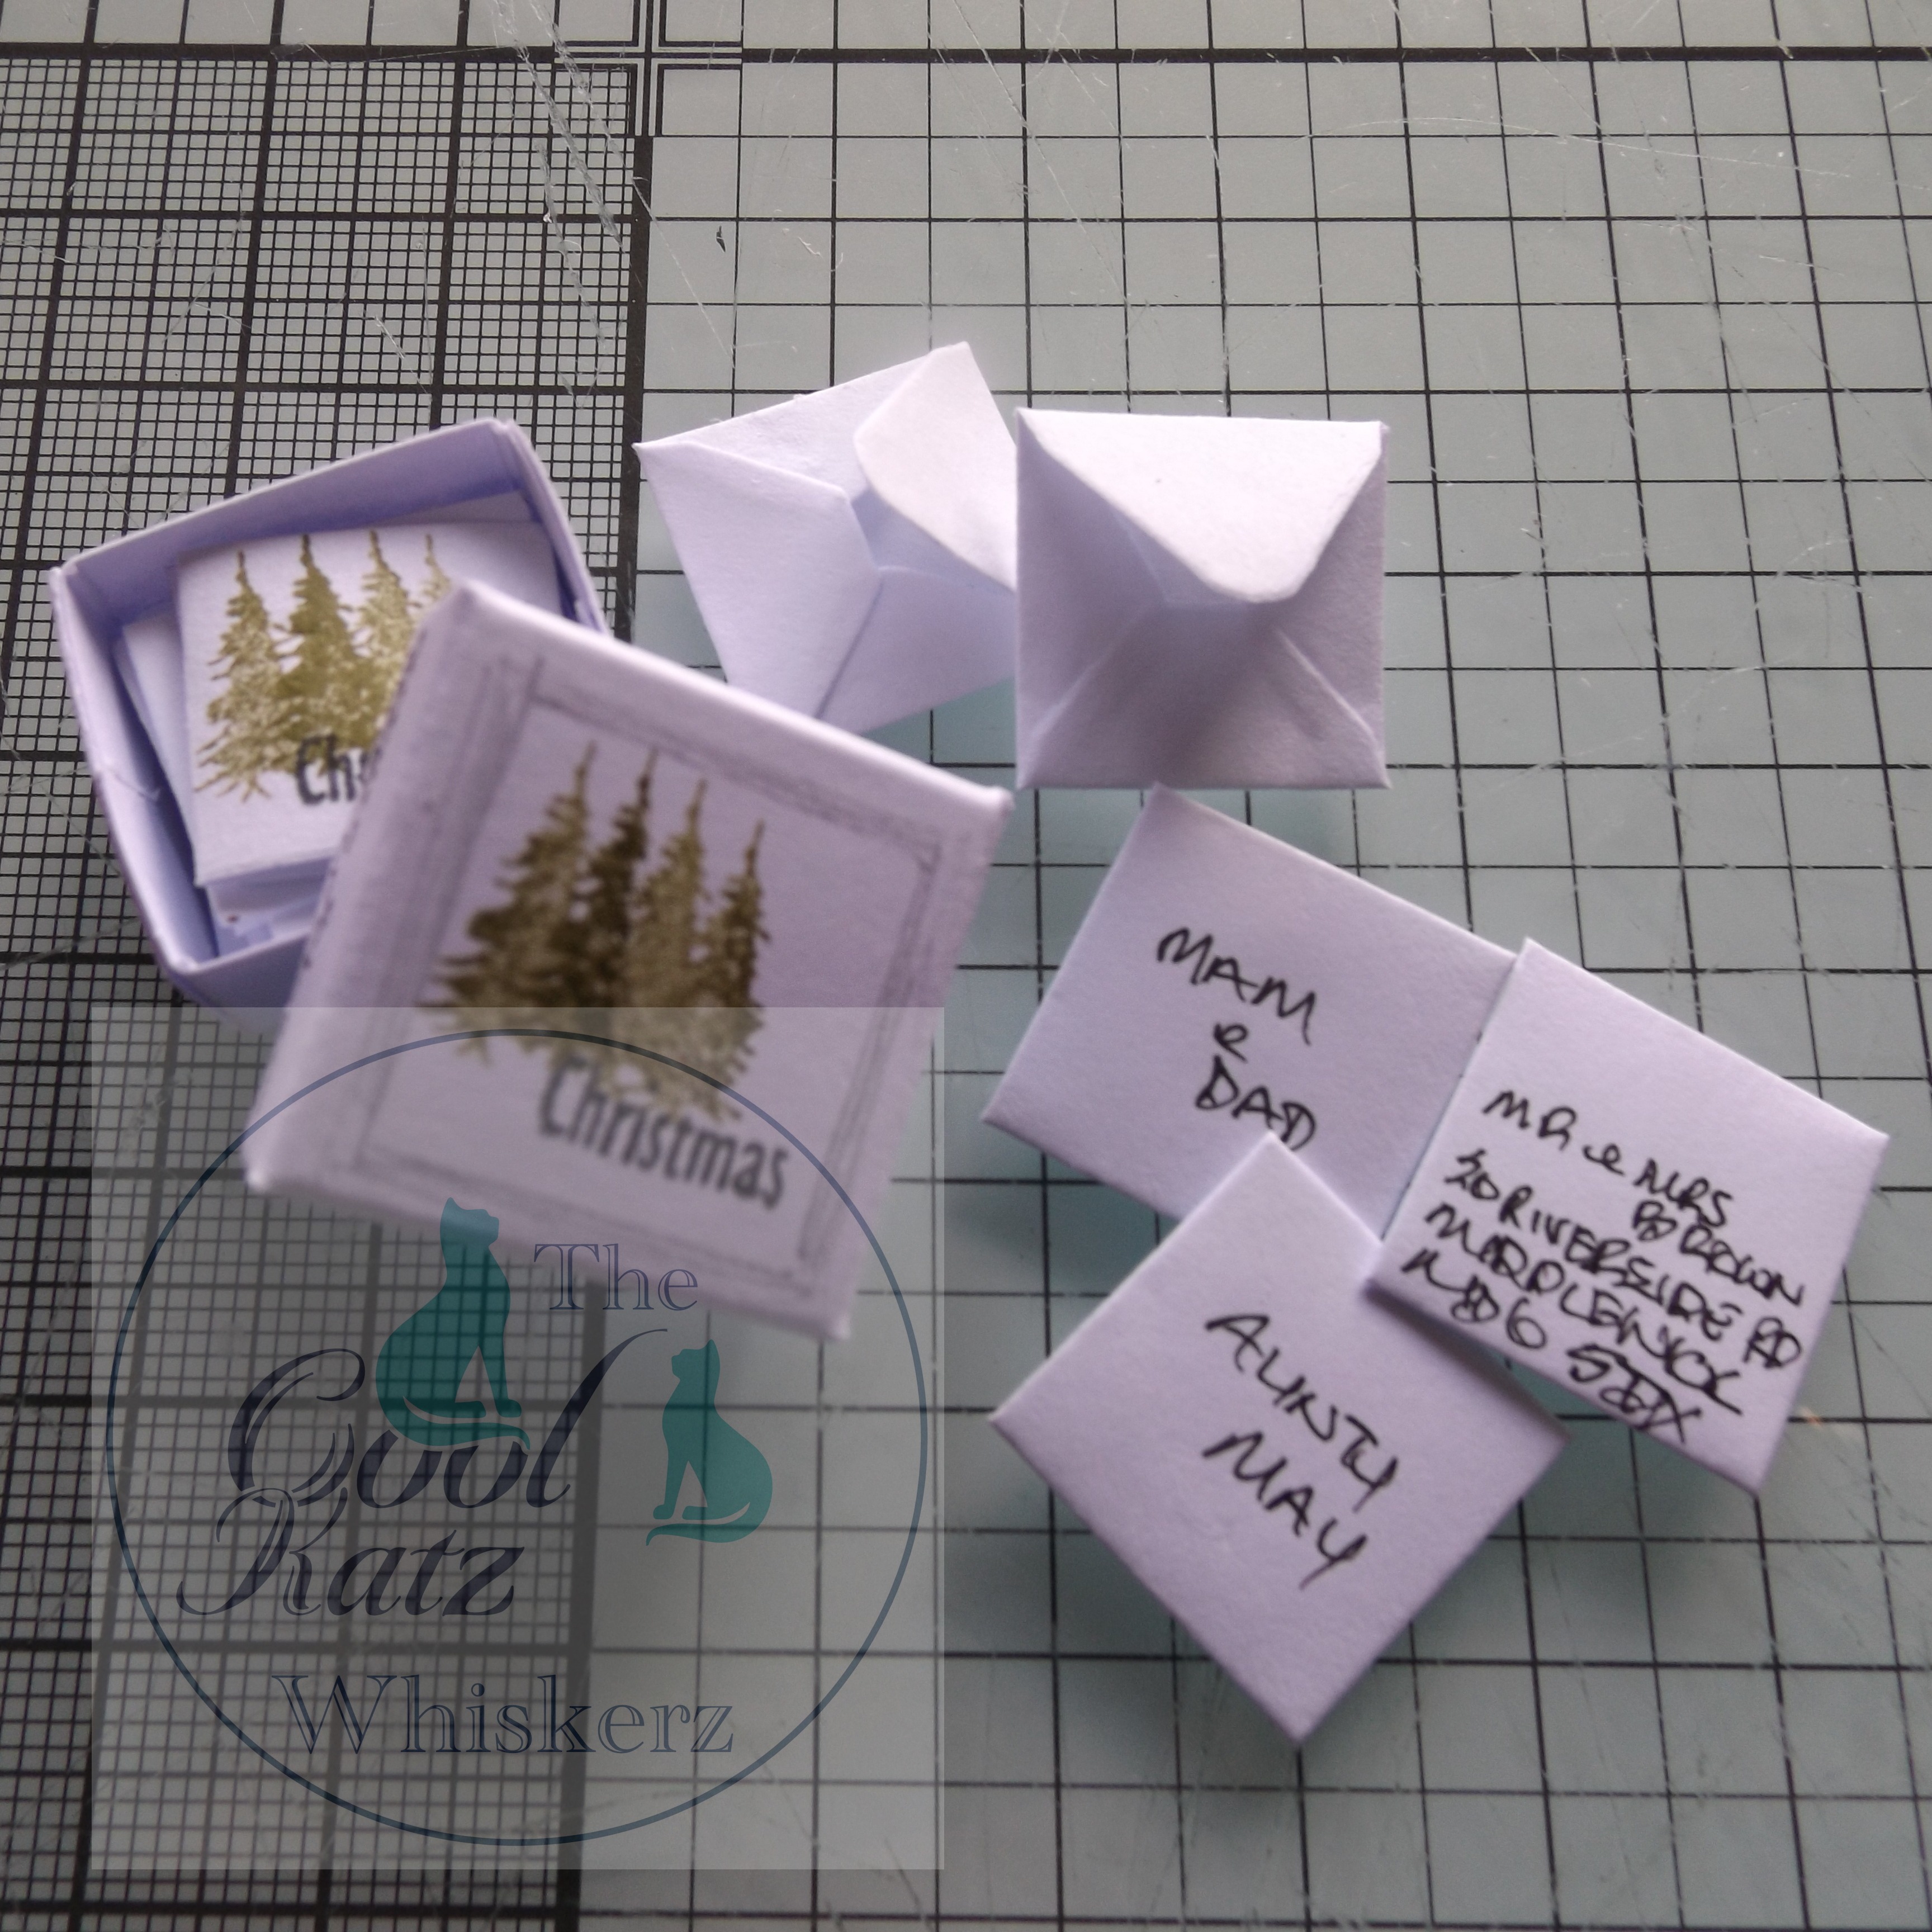
https://www.coolkatzcraft.com/1-12-card-envelope-die-set
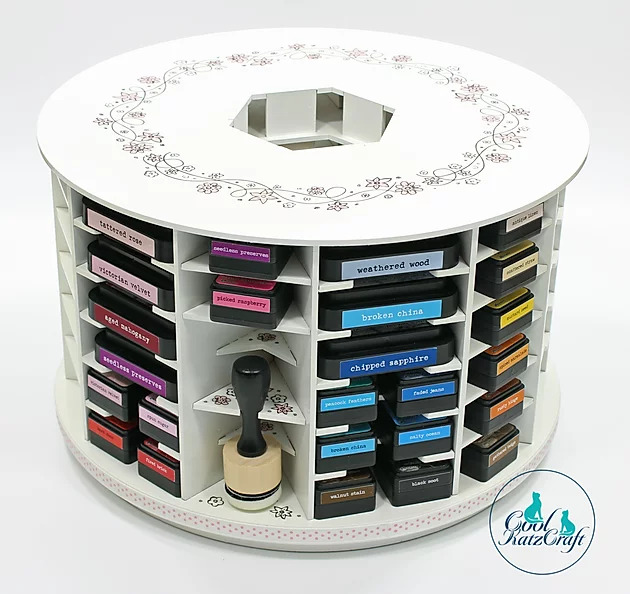
https://www.coolkatzcraft.com/1-12-scale-stamp-set
https://www.coolkatzcraft.com/ergonomic-stamp-text-tool
https://www.coolkatzcraft.com/paper-chains-die-set
https://www.coolkatzcraft.com/mini-book-album-die-set